DIY plasterboard ceiling

Installing a plasterboard ceiling is one of the quick and easy ways to make it even or give it an unusual shape. This process contains several nuances, after studying which you can do the work yourself. To do this, you need to familiarize yourself with the theoretical aspects.
Installation of drywall to the ceiling
Installation of such a structure is carried out in several stages:
1. Preparation of the necessary tools and materials.
The main material is plasterboard; to determine how much of it is required for the cladding, it is worth calculating the coverage area and taking into account a small margin.
2. Additional elements include a metal profile, guides, suspension, crosspiece for connection, screws and dowels. To finish the finished coating you will need putty (starting and finishing), reinforced tape with an adhesive layer and a primer mixture. The following construction tools will be needed: a level, a painting cord, a screwdriver and a hammer drill, scissors for working with metal, spatulas and sandpaper, as well as a paint roller.
Surface marking
It is this that determines the evenness of the future coating.This is done using a level and a paint cord. Moreover, if the main task is not to reduce the height of the ceiling, then marking should begin closer to the base, taking into account the size of the profile and suspension. This stage must be approached responsibly so that the coating does not have to be dismantled.
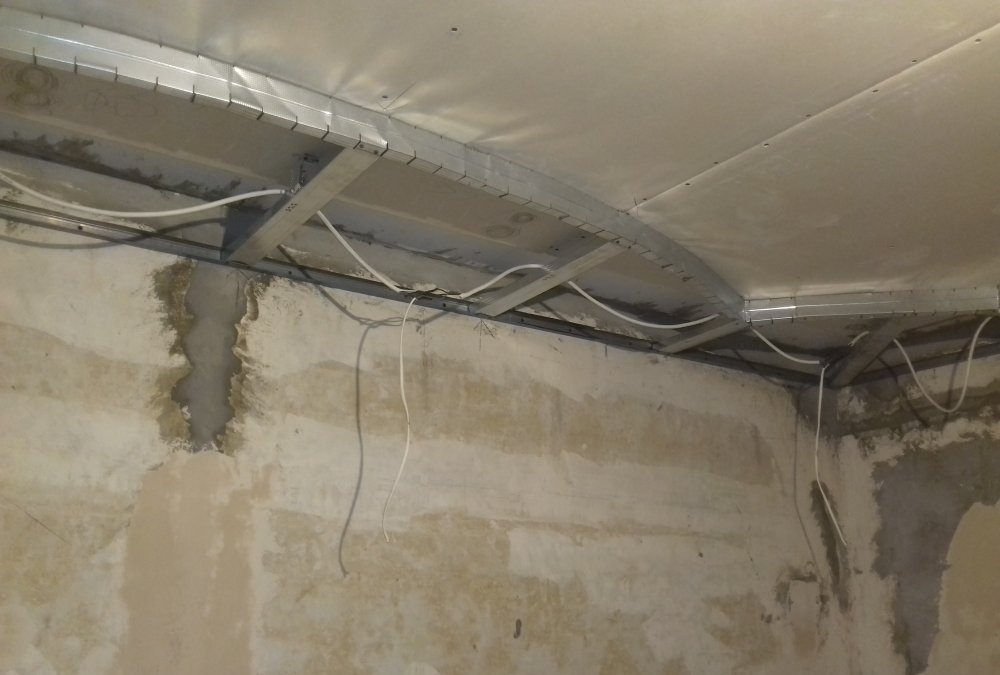
Assembly of the structure
It starts with installing the guides perpendicular to the plasterboard sheets. After this, the hangers are attached using self-tapping screws. Only then are profiles installed. It is worth considering their flexibility, since if they are not fastened correctly, the ceiling may become convex. You can check whether the frame is even or not using a long rule. At the same stage, crosspieces are installed in increments of 50 cm, and profile sections are fixed between them.


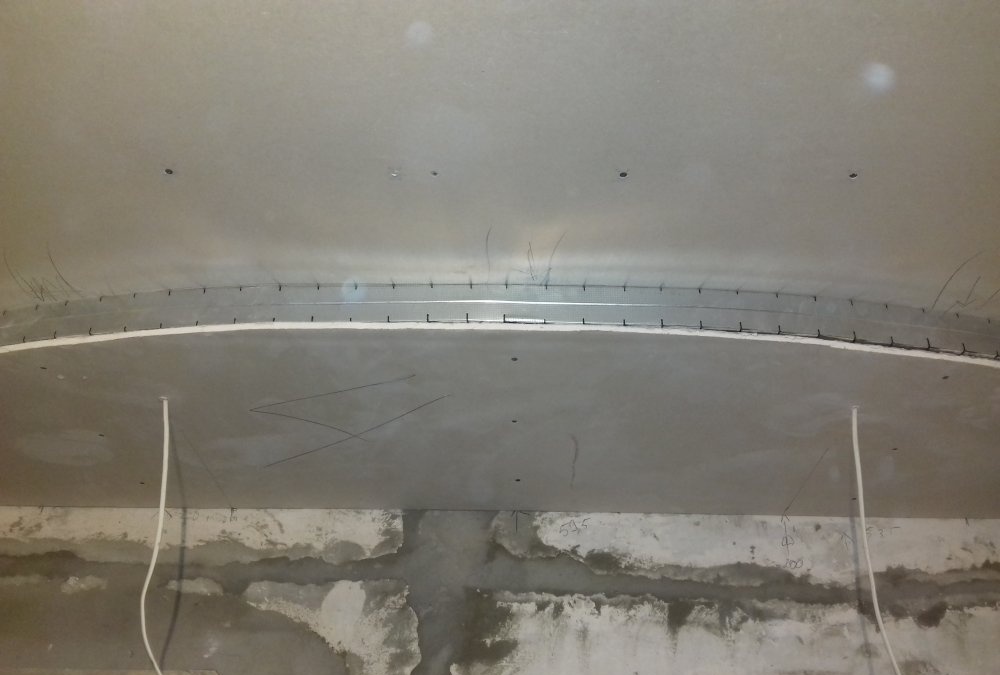
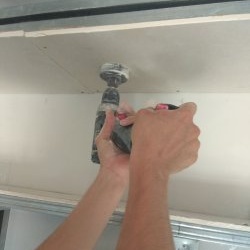
Drywall installation
Installation is labor-intensive, so it is best to do it with help. However, you can get by with special mops and do the job alone. One layer of plasterboard is enough to create a durable, beautiful ceiling. It is fixed in series to the profile with self-tapping screws.

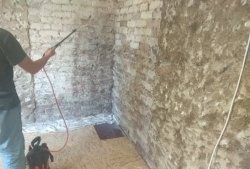
Rough finish
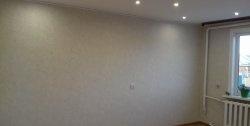
To begin with, the entire surface is primed. The joints of the sheets are glued with reinforcing tape, after which they are covered with starting putty. It also processes the heads of the screws and the rest of the coating. High-quality application of the solution is achieved by grinding with a special trowel. Then apply a second layer of primer mixture and cover with finishing putty. The main task of this stage is a high-quality and even coating, which will look beautiful under artificial lighting.


All the main work on covering the ceiling with plasterboard ends here. In principle, there is nothing complicated about this, and a novice master can easily cope on his own.However, to ensure a smooth and hard surface, it is necessary to strictly follow the technology.
Similar master classes
Particularly interesting
Comments (4)
