How to make a computer desk from solid wood
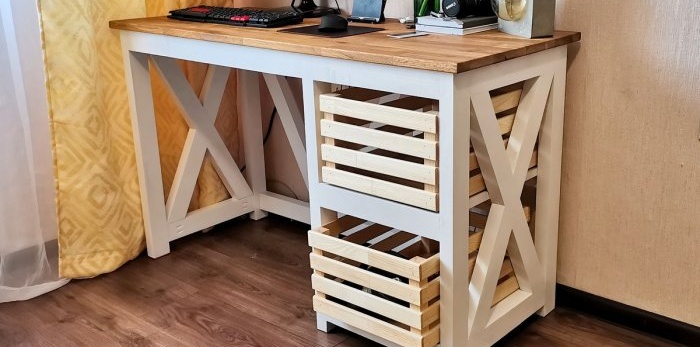
Hello! I wanted to make a desk. Making it from chipboard is boring and not interesting, so I decided to make it from solid wood. The main frame will be made of pine, and the table top will be made of oak. It took me about 120 bel for the whole table. rubles or 50$.
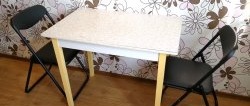
I found a drawing of a desk on the Internet.
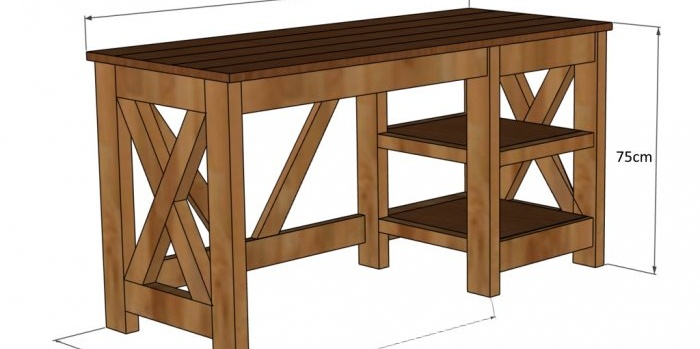
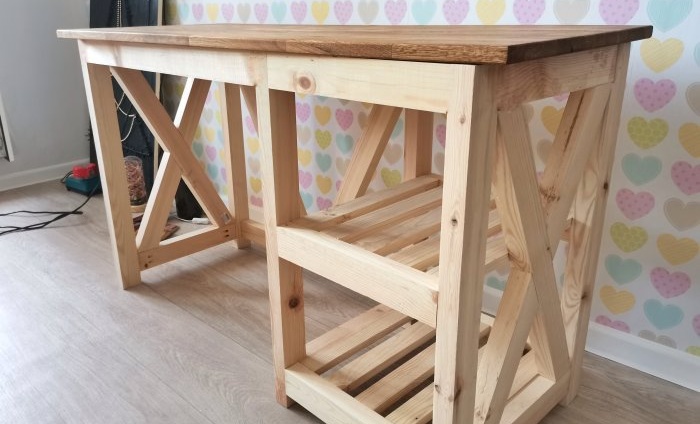
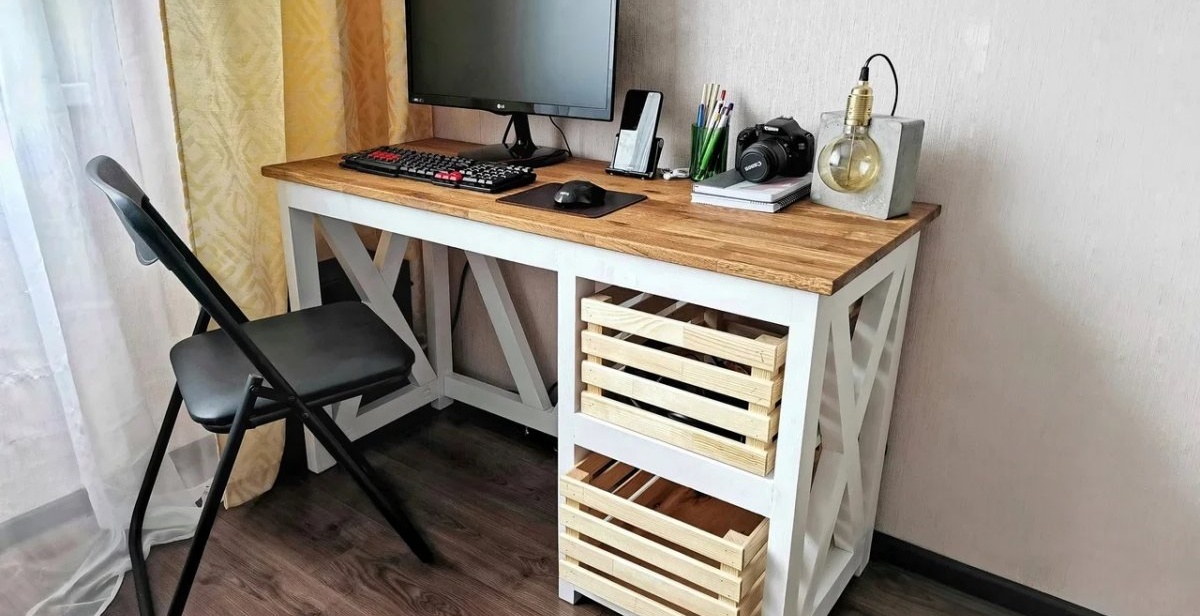
The table is made in the spirit of a country style. Its dimensions are 120*50*75 cm. This table is suitable for both schoolchildren and adults.
The materials I needed were:
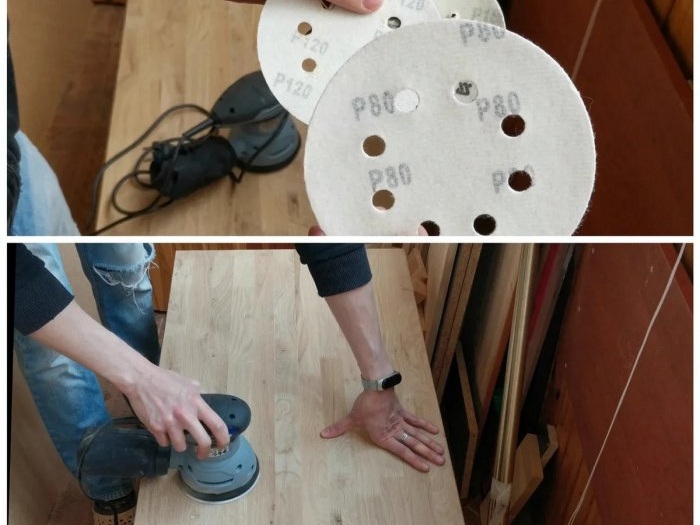
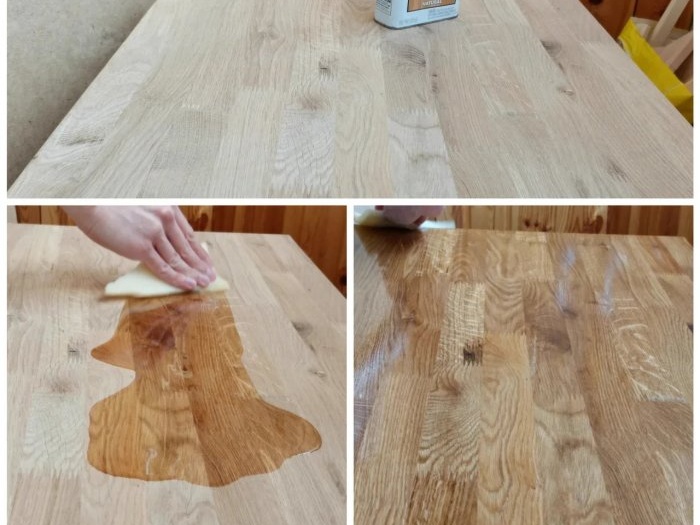
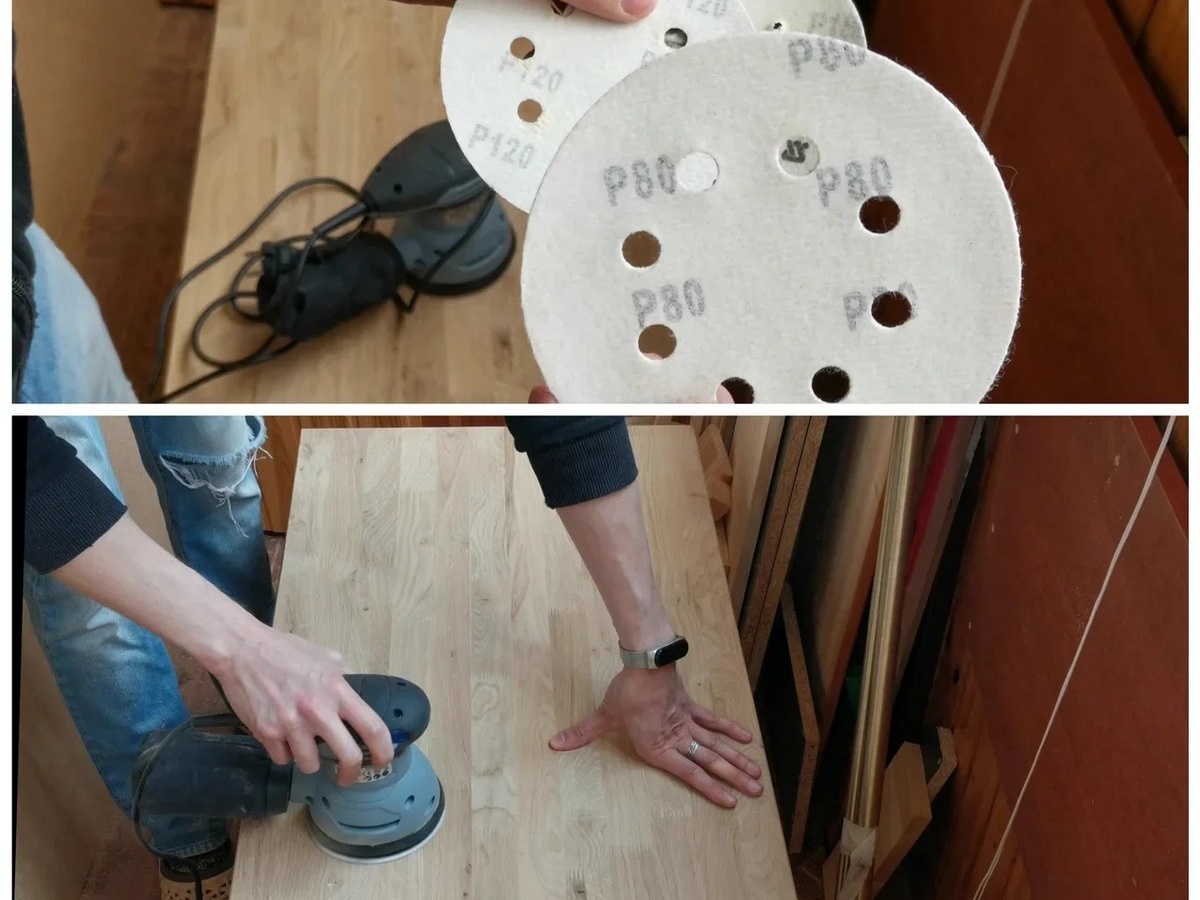
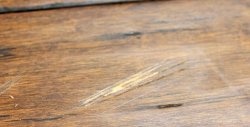
First of all, I prepared the countertop. To save money, I bought class 3 furniture board. It had a couple of minor blemishes and small cracks. I sanded the table top with 80/120/180 grit sandpaper.
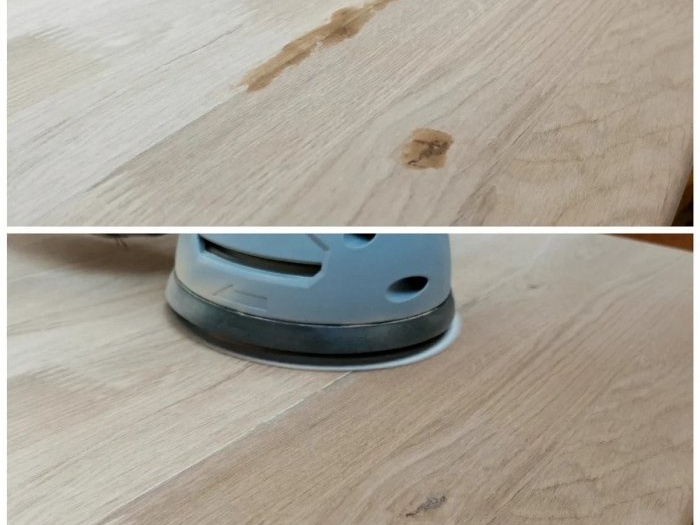
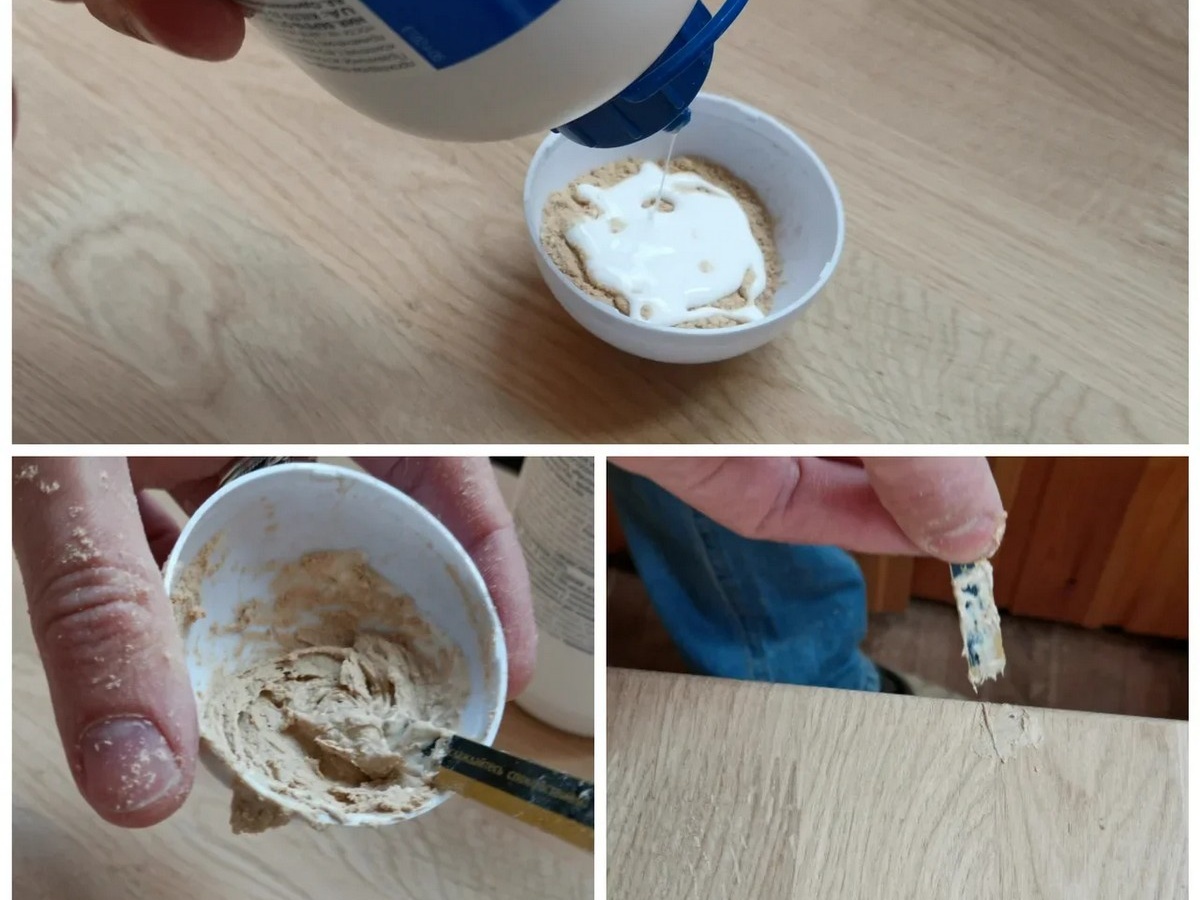
After that I mixed sawdust and PVA glue. It turned out to be an excellent grout for seams. This composition sealed all the problem areas.

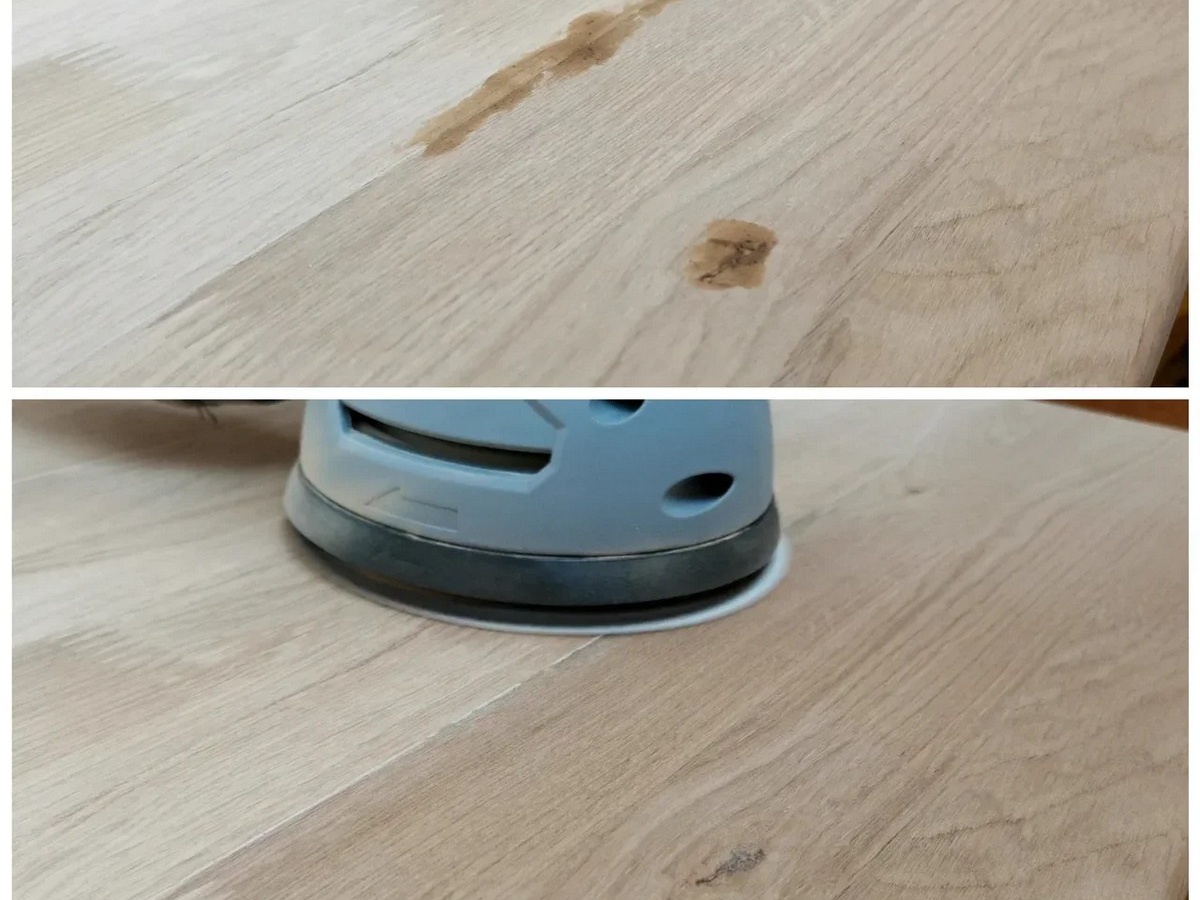
And I sanded the table top again.
Using a router I made an oblique angle.

The table top was coated with linseed oil. I applied it in 2 layers.
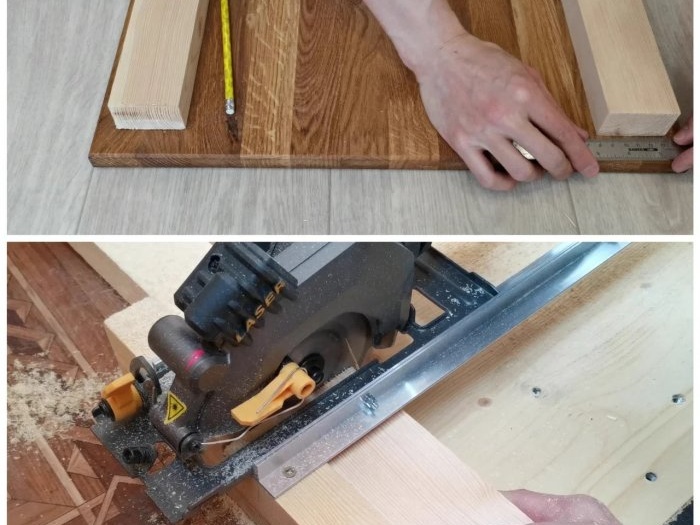
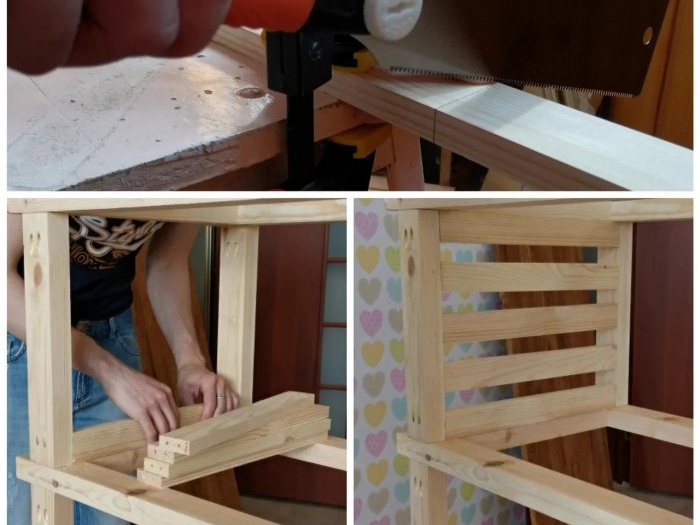
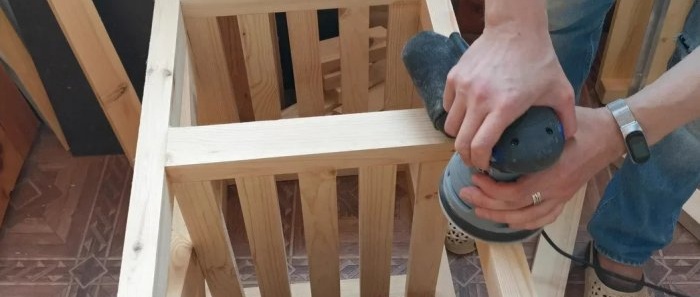
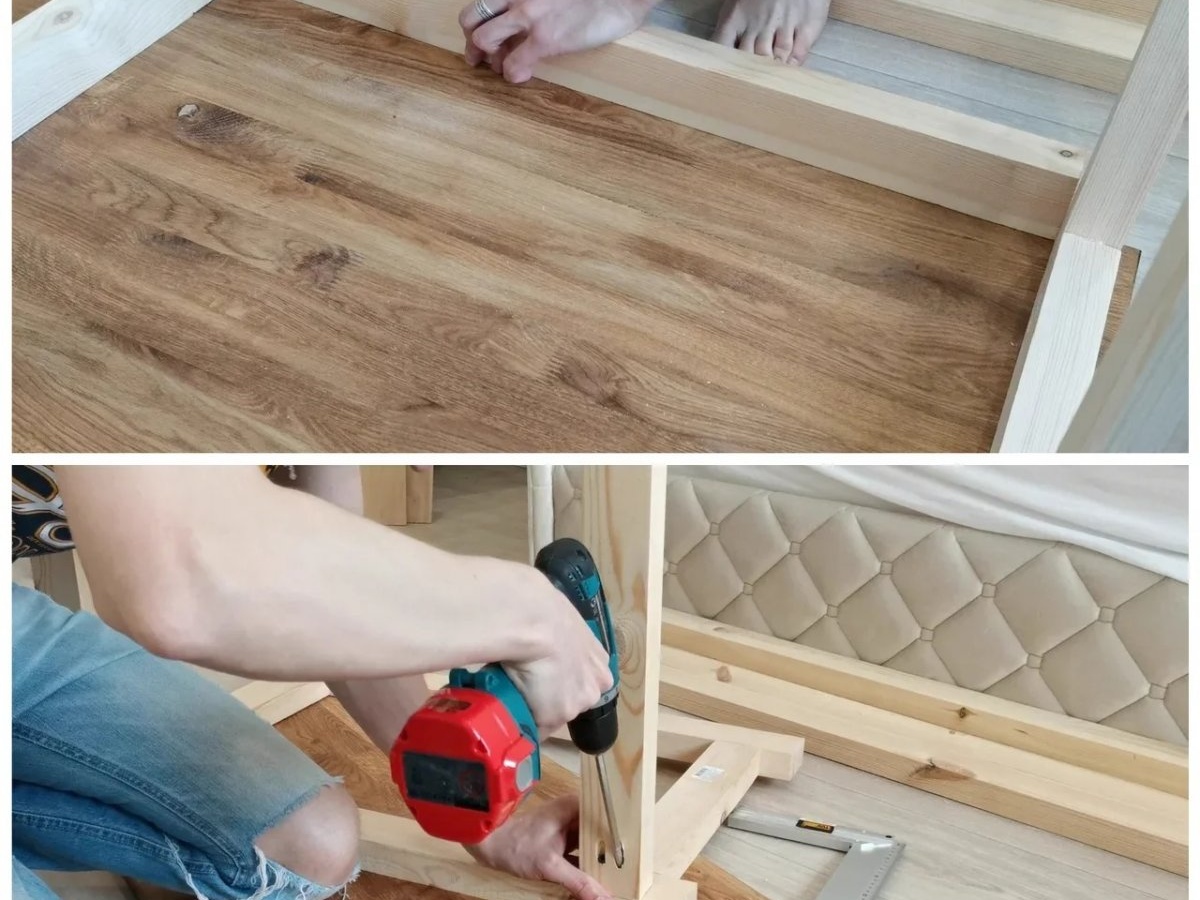
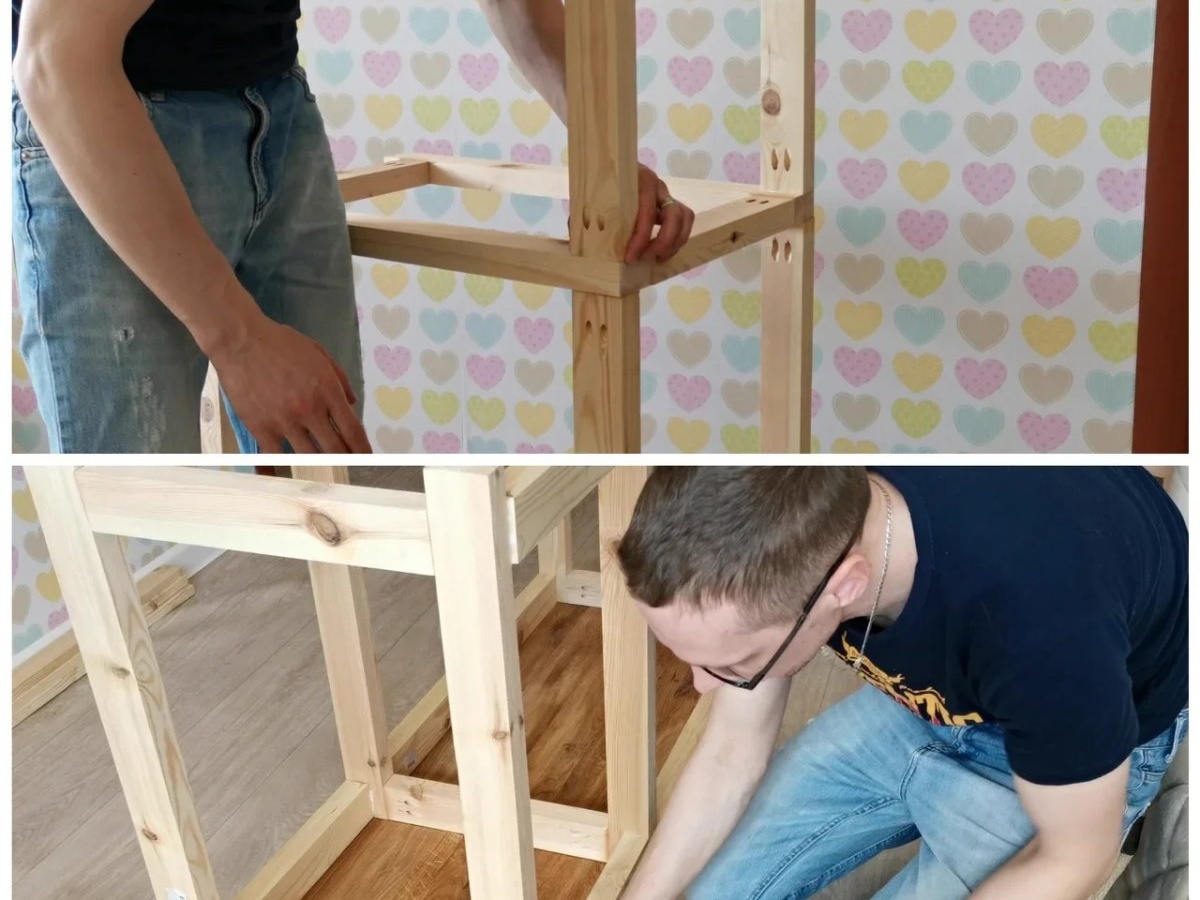
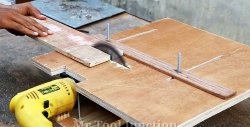
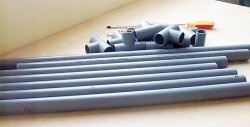
Now I start making 3 supports for the table.The main frame of the table will be made of 7*3 cm timber. To trim the timber, I used a homemade guide for a circular saw.
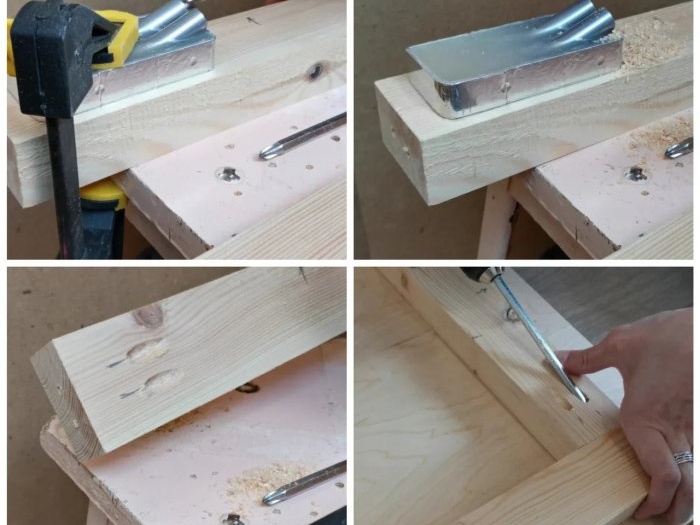
I will connect all the parts using an oblique screw and PVA glue. I used a homemade conductor for connections.
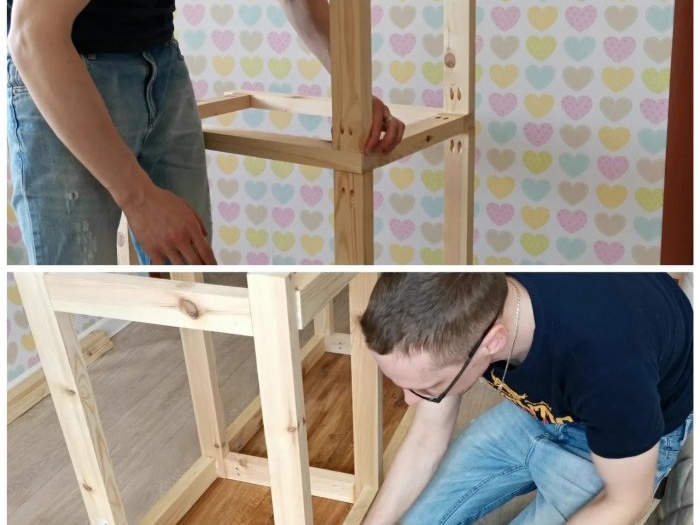
So, the legs are ready, now they need to be connected to each other. To do this, I cut 3 bars 7*3 cm, length 70 cm. And 6 bars 7*3 cm, length 35 cm.

For the shelves I used 5*2 cm bars. I cut 10 pieces 40 cm long.
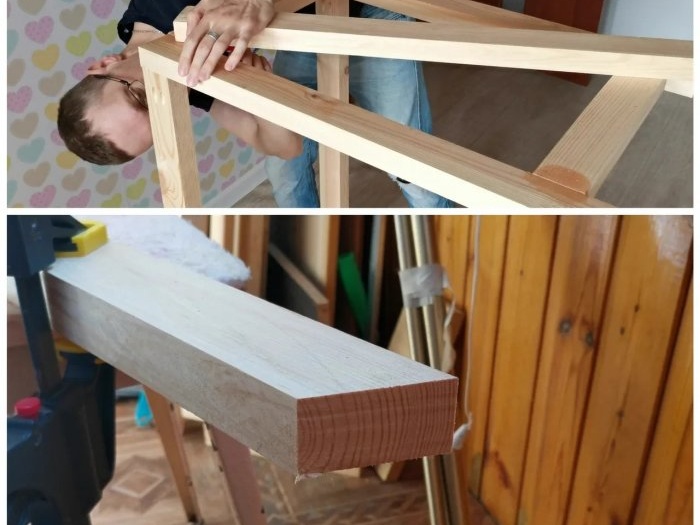
Now the tricky part is making the X-shaped inserts for the side legs. I used the same planed timber 7*3 cm. I measure and cut 2 parts of the X-shaped insert.
I fixed one part and put the second on top. Having set the corners, I mark the place where I need to make the cut.
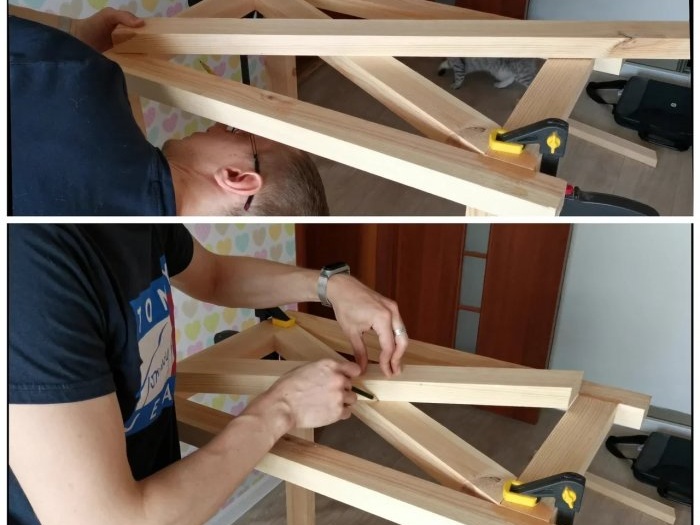
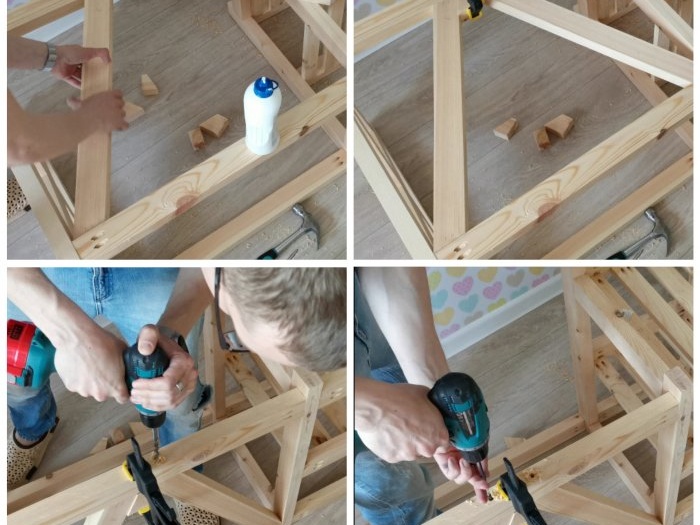
I will connect it with an overlay. To do this, I chose half the thickness of the bars, and then glued them together with glue.
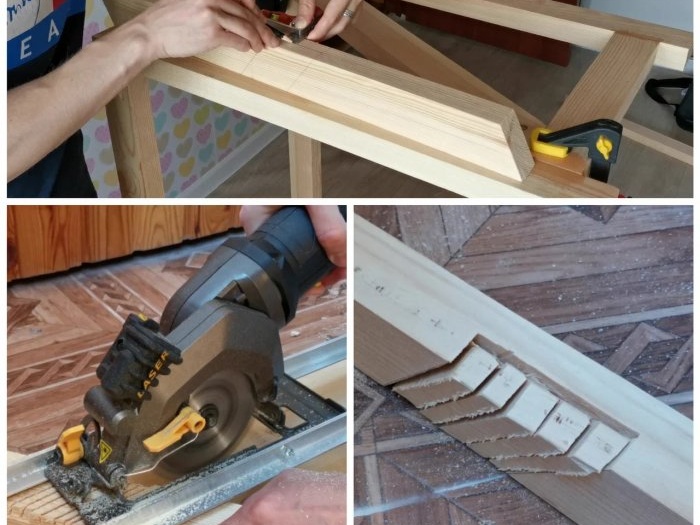
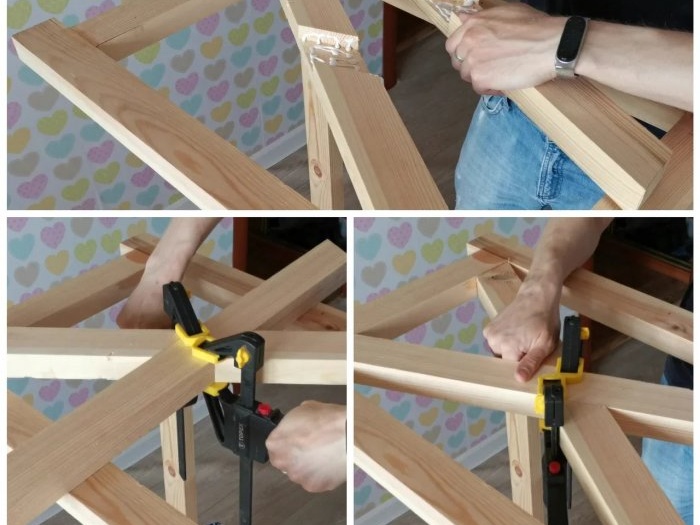
I installed X-inserts into the side legs and secured them with self-tapping screws.
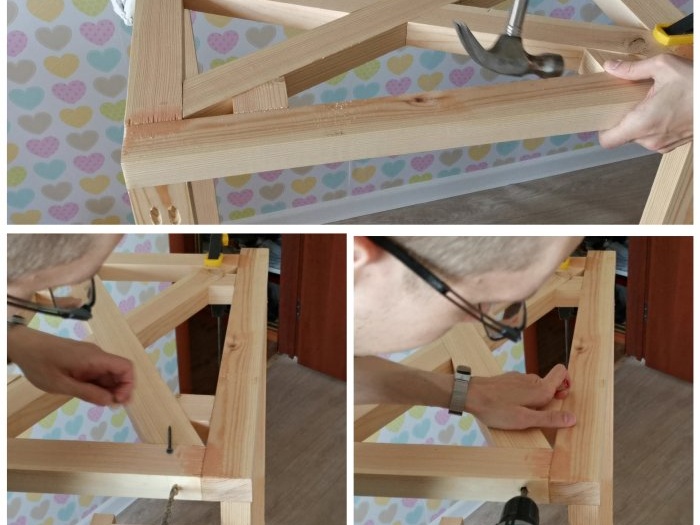
For the back wall of the table you need to make a V-shaped insert. (Done according to the same principle as the previous one)
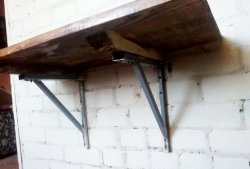
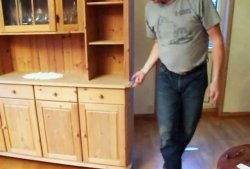
Intermediate result.
I filled all the unevenness with homemade wood putty. Then I sanded everything carefully.
Before painting I applied one coat of primer and then painted it white. The paint was applied in 2 layers, with breaks to dry.

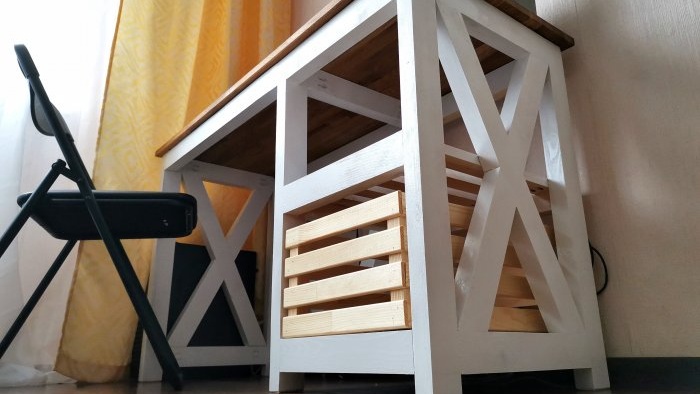
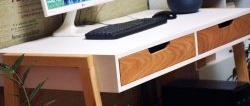
I made drawers as drawers. Fruits are transported in similar boxes. It seems to me that they will look harmonious with this table.
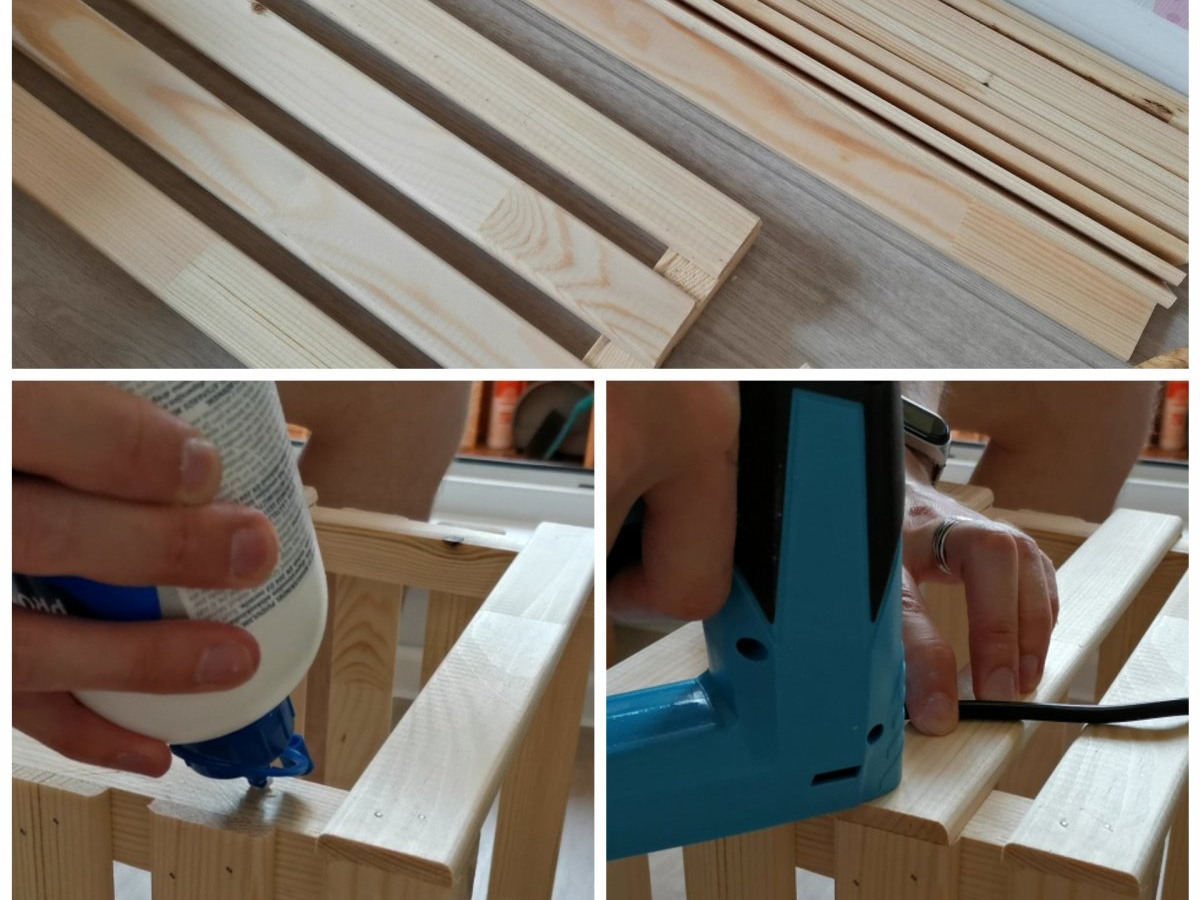
I cut pine slats 3*0.5 cm and bars 2*2 cm.
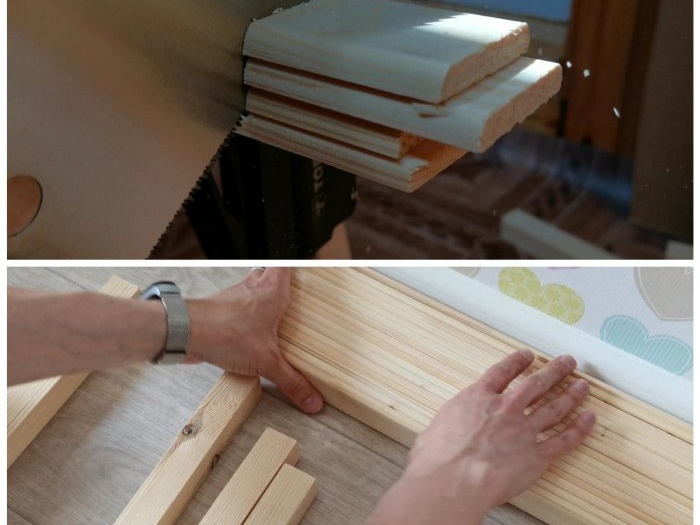
I then glued them together and secured them with an electric stapler.

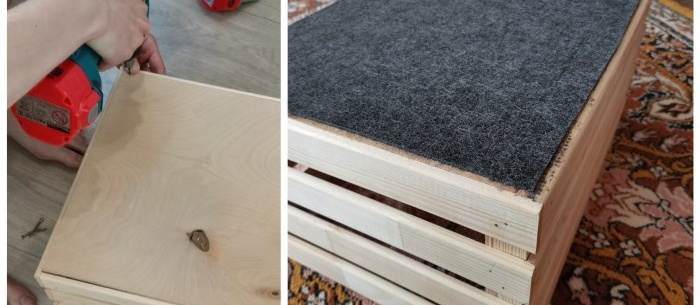
The bottom of the drawers was made of 5 mm plywood. I glued felt to the bottom of the drawers.
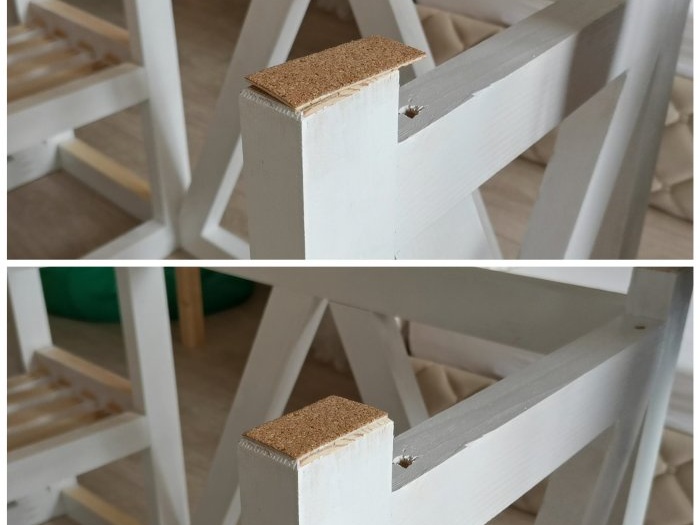
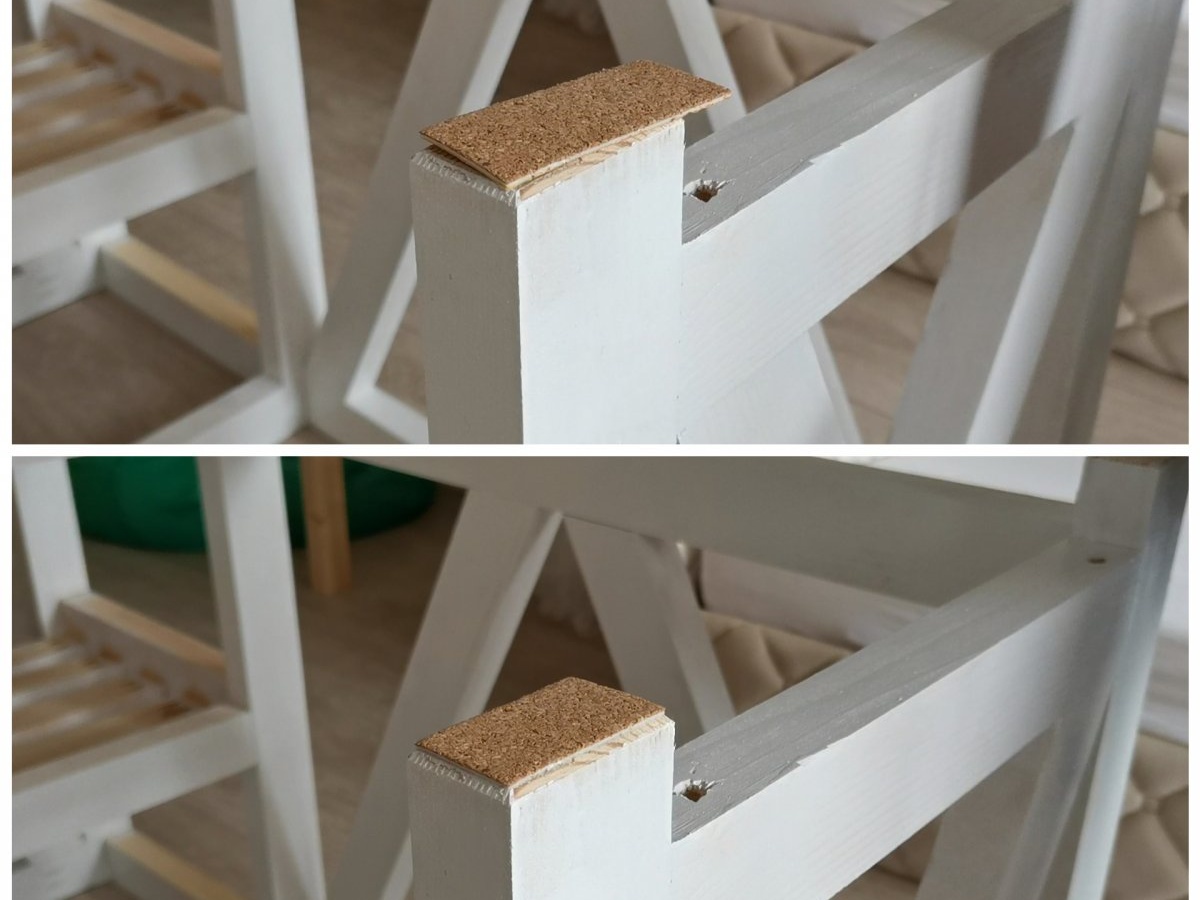
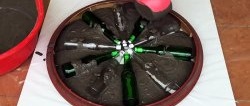
I glued cork pads to the legs.
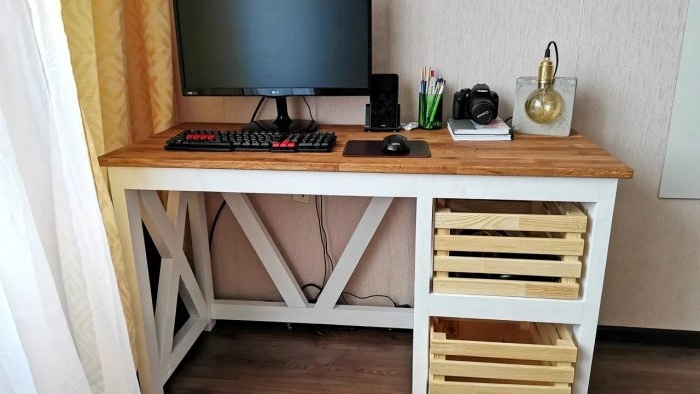
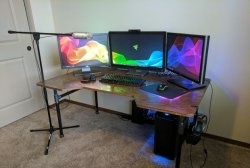
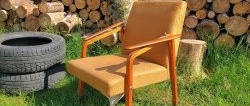
The table is ready. You can use it.
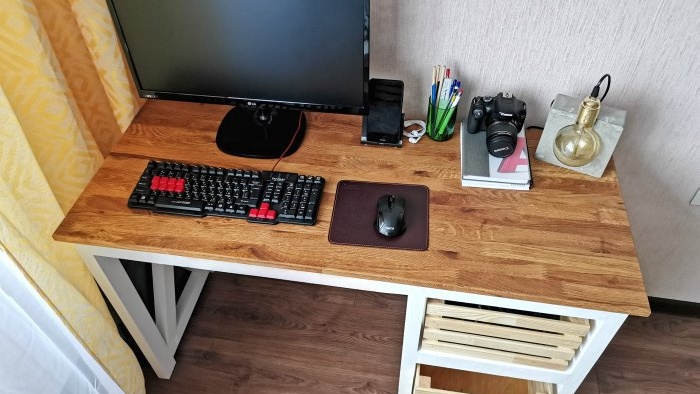

That's all, thanks for your attention!

I found a drawing of a desk on the Internet.
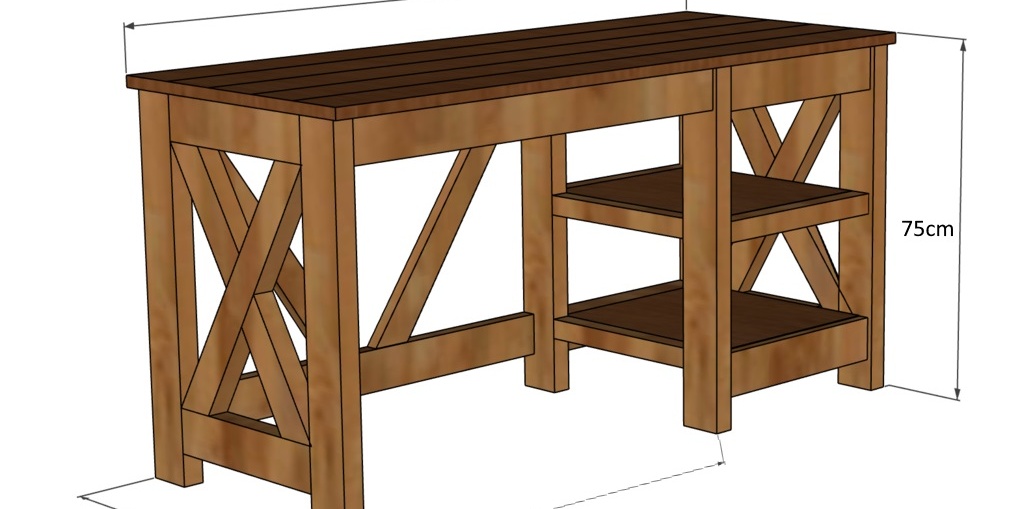
The table is made in the spirit of a country style. Its dimensions are 120*50*75 cm. This table is suitable for both schoolchildren and adults.
Will need
The materials I needed were:
- - Furniture panel made of oak - 120 * 50 cm.
- - Pine timber 7 * 3 cm.
- - Pine timber 5 * 2 cm.
- - Pine beams 2 * 2 cm.
- - Pine planks 3 * 0.5 cm.
- - Wood glue.
- - primer/paint.
- - self-tapping screws.
Making a table
First of all, I prepared the countertop. To save money, I bought class 3 furniture board. It had a couple of minor blemishes and small cracks. I sanded the table top with 80/120/180 grit sandpaper.
After that I mixed sawdust and PVA glue. It turned out to be an excellent grout for seams. This composition sealed all the problem areas.
And I sanded the table top again.
Using a router I made an oblique angle.

The table top was coated with linseed oil. I applied it in 2 layers.

Now I start making 3 supports for the table.The main frame of the table will be made of 7*3 cm timber. To trim the timber, I used a homemade guide for a circular saw.

I will connect all the parts using an oblique screw and PVA glue. I used a homemade conductor for connections.

So, the legs are ready, now they need to be connected to each other. To do this, I cut 3 bars 7*3 cm, length 70 cm. And 6 bars 7*3 cm, length 35 cm.
For the shelves I used 5*2 cm bars. I cut 10 pieces 40 cm long.

Now the tricky part is making the X-shaped inserts for the side legs. I used the same planed timber 7*3 cm. I measure and cut 2 parts of the X-shaped insert.
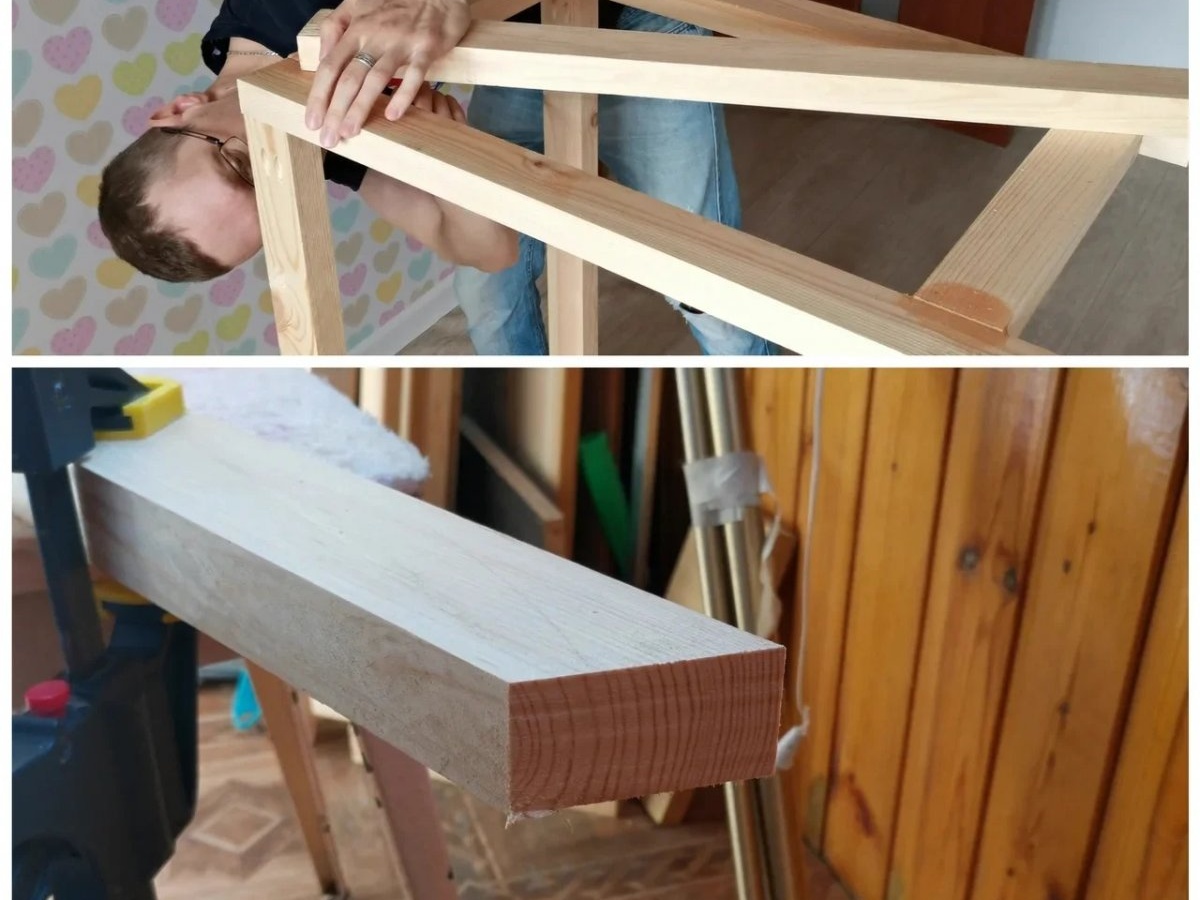
I fixed one part and put the second on top. Having set the corners, I mark the place where I need to make the cut.

I will connect it with an overlay. To do this, I chose half the thickness of the bars, and then glued them together with glue.

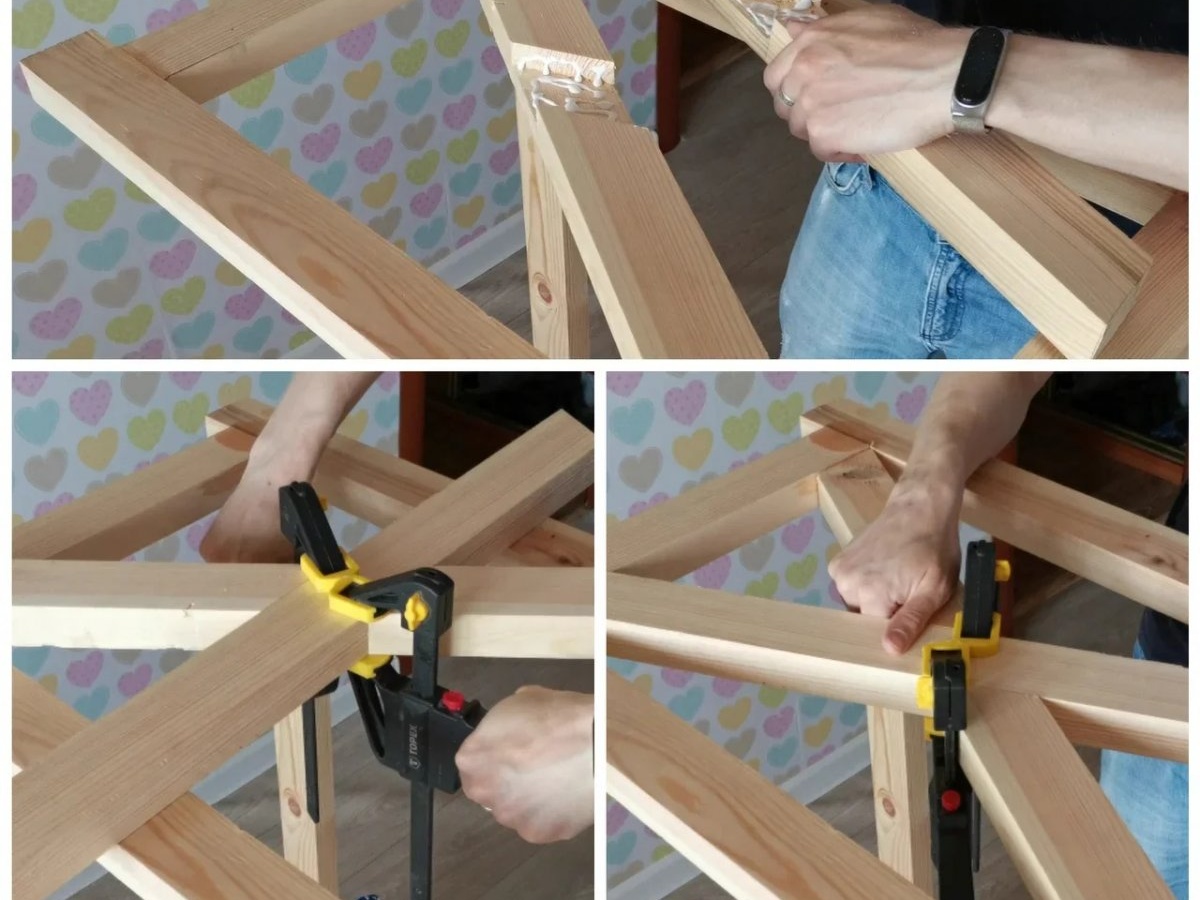
I installed X-inserts into the side legs and secured them with self-tapping screws.

For the back wall of the table you need to make a V-shaped insert. (Done according to the same principle as the previous one)

Intermediate result.

I filled all the unevenness with homemade wood putty. Then I sanded everything carefully.

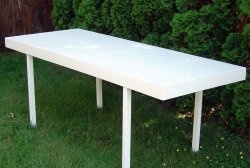
Before painting I applied one coat of primer and then painted it white. The paint was applied in 2 layers, with breaks to dry.

I made drawers as drawers. Fruits are transported in similar boxes. It seems to me that they will look harmonious with this table.
I cut pine slats 3*0.5 cm and bars 2*2 cm.
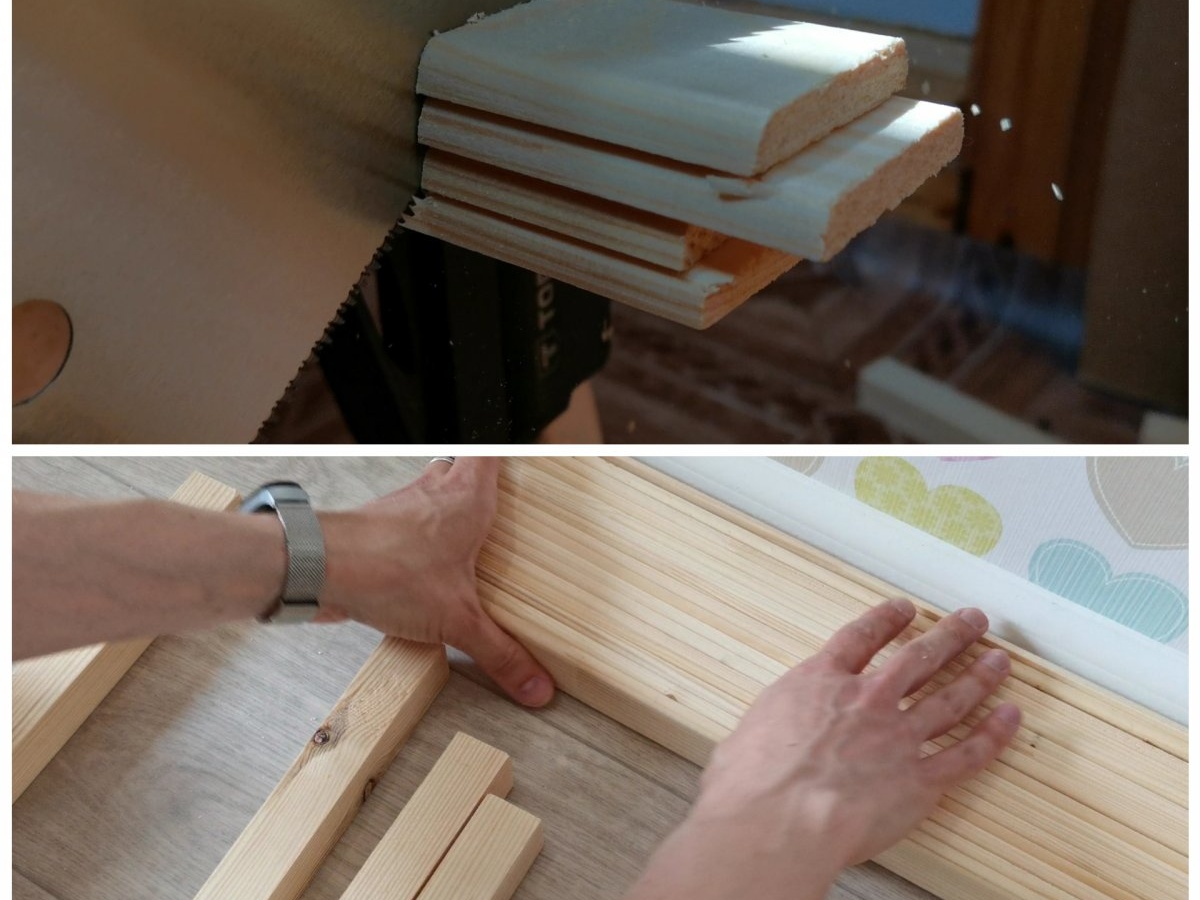
I then glued them together and secured them with an electric stapler.
The bottom of the drawers was made of 5 mm plywood. I glued felt to the bottom of the drawers.

I glued cork pads to the legs.
The table is ready. You can use it.
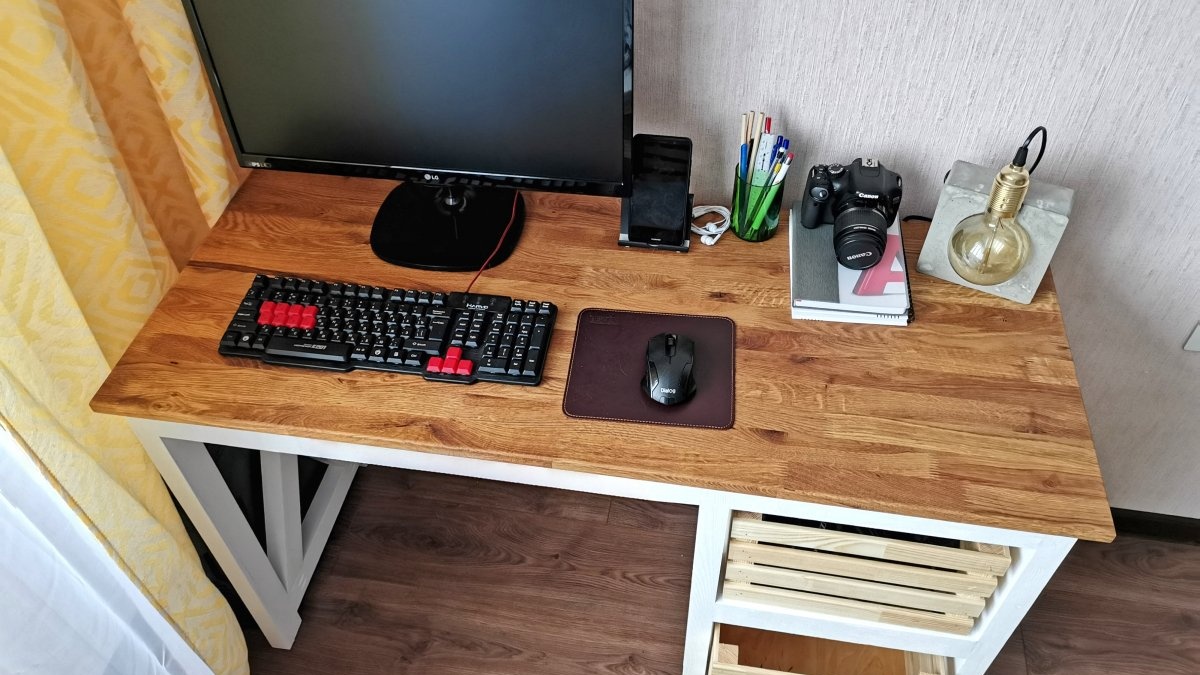


That's all, thanks for your attention!
Watch the video
Similar master classes
Particularly interesting
Comments (0)
