Autonomous heater for garage
Such Chinese devices are recommended for heating car interiors, bodies and engines to facilitate their starting and create comfortable conditions for drivers in winter. The power of our unit is 5 kW, supply voltage is 12 V. We will tell you how to use it to effectively heat a garage.

Basically, all hoses, fasteners, filters and a canister are included in the heater kit, so there is no need to look for anything additional.
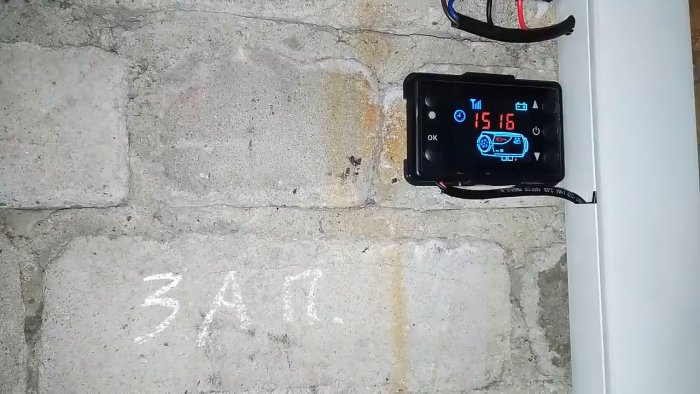
After installing the equipment, we will check the efficiency of its operation; to do this, remember the initial temperature values in the garage near the wall and doors.
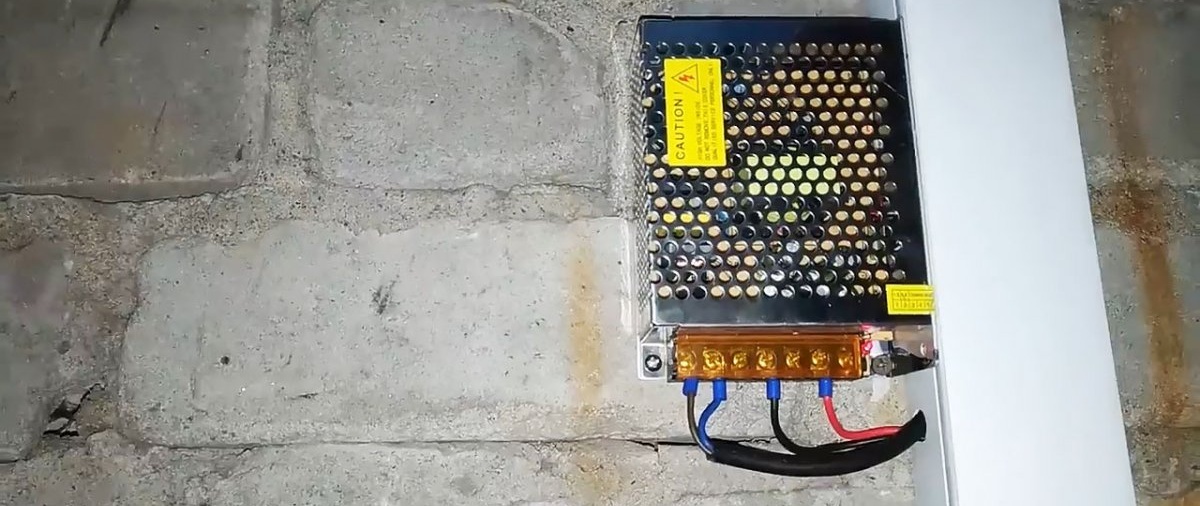
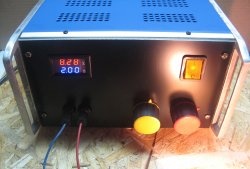
Mount the power supply to the wall. It is recommended to use a source of 12 V and 8.5 A, this is enough for stable operation of the heater.
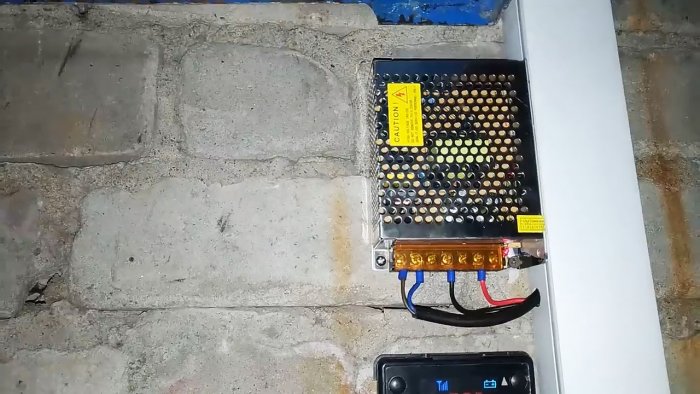
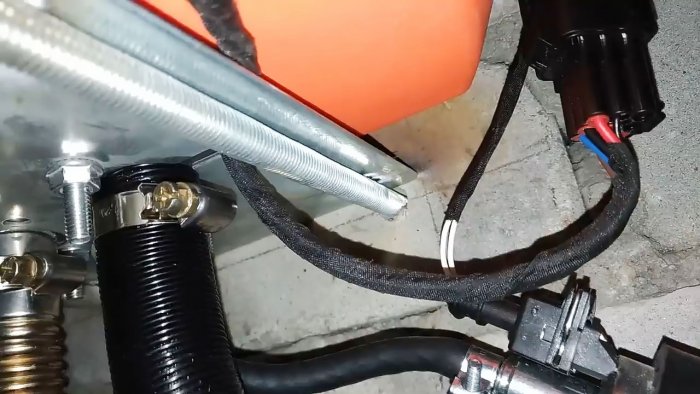
Route the cables to the device and the outlet, and after connecting, put them in a plastic box.
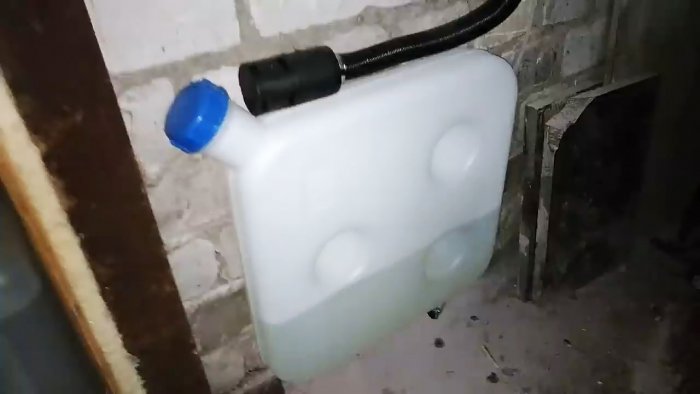
Place a container for fuel under the heat gun; in our case, we used a 10-liter plastic canister from the kit.
Attach the fuel supply hose to the bottom of the canister; use clamps to seal the connections.
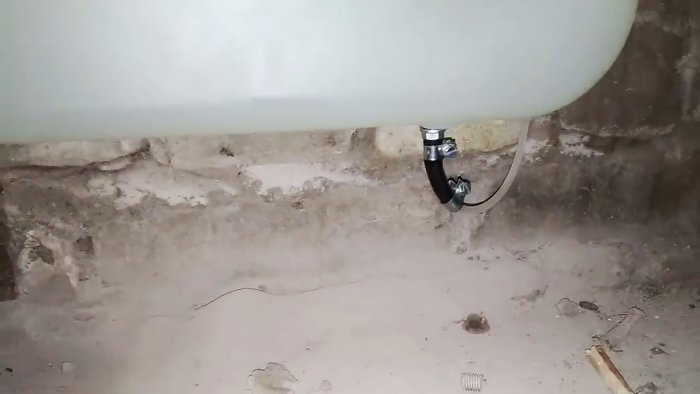
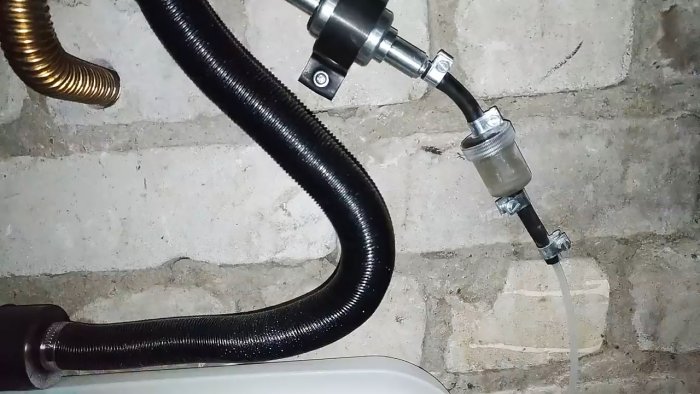
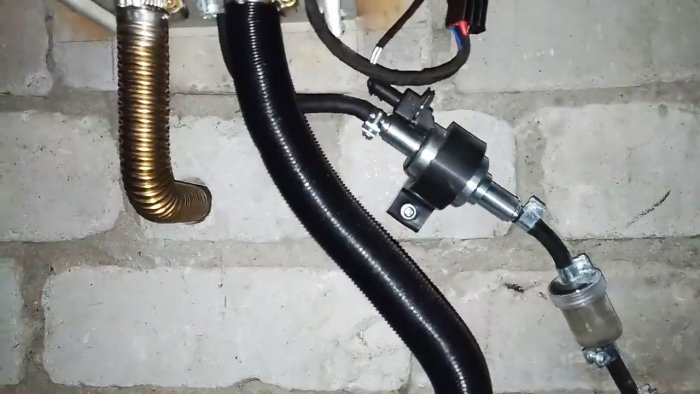
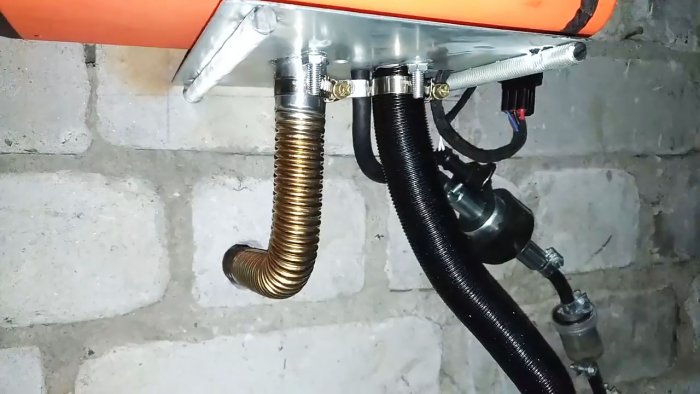
Attach the hose to the wall, connect the fine fuel filter and pump. These elements should be located under the heater.
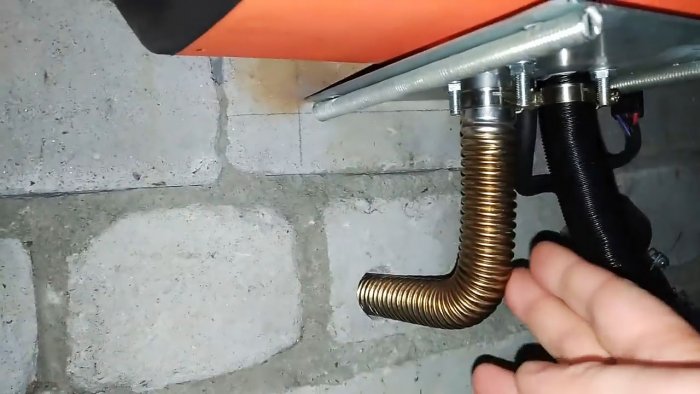
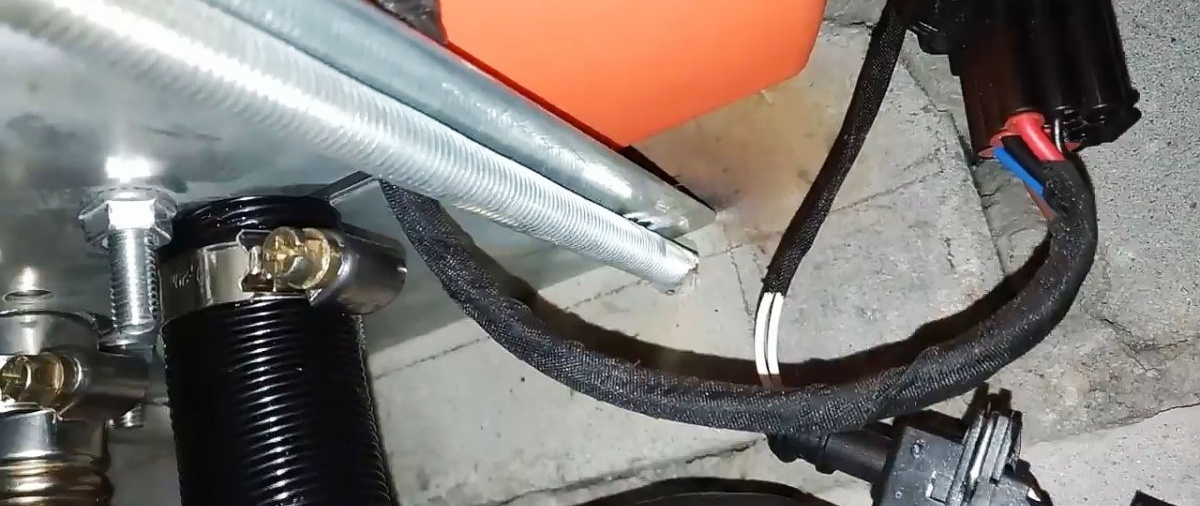
Use a metal corrugated pipe to divert exhaust gases to the street. The pipe is inserted into a previously prepared hole with a diameter of 30 mm.
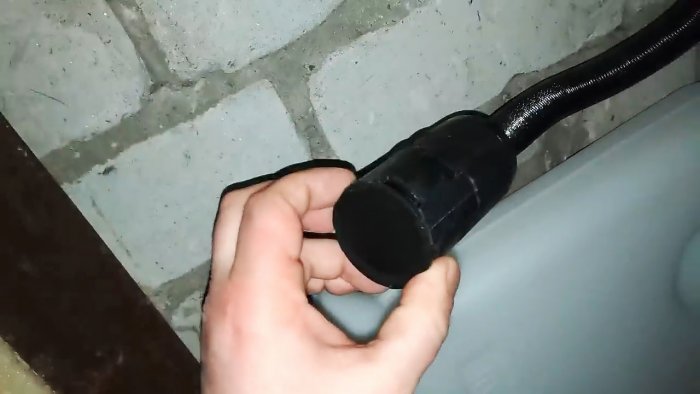
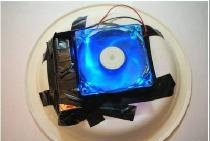
Connect the combustion chamber air filter; it can be placed on the fuel container.
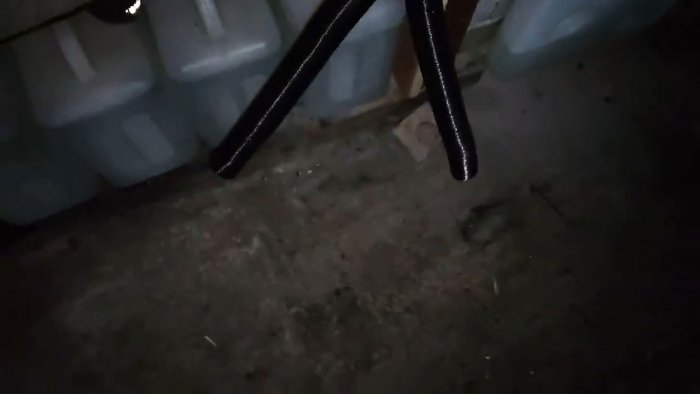
Place two flexible hoses on the warm air outlets and use them to direct the flow to the desired area of the garage.
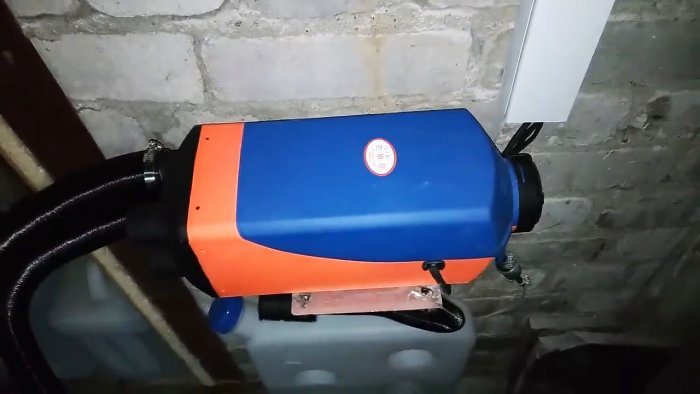
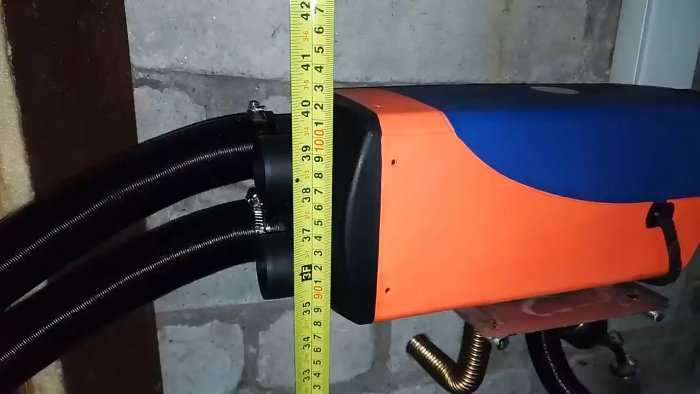
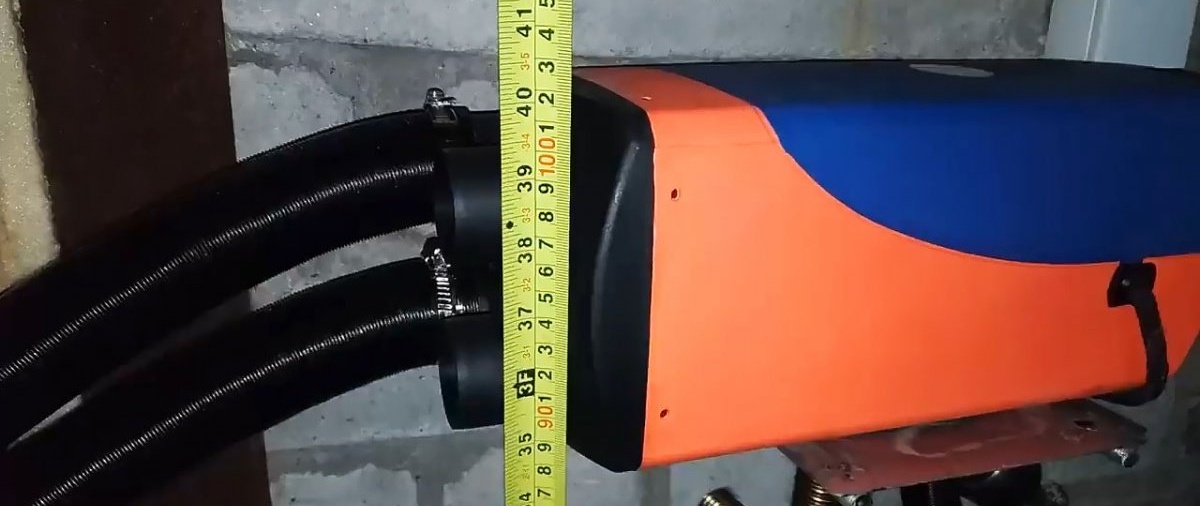
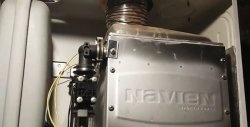
Attach the heat gun to the wall at a distance of approximately 100 cm from the floor.
To do this, use studs and nuts with metal spacer dowels and a special platform. The mounting platform is included with the device; weld it to the studs. Make sure that all surfaces are located strictly in a horizontal plane.
Pre-pump the fuel system until the fine filter is filled.
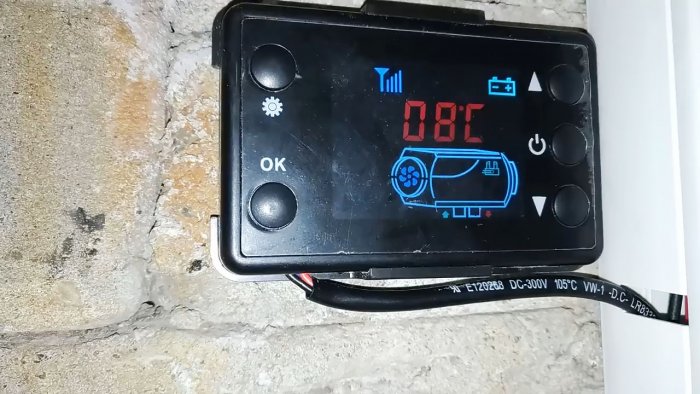
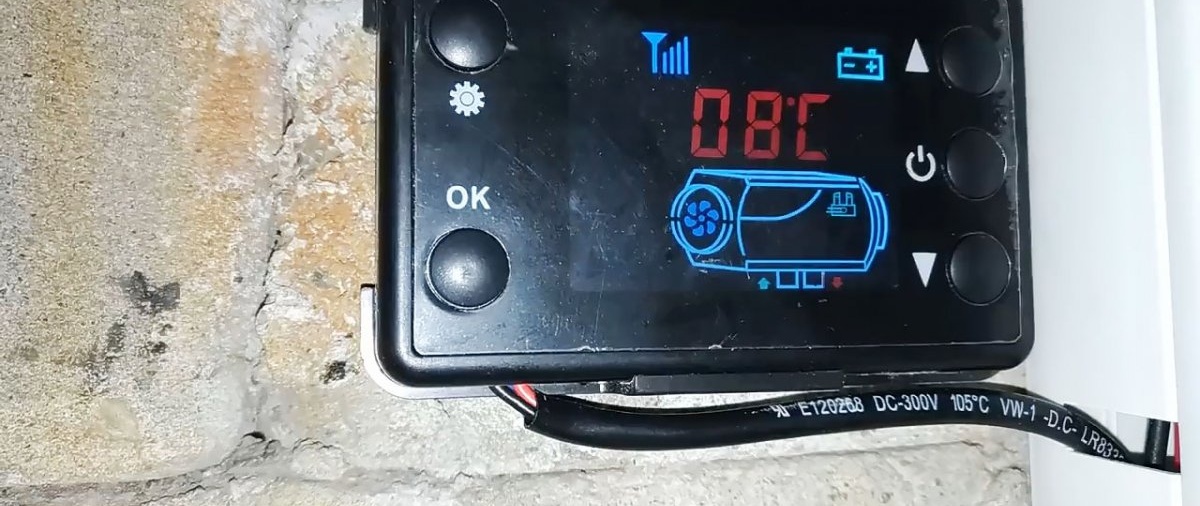
The device is now ready to start. Press "Start" on the reduction unit and wait for the heater to light up. Adjust the number of fuel supply pulses into the chamber; the thermal power of the device depends on this.
Approximately 30 minutes after heating starts, the room temperature will rise by at least 5–8 degrees Celsius.
We have described the easiest and fastest way to install a heater. If you wish and have time, you can improve it: consider the extraction of heat from the exhaust gases, change the location of the exhaust air hoses, etc.Make your decision during operation; over time, it will be easier to determine the importance of each zone in the garage and its temperature requirements.

What is needed
- Heater "Webasto", purchased at Ali Express - http://ali.pub/3th7r9
- Step-down DC source 220 V - 12 V 8.5 A, also taken on Ali Express - http://ali.pub/3th7nr You can take it more powerfully, it won’t be worse.
Basically, all hoses, fasteners, filters and a canister are included in the heater kit, so there is no need to look for anything additional.
How to install a heater
After installing the equipment, we will check the efficiency of its operation; to do this, remember the initial temperature values in the garage near the wall and doors.
Mount the power supply to the wall. It is recommended to use a source of 12 V and 8.5 A, this is enough for stable operation of the heater.
Route the cables to the device and the outlet, and after connecting, put them in a plastic box.
Place a container for fuel under the heat gun; in our case, we used a 10-liter plastic canister from the kit.

Attach the fuel supply hose to the bottom of the canister; use clamps to seal the connections.
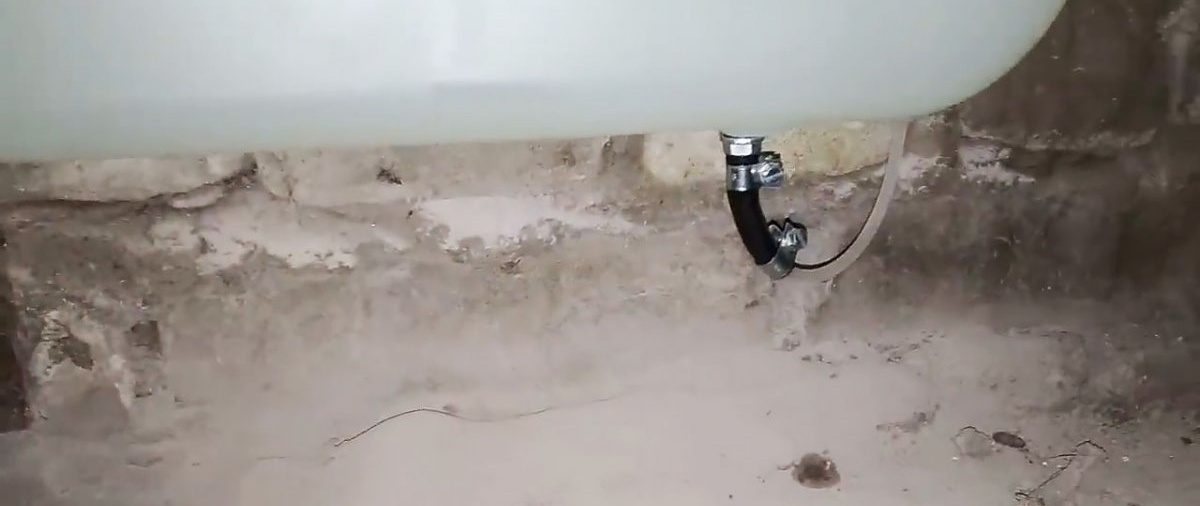
Attach the hose to the wall, connect the fine fuel filter and pump. These elements should be located under the heater.


Use a metal corrugated pipe to divert exhaust gases to the street. The pipe is inserted into a previously prepared hole with a diameter of 30 mm.

Connect the combustion chamber air filter; it can be placed on the fuel container.
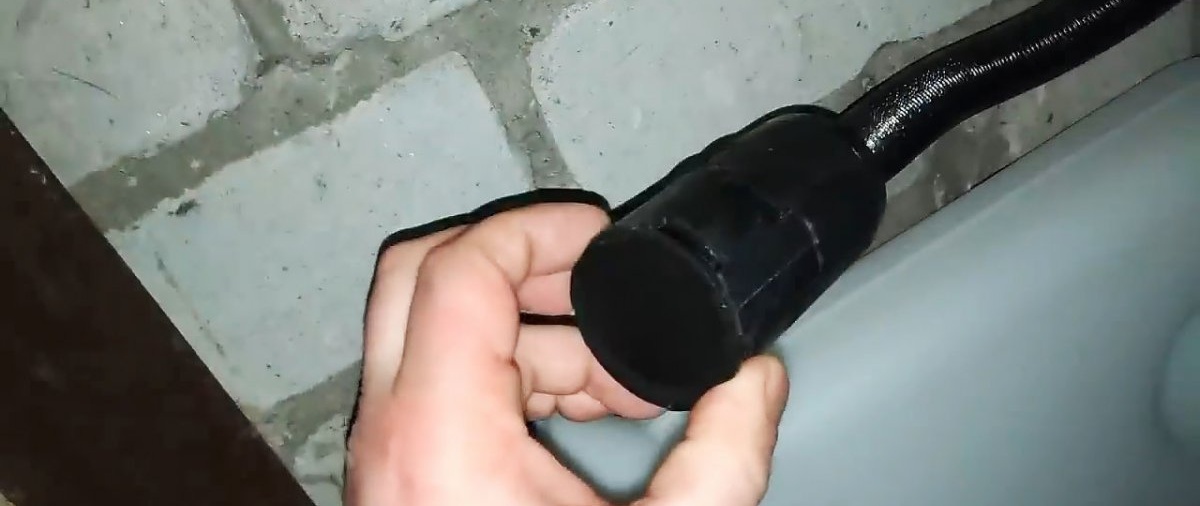
Place two flexible hoses on the warm air outlets and use them to direct the flow to the desired area of the garage.
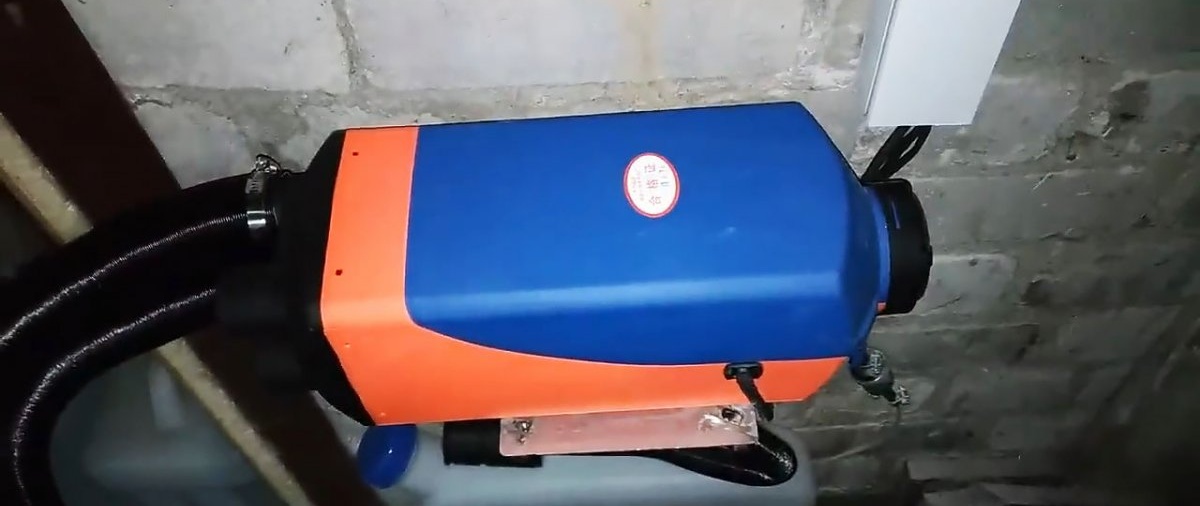

Attach the heat gun to the wall at a distance of approximately 100 cm from the floor.
To do this, use studs and nuts with metal spacer dowels and a special platform. The mounting platform is included with the device; weld it to the studs. Make sure that all surfaces are located strictly in a horizontal plane.

Pre-pump the fuel system until the fine filter is filled.
The device is now ready to start. Press "Start" on the reduction unit and wait for the heater to light up. Adjust the number of fuel supply pulses into the chamber; the thermal power of the device depends on this.
Approximately 30 minutes after heating starts, the room temperature will rise by at least 5–8 degrees Celsius.

Conclusion
We have described the easiest and fastest way to install a heater. If you wish and have time, you can improve it: consider the extraction of heat from the exhaust gases, change the location of the exhaust air hoses, etc.Make your decision during operation; over time, it will be easier to determine the importance of each zone in the garage and its temperature requirements.
Watch the video
Similar master classes


Particularly interesting


Comments (4)
