How to make an anvil from an old piece of rail
An anvil is a supporting forging tool, which is used to perform cold and hot processing of metals associated with plastic deformation.
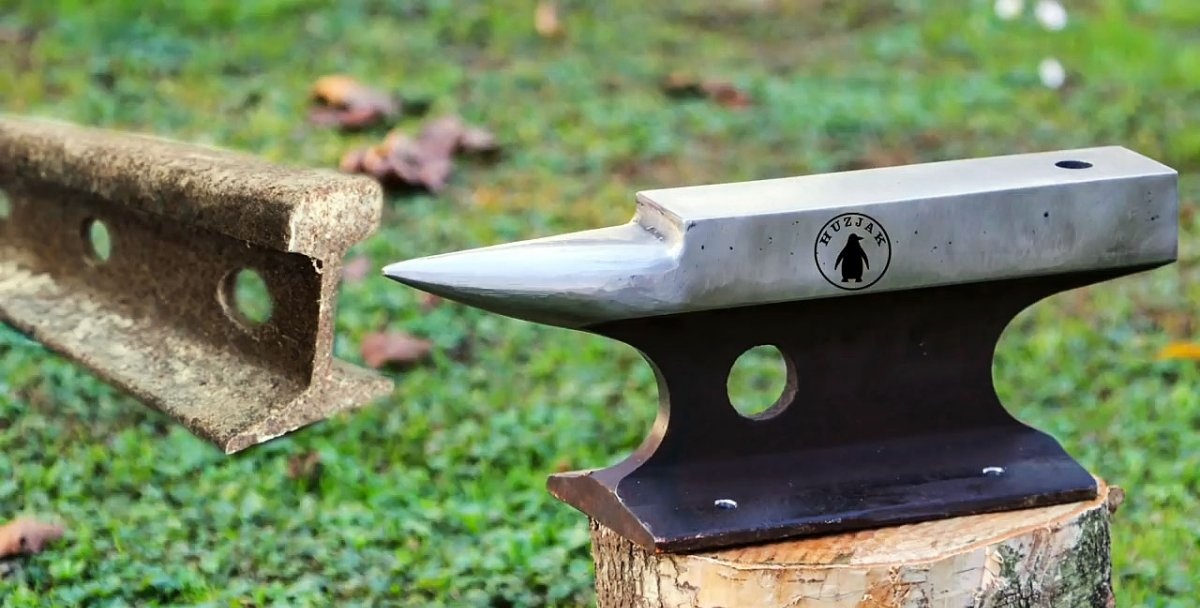
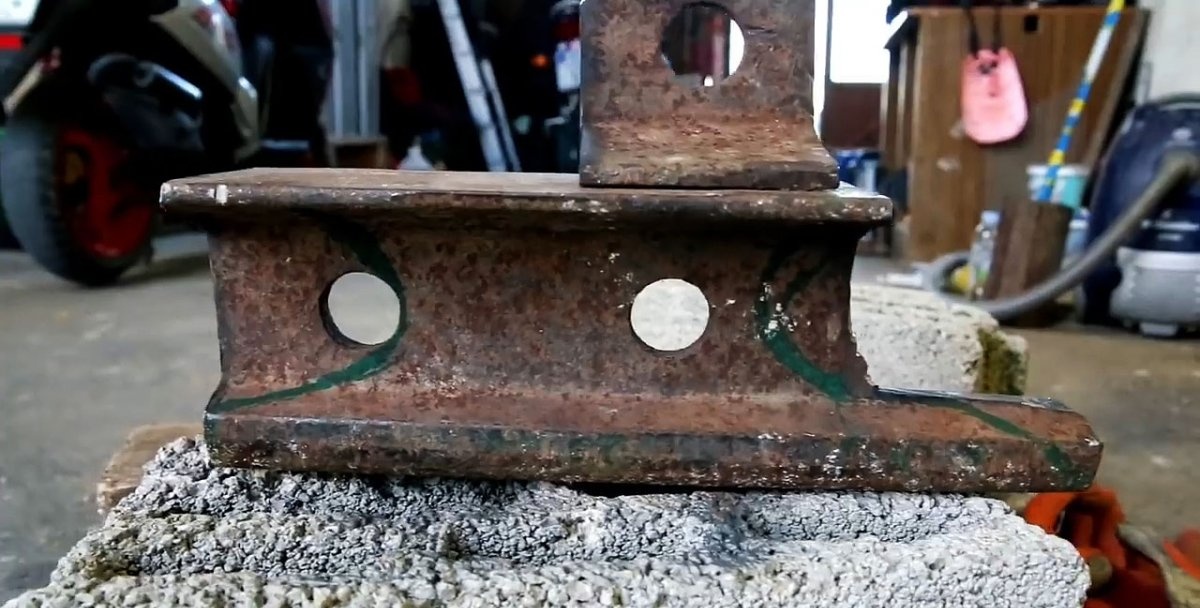
You don't have to buy a small anvil; you can make one yourself, basically from an old piece of railroad rail.

According to GOST, the face of the anvil must be made of steel grade 45L or 35L, and it must be hardened so that the hardness is within HRC 45-50. Therefore, to manufacture this anvil element, you will need a strip of alloy steel with a thickness of at least 20 mm.
We will also need some tools and materials for work:
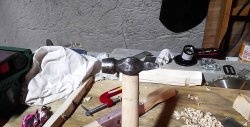
We mark the anvil with the horn and tail directly on a piece of old rail of suitable length and cross-section.
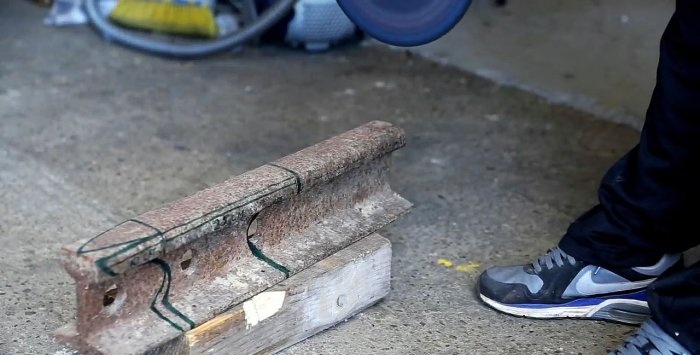
Using a grinder and a cutting disc, we cut out the outer contours of our tool and beat off the excess parts with a heavy hammer.
 We get, as a first approximation, the horn, tail and base of the future anvil.
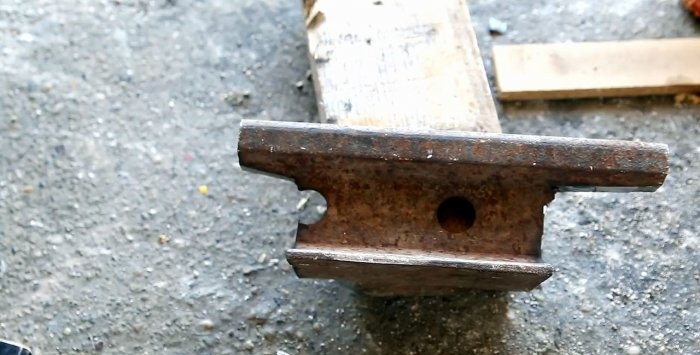
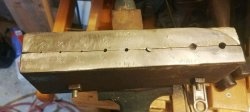
We continue to cut out the transitional part between the top and base of our instrument, while simultaneously more accurately shaping the horn and tail.

We remove rust from all accessible surfaces of the workpiece using a grinding wheel.

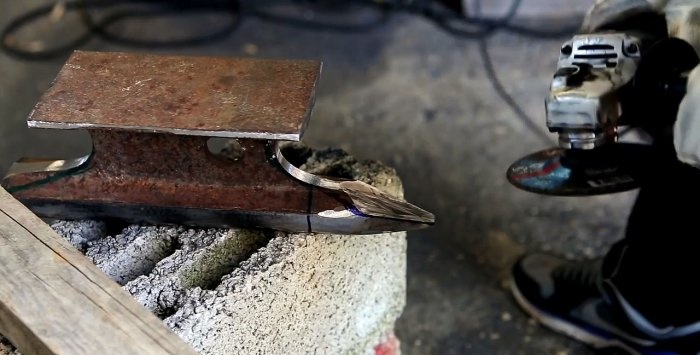
We shape the front transition part of the grinder into a semicircle to absorb large and constant dynamic impacts.

We sharpen the horn into a round cone, first with a grinder, and then with a grinder. We also grind the base of the anvil on it.

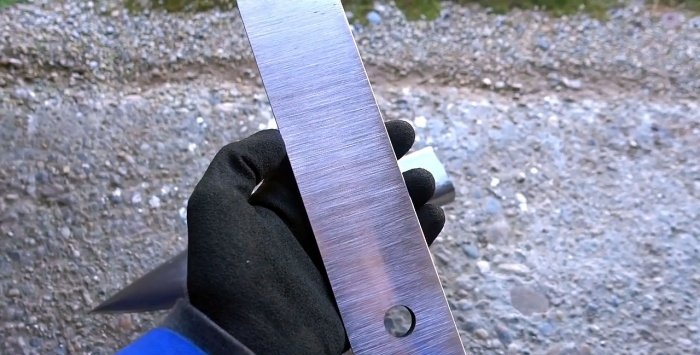
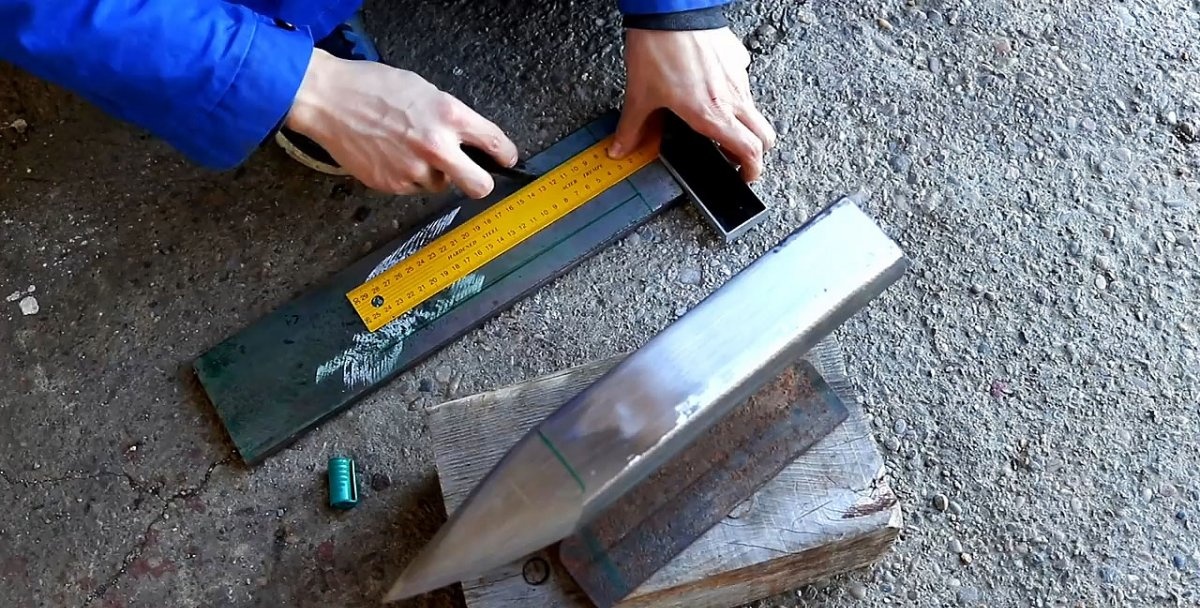
We mark a strip of metal with a thickness of at least 20 mm and preferably from alloy steel 45L or 35L to the size of the top of the anvil from a piece of rail.

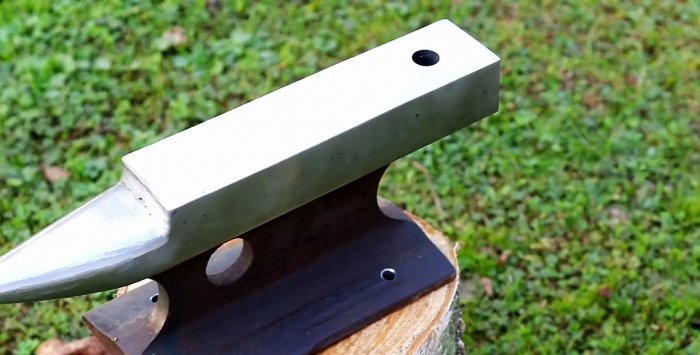
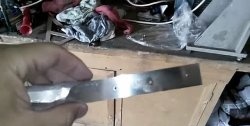
We cut out the future face of the anvil from the marked blank using a jigsaw and a grinder. We drill a round hole in the plate from one edge.
We grind all sides of the cut strip on a grinder and measure its dimensions with the seat.
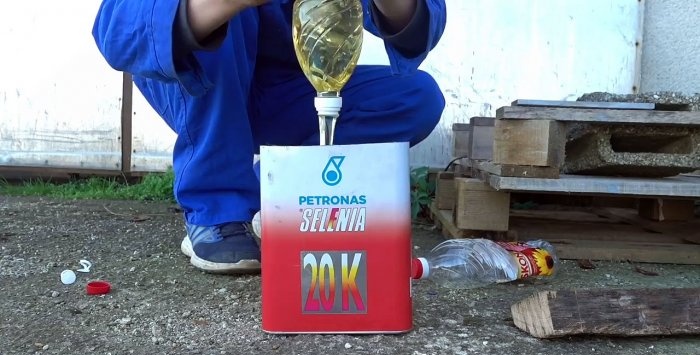
Pour the required amount of sunflower oil into a tin can.
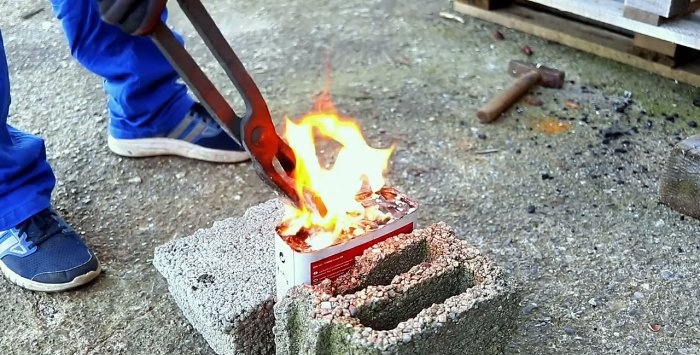
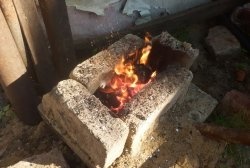
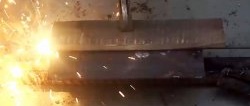
We heat the unnecessary piece, cut from the plate, red-hot in a forge and use it to heat the oil in the container. Only after this, using blacksmith’s tongs, place it in the forge and heat the plate prepared for the face of the anvil until red hot.

As soon as it acquires a raspberry color, quickly and completely place it in a container with oil and keep it there until the oil stops boiling.
We compare the hardness of an unhardened and hardened plate using filing. An unhardened plate can be easily processed, but a file glides on a hardened one without removing a single gram of metal.
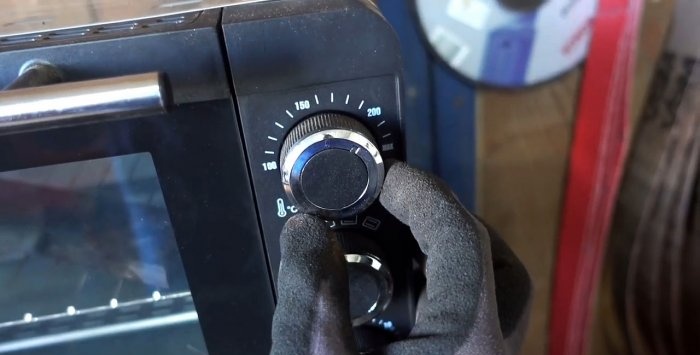
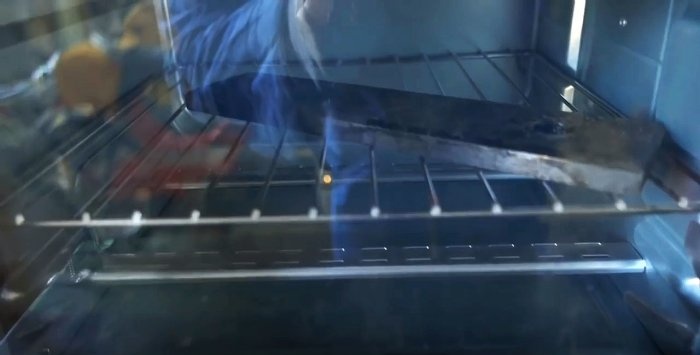
Tempering: place the plate in the oven and keep it there at a temperature of 200 degrees Celsius for 1 hour.
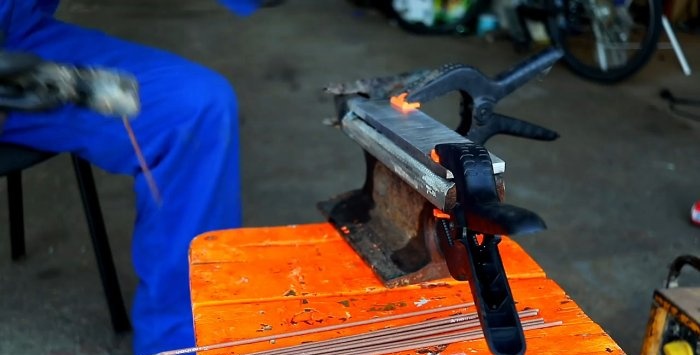
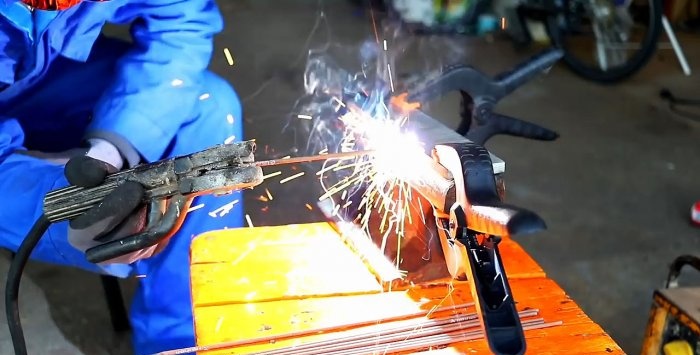
We again process the plate from all sides on the grinder and weld it to the top of the rail blank, holding it on both sides with clamps, first pointwise, and then with a continuous seam.
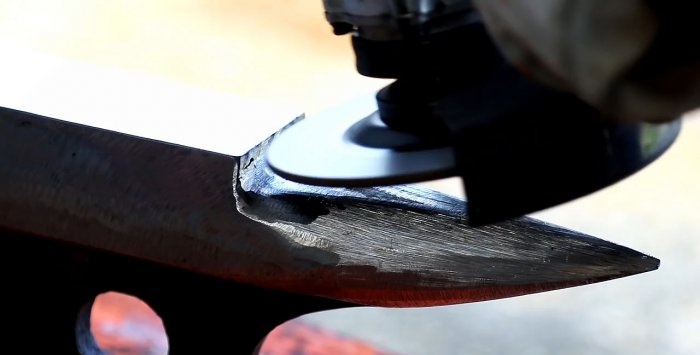
We beat off the slag from the seams with a hammer, clean it with a grinder, weld all the cavities and cavities on the face, and finally finish all the surfaces on the grinder.

The quality must be so high that the weld between the face and the base of the anvil is completely invisible.
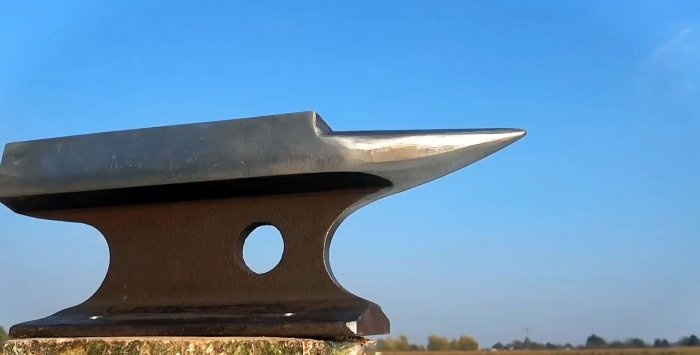
We carefully select the angle between the end of the face and the horn, first with a cutting wheel and then with a grinding wheel: it should be exactly 90 degrees. Next, we subject all parts of the anvil to the same treatment.
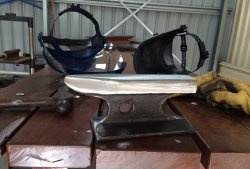
We remove the grinding wheel from the spindle of the grinder and instead install a polishing wheel (felt or felt) and continue circular processing of the anvil until it reaches a mirror finish, excluding the transition area and the base.

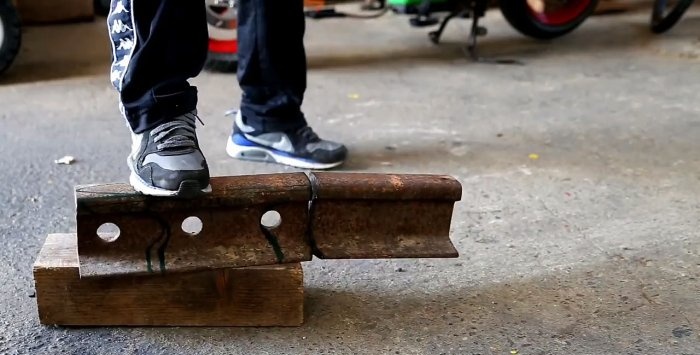
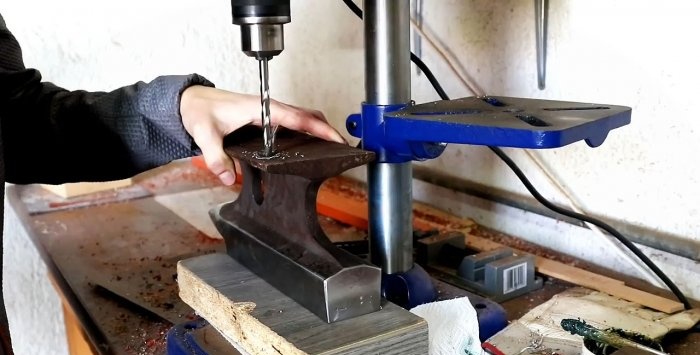
We place the anvil on the face, mark on the sole of the base the centers of four holes in the corners, cores, and make them on a drilling machine to attach the anvil to a chair, for which it is better to choose a wooden block made of hard wood that is suitable in cross-section and height: oak, ash, maple , birch, etc.
We check the quality of our homemade anvil. We place it on a block with the base down and begin to tap the face over its entire surface with a hammer. A loud blow should be heard everywhere, and the hammer should bounce almost the same amount as the swing and then continue rebounding until it fades completely.
You don't have to buy a small anvil; you can make one yourself, basically from an old piece of railroad rail.
Will need
According to GOST, the face of the anvil must be made of steel grade 45L or 35L, and it must be hardened so that the hardness is within HRC 45-50. Therefore, to manufacture this anvil element, you will need a strip of alloy steel with a thickness of at least 20 mm.
We will also need some tools and materials for work:
- grinder with different discs;
- grinder;
- blacksmith's forge;
- welding machine;
- drilling machine;
- Baking oven;
- blacksmith pliers and pliers;
- hammer or sledgehammer;
- marker and square;
- hardening oil and a tin container.
Anvil making process
We mark the anvil with the horn and tail directly on a piece of old rail of suitable length and cross-section.

Using a grinder and a cutting disc, we cut out the outer contours of our tool and beat off the excess parts with a heavy hammer.

We continue to cut out the transitional part between the top and base of our instrument, while simultaneously more accurately shaping the horn and tail.

We remove rust from all accessible surfaces of the workpiece using a grinding wheel.

We shape the front transition part of the grinder into a semicircle to absorb large and constant dynamic impacts.

We sharpen the horn into a round cone, first with a grinder, and then with a grinder. We also grind the base of the anvil on it.


We mark a strip of metal with a thickness of at least 20 mm and preferably from alloy steel 45L or 35L to the size of the top of the anvil from a piece of rail.
We cut out the future face of the anvil from the marked blank using a jigsaw and a grinder. We drill a round hole in the plate from one edge.
We grind all sides of the cut strip on a grinder and measure its dimensions with the seat.

Pour the required amount of sunflower oil into a tin can.

We heat the unnecessary piece, cut from the plate, red-hot in a forge and use it to heat the oil in the container. Only after this, using blacksmith’s tongs, place it in the forge and heat the plate prepared for the face of the anvil until red hot.

As soon as it acquires a raspberry color, quickly and completely place it in a container with oil and keep it there until the oil stops boiling.

We compare the hardness of an unhardened and hardened plate using filing. An unhardened plate can be easily processed, but a file glides on a hardened one without removing a single gram of metal.
Tempering: place the plate in the oven and keep it there at a temperature of 200 degrees Celsius for 1 hour.


We again process the plate from all sides on the grinder and weld it to the top of the rail blank, holding it on both sides with clamps, first pointwise, and then with a continuous seam.


We beat off the slag from the seams with a hammer, clean it with a grinder, weld all the cavities and cavities on the face, and finally finish all the surfaces on the grinder.

The quality must be so high that the weld between the face and the base of the anvil is completely invisible.
We carefully select the angle between the end of the face and the horn, first with a cutting wheel and then with a grinding wheel: it should be exactly 90 degrees. Next, we subject all parts of the anvil to the same treatment.

We remove the grinding wheel from the spindle of the grinder and instead install a polishing wheel (felt or felt) and continue circular processing of the anvil until it reaches a mirror finish, excluding the transition area and the base.

We place the anvil on the face, mark on the sole of the base the centers of four holes in the corners, cores, and make them on a drilling machine to attach the anvil to a chair, for which it is better to choose a wooden block made of hard wood that is suitable in cross-section and height: oak, ash, maple , birch, etc.

Homemade testing
We check the quality of our homemade anvil. We place it on a block with the base down and begin to tap the face over its entire surface with a hammer. A loud blow should be heard everywhere, and the hammer should bounce almost the same amount as the swing and then continue rebounding until it fades completely.


Watch the video
Similar master classes
Particularly interesting


Comments (6)
