DIY template for furniture dowels
Furniture makers and carpenters know the value of this tool very well. When you have to drill many identical holes, you cannot do without a template or jig. Therefore, in a good workshop there are not many of them. Let's try to make one of these popular templates that makes it easier to make a dowel connection.

As a rule, such devices are not disposable, but are designed for long-term use. Therefore, the whole secret is in their exceptional accuracy, so that the verified dimensions can once and for all replace a tape measure or even a caliper.
The only drawback of this, like most furniture and joinery templates, is the complete lack of customization to size. That is, if you made it to suit the thickness of the board, say 25 mm, and the interval between two dowels of one joint is 30 mm in the centers, then it will be so, and nothing else. For a different size you will need to make a different template.
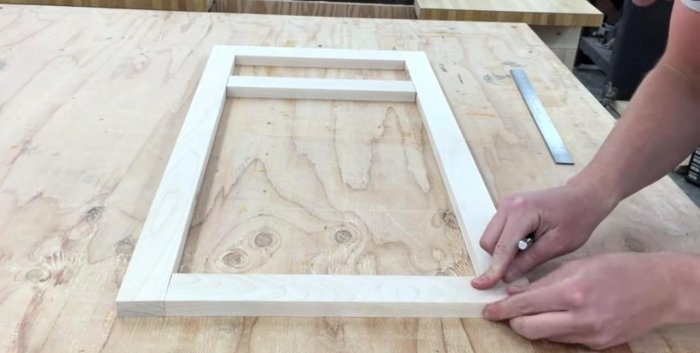
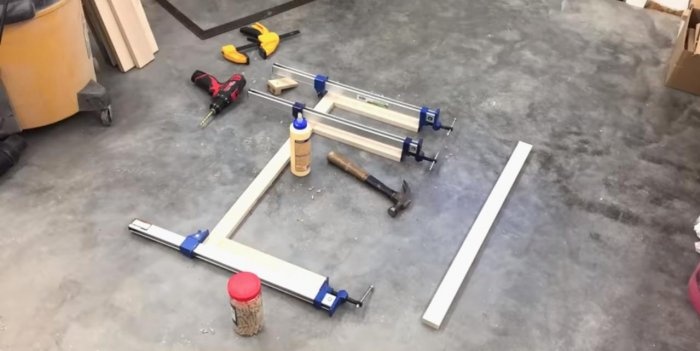
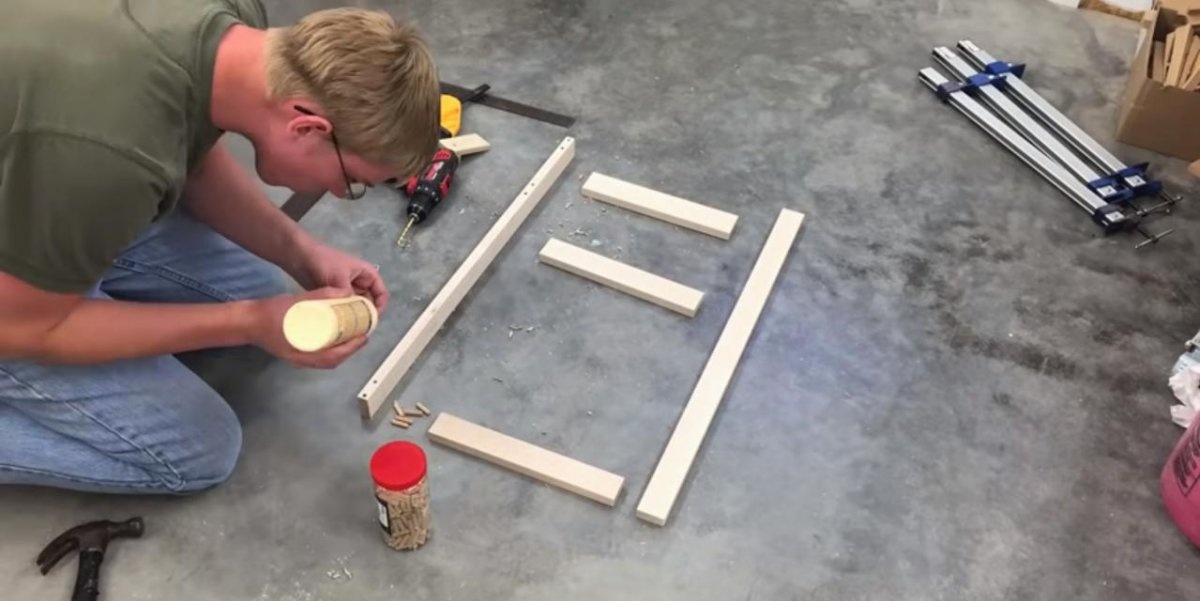
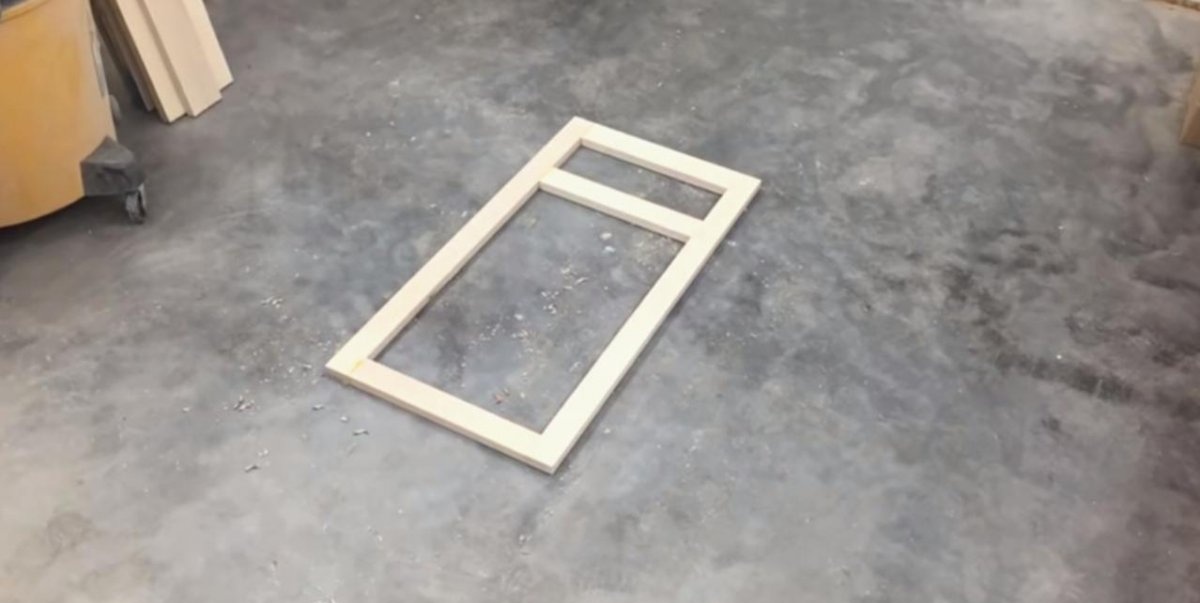
Let's look at the use of our template using the example of making a small frame - a window sash or the frame of a furniture facade.A quick calculation shows that even when creating such a simple product, it will be necessary to install 12 dowels, which means drilling 24 precise holes. Just marking them out will take a lot of time, but with a template this will be done much faster. Let's get started!

It is reasonable to believe that such precision cannot be achieved with bare hands. We will need a circular saw with a carriage for cutting at an angle of 90° and a vertical drilling machine. For workshops, this equipment is not particularly unique, because today it is quite affordable.
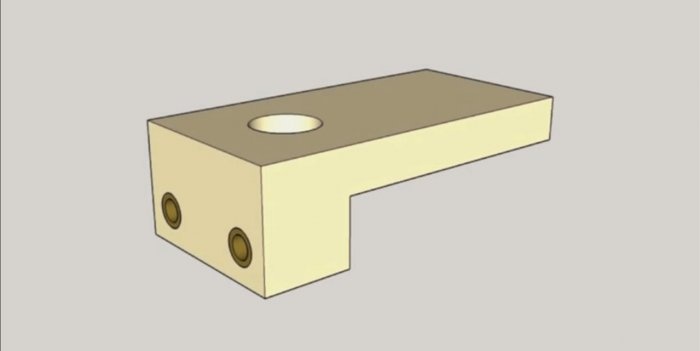
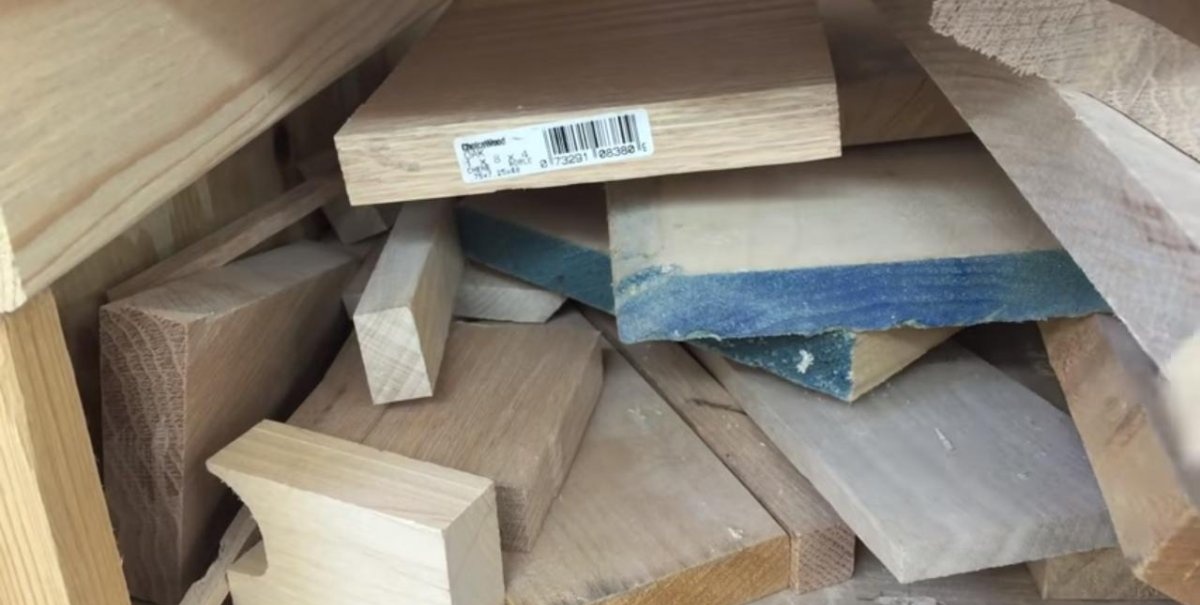
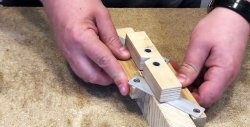
The material for the template is production waste. You heard right, we will make it from scraps of blanks, since the dimensions are very small. You will need wood glue, drills of different diameters and a good measuring tool - a ruler or caliper. The general appearance of our template is as follows.
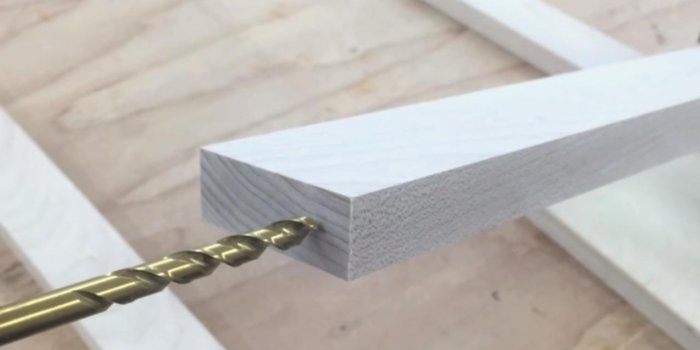
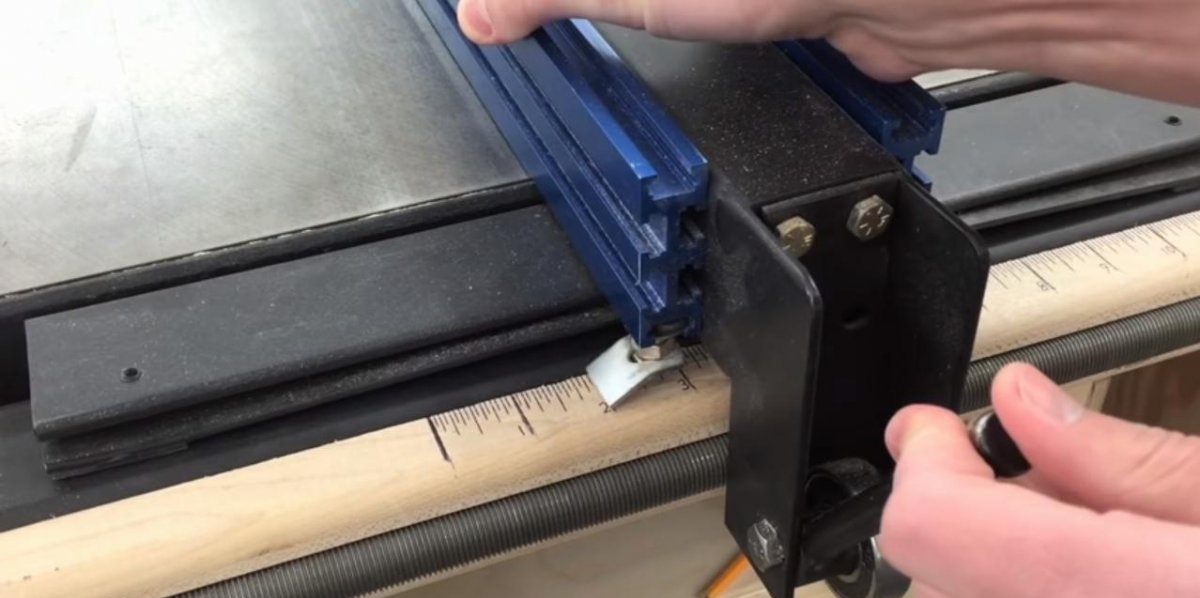
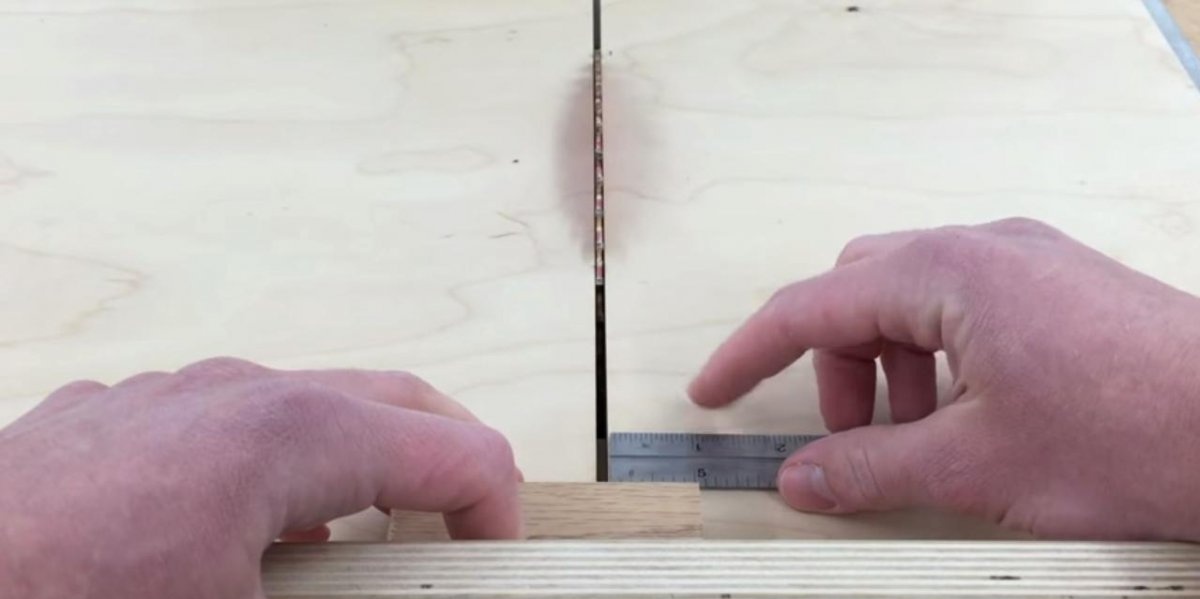
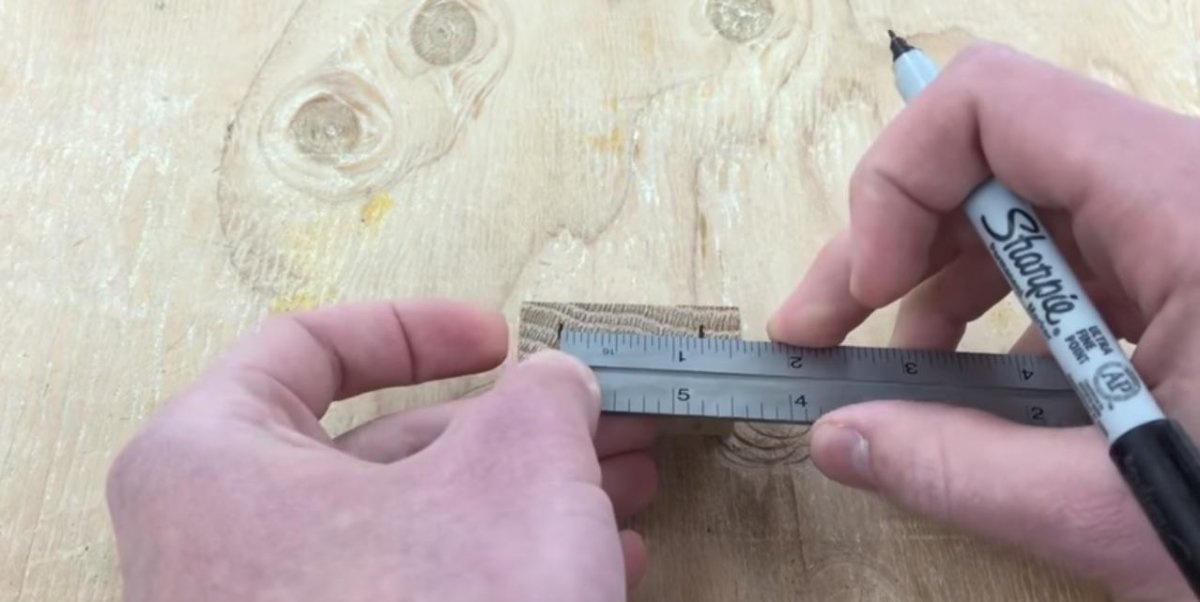
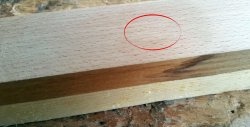
The first step is to select a blank for the working part of the template. Hard wood species are considered ideal for this: oak, acacia, beech, ash. We place a ruler on a circular saw and cut out the workpiece, the width is 5 cm. We trim the workpiece at a right angle with a carriage on the same circular saw. Length – 2.5-3 cm.


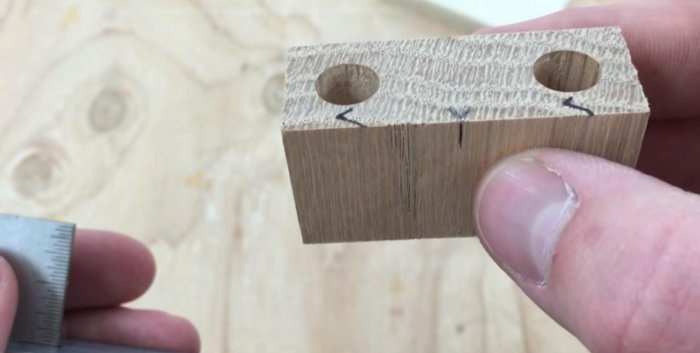
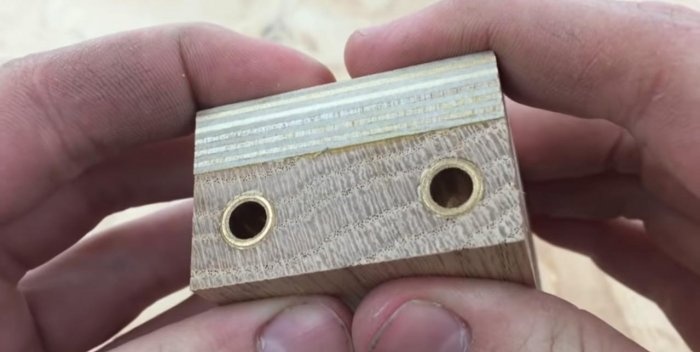
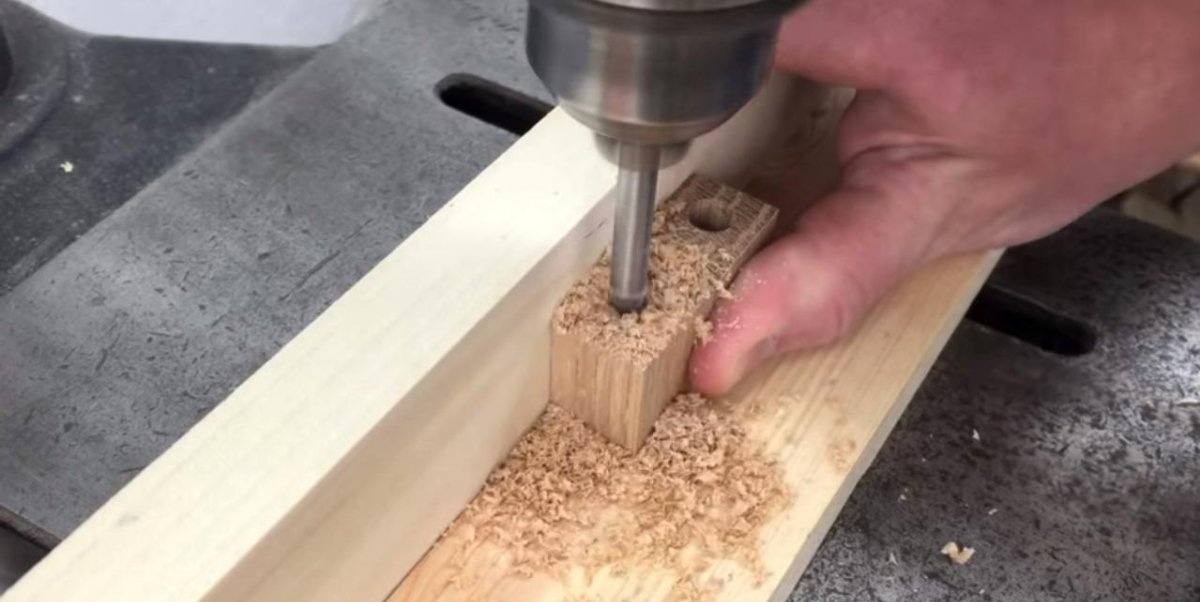
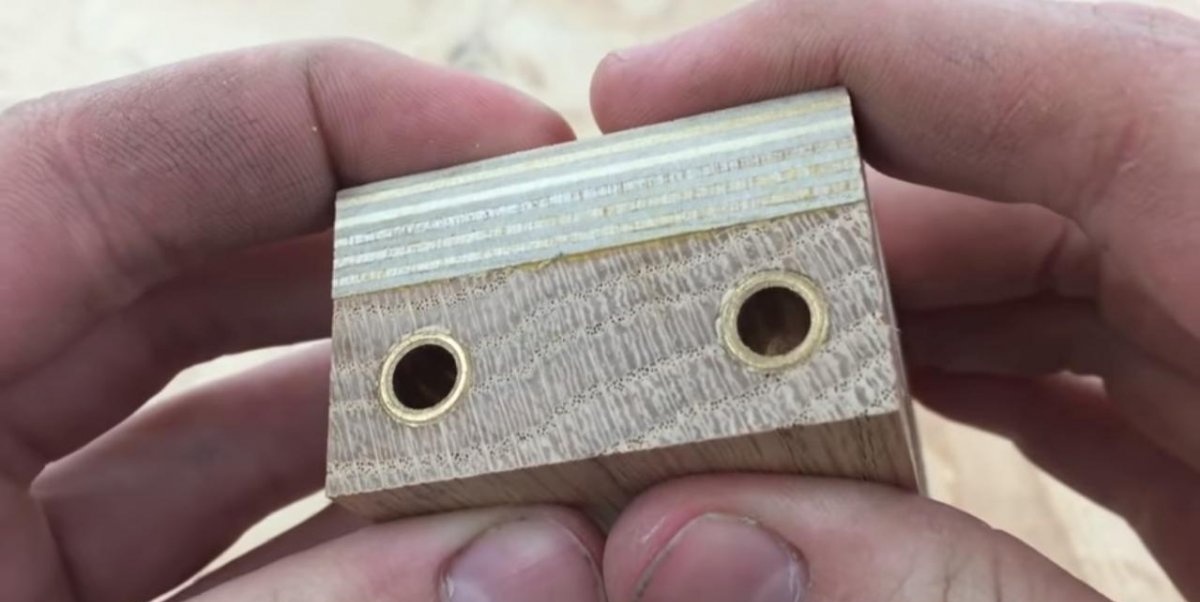
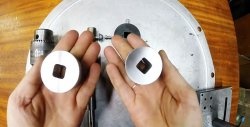
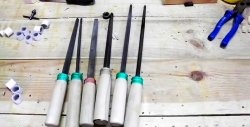
Now it needs to be marked as accurately as possible for the working holes. But if they are left unprotected, the wood will very quickly flare out from numerous drillings, and the template will become inaccurate. To avoid this, we select several pieces of metal pipe with an internal diameter of 8 mm (this is exactly the size of a standard furniture dowel), and make seating sleeves for the template from them.
We drill holes for them on a vertical machine.We set the interval along the centers based on our workpieces, which we will process using a template (in our case it is about 3 cm).


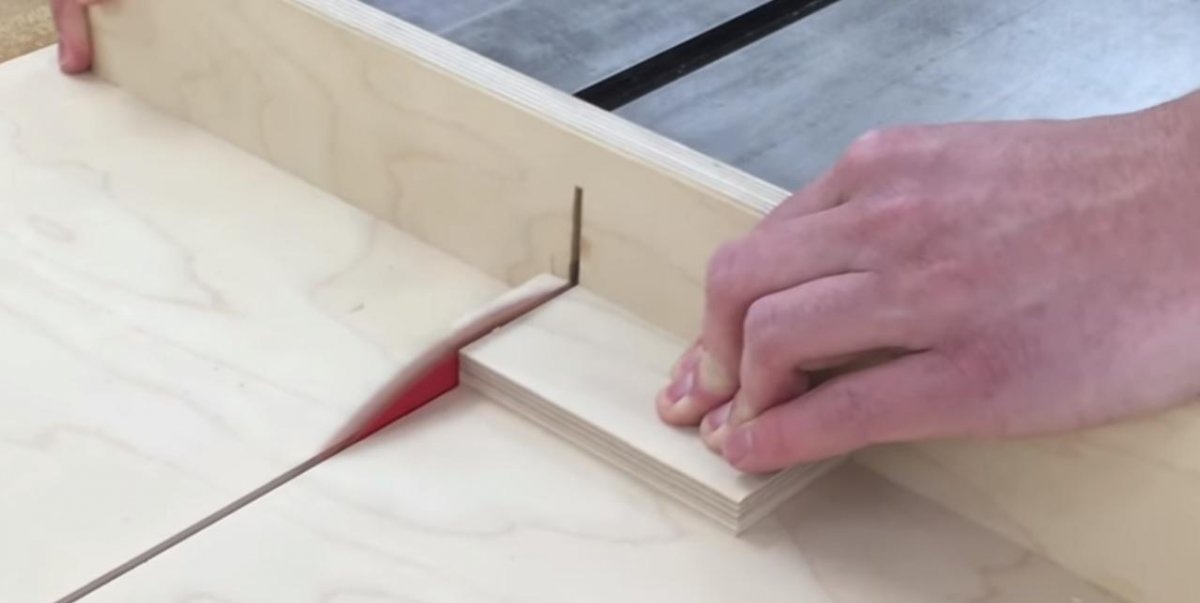
From a small piece of plywood (8-10 mm thick) we make a handle holder. We cut it out on a circular saw according to the width of the working part, that is, 5 cm.
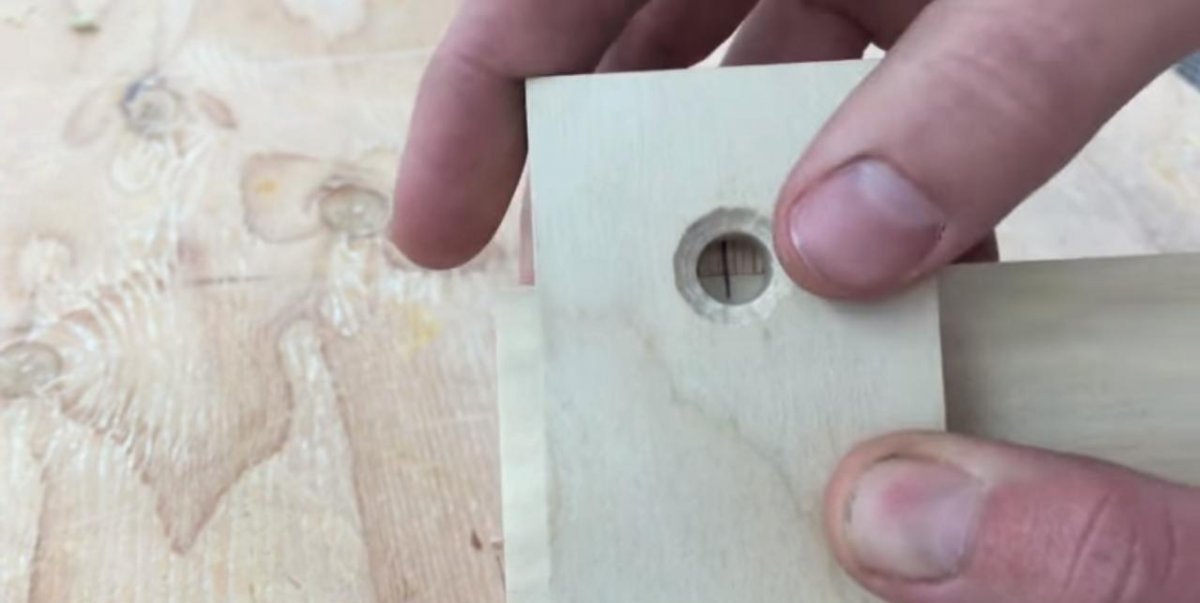
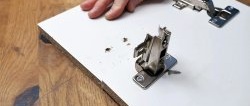
Having measured the length of the working part, we place a mark in the middle of this plywood plate. We drill a through hole with a diameter of 9-10 mm. This will be an inspection hole. You can lightly countersink it from the front side.


Using a caliper, mark the middle between the two holes of the working part of the template. We put a mark on its side face.

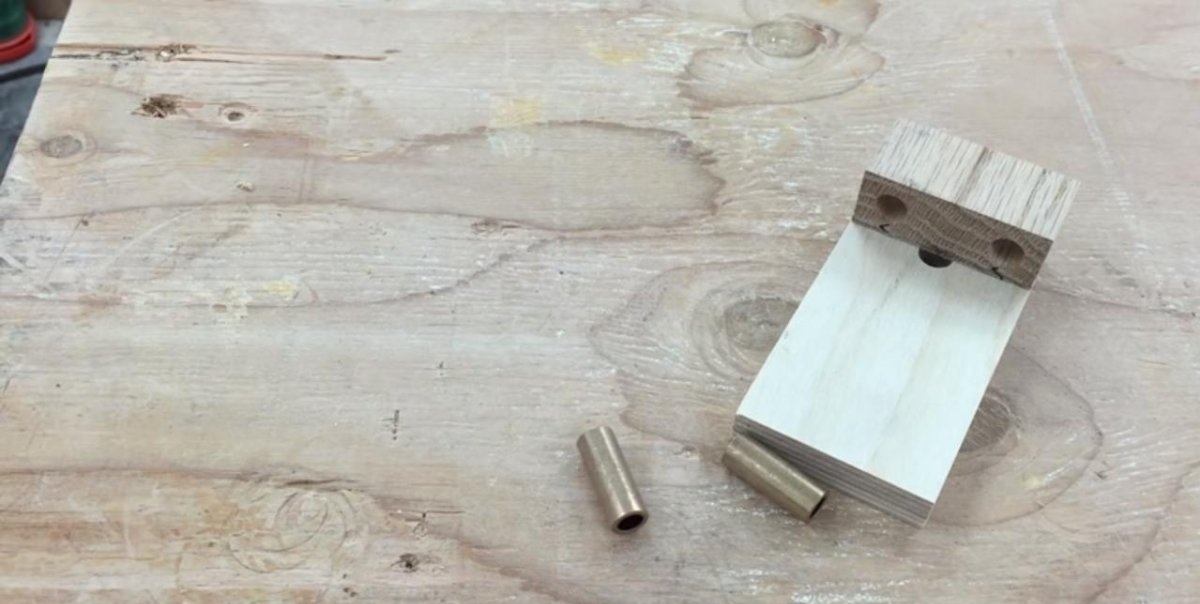
Now you can connect the two parts of the template together by gluing them with wood glue or PVA glue.

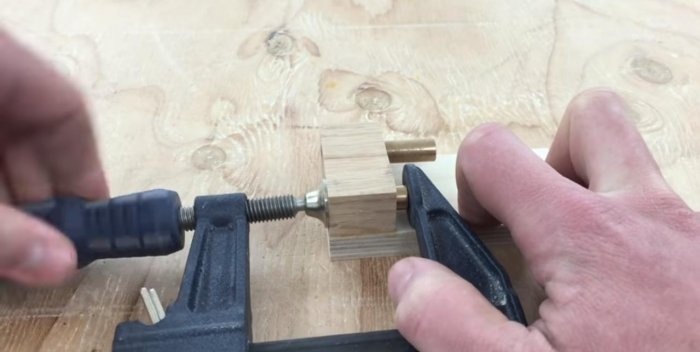
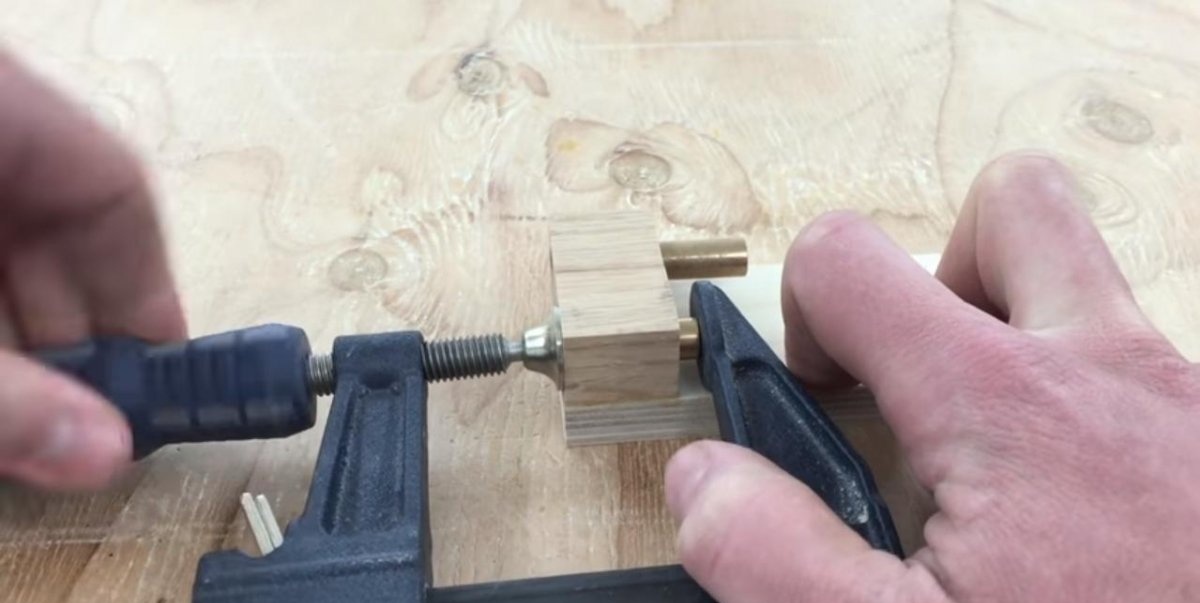
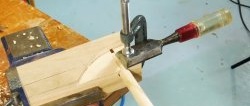
It’s time to place metal sleeves-guides for drilling into our template. If the holes are not loosened, then they will hold well without glue. You can press them in using a hand carpentry clamp.

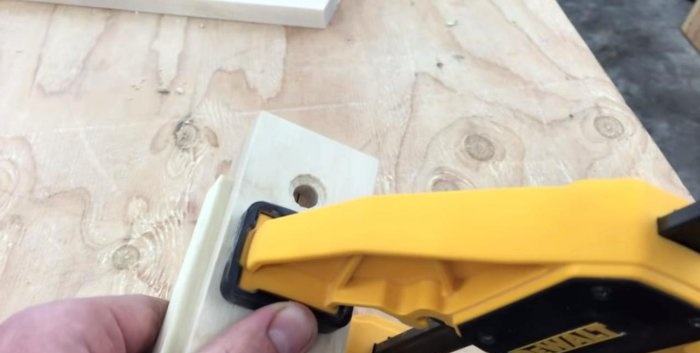
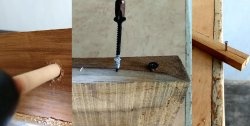
Our template is ready, now we can test it in action. They need to work by pressing it against the workpiece with a clamp. As you can see, everything works great!


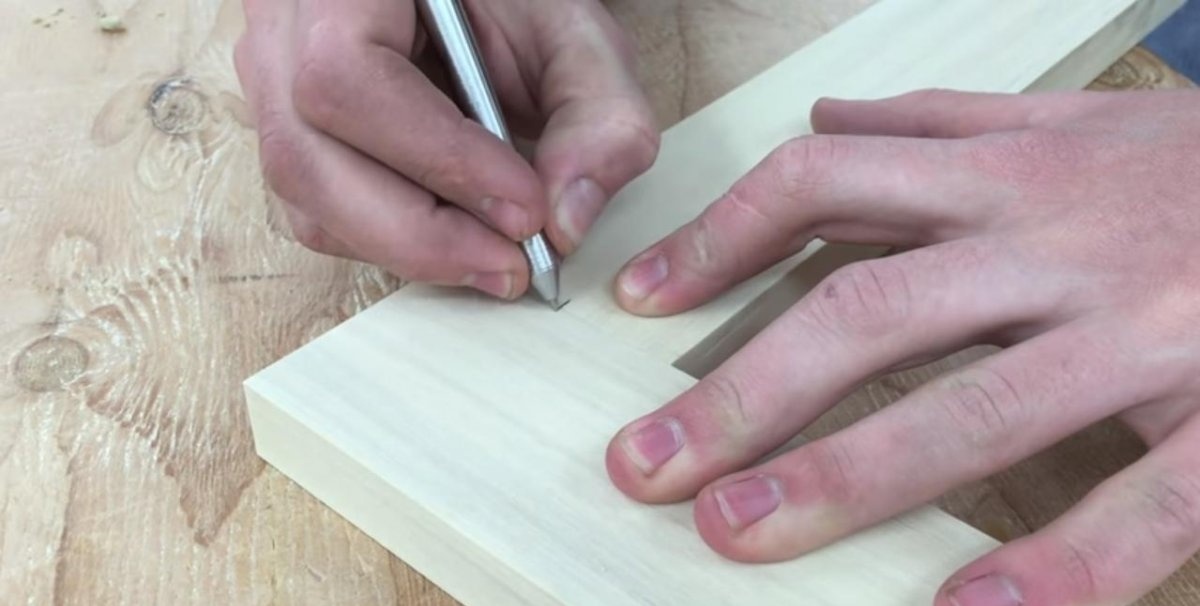
The technology for using such a device is very simple. It is necessary to place the prefabricated structure on a flat surface so that the midpoints of all mates can be marked. This can be done by hand, without a tape measure. At the junction of the elements, identical markings are made for both parts to be joined and a short mark is placed on both workpieces.

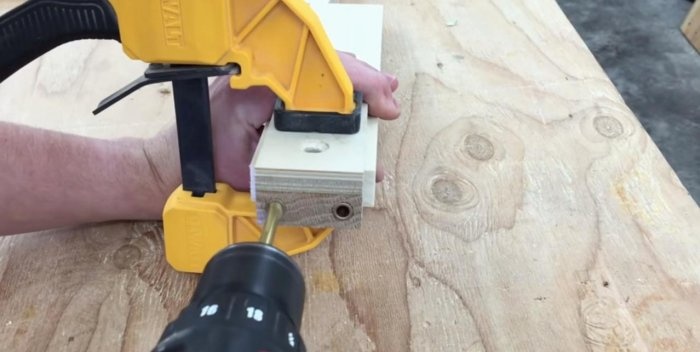
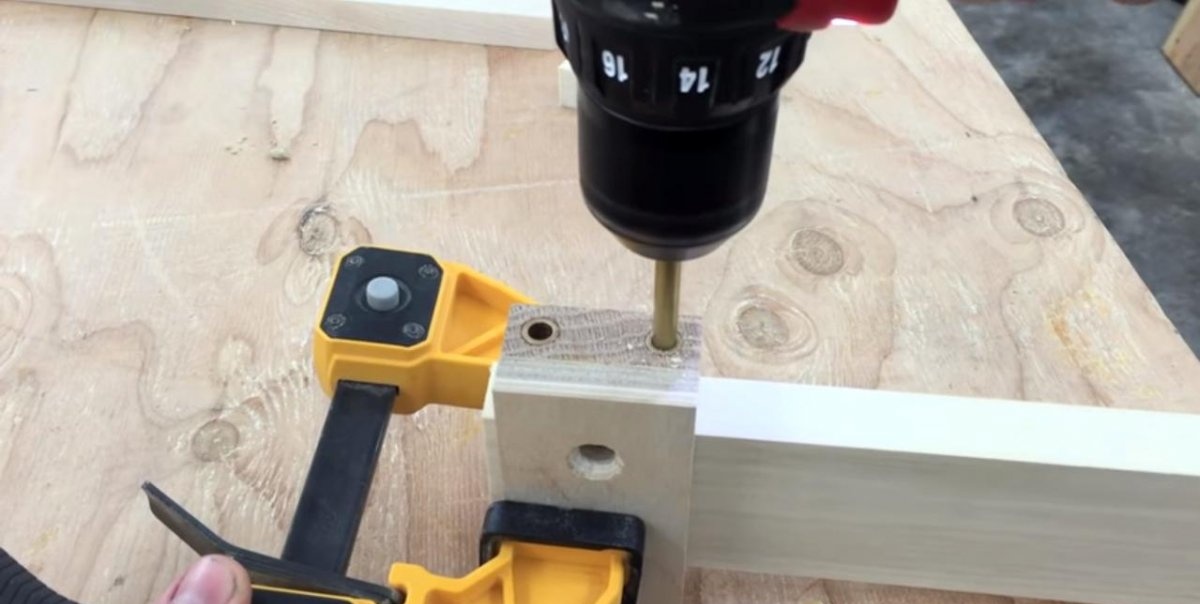
Then everything is as usual: the template is centered through the inspection hole with the markings on the parts and clamped with a clamp. Holes are drilled without additional measurements. The drilling depth is adjusted by the length of the drill or a removable stop.

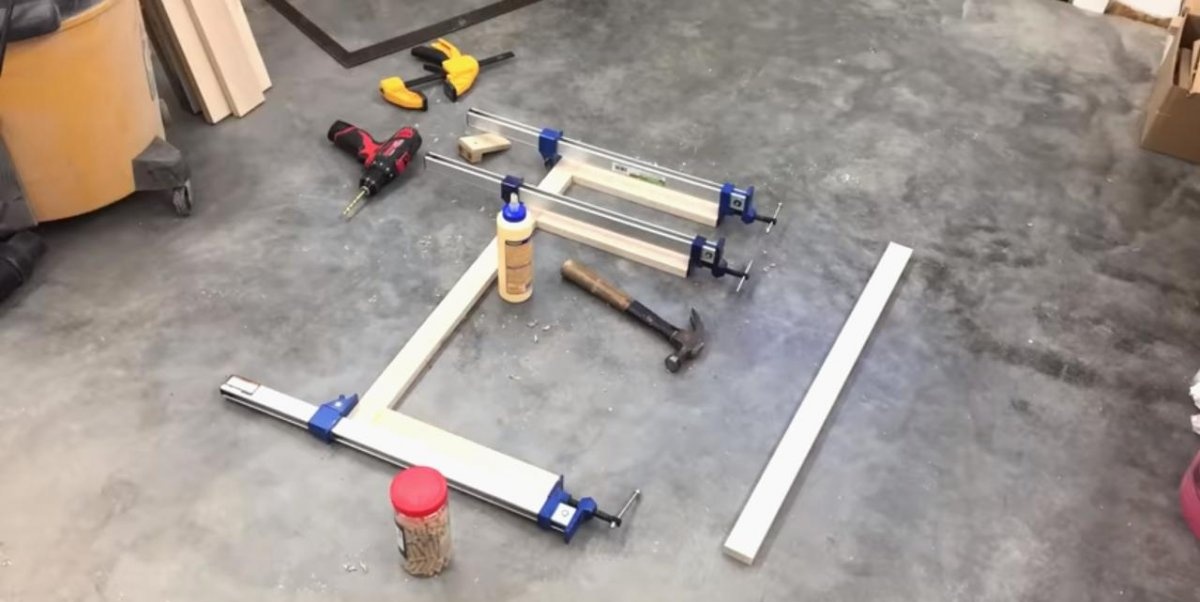
All that remains is to coat all the parts well with glue before joining, and assemble them by pressing the joints with clamps. In this simple way, you can easily avoid differences in thickness when splicing prefabricated workpieces, their subsequent grinding and changes in their thickness.


So many shortcomings can be solved by one small, simple template!

As a rule, such devices are not disposable, but are designed for long-term use. Therefore, the whole secret is in their exceptional accuracy, so that the verified dimensions can once and for all replace a tape measure or even a caliper.
The only drawback of this, like most furniture and joinery templates, is the complete lack of customization to size. That is, if you made it to suit the thickness of the board, say 25 mm, and the interval between two dowels of one joint is 30 mm in the centers, then it will be so, and nothing else. For a different size you will need to make a different template.
Let's look at the use of our template using the example of making a small frame - a window sash or the frame of a furniture facade.A quick calculation shows that even when creating such a simple product, it will be necessary to install 12 dowels, which means drilling 24 precise holes. Just marking them out will take a lot of time, but with a template this will be done much faster. Let's get started!


Materials, tools for making a template
It is reasonable to believe that such precision cannot be achieved with bare hands. We will need a circular saw with a carriage for cutting at an angle of 90° and a vertical drilling machine. For workshops, this equipment is not particularly unique, because today it is quite affordable.
The material for the template is production waste. You heard right, we will make it from scraps of blanks, since the dimensions are very small. You will need wood glue, drills of different diameters and a good measuring tool - a ruler or caliper. The general appearance of our template is as follows.

Making a template for dowels
The first step is to select a blank for the working part of the template. Hard wood species are considered ideal for this: oak, acacia, beech, ash. We place a ruler on a circular saw and cut out the workpiece, the width is 5 cm. We trim the workpiece at a right angle with a carriage on the same circular saw. Length – 2.5-3 cm.

Now it needs to be marked as accurately as possible for the working holes. But if they are left unprotected, the wood will very quickly flare out from numerous drillings, and the template will become inaccurate. To avoid this, we select several pieces of metal pipe with an internal diameter of 8 mm (this is exactly the size of a standard furniture dowel), and make seating sleeves for the template from them.
We drill holes for them on a vertical machine.We set the interval along the centers based on our workpieces, which we will process using a template (in our case it is about 3 cm).
From a small piece of plywood (8-10 mm thick) we make a handle holder. We cut it out on a circular saw according to the width of the working part, that is, 5 cm.
Having measured the length of the working part, we place a mark in the middle of this plywood plate. We drill a through hole with a diameter of 9-10 mm. This will be an inspection hole. You can lightly countersink it from the front side.


Using a caliper, mark the middle between the two holes of the working part of the template. We put a mark on its side face.


Now you can connect the two parts of the template together by gluing them with wood glue or PVA glue.

It’s time to place metal sleeves-guides for drilling into our template. If the holes are not loosened, then they will hold well without glue. You can press them in using a hand carpentry clamp.
Our template is ready, now we can test it in action. They need to work by pressing it against the workpiece with a clamp. As you can see, everything works great!
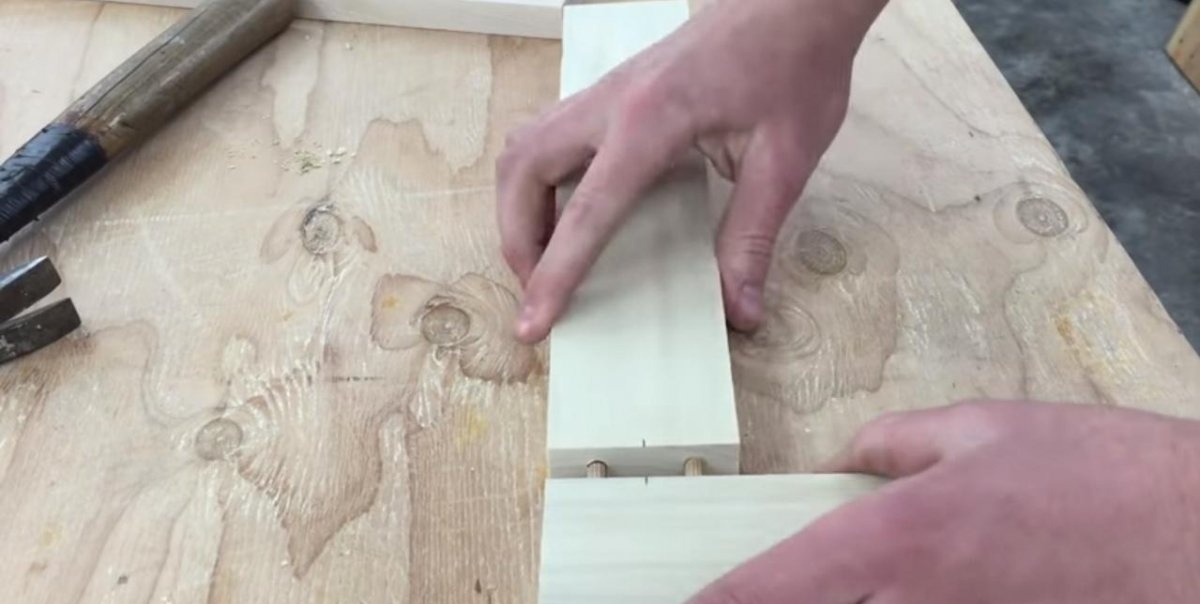
The technology for using such a device is very simple. It is necessary to place the prefabricated structure on a flat surface so that the midpoints of all mates can be marked. This can be done by hand, without a tape measure. At the junction of the elements, identical markings are made for both parts to be joined and a short mark is placed on both workpieces.

Then everything is as usual: the template is centered through the inspection hole with the markings on the parts and clamped with a clamp. Holes are drilled without additional measurements. The drilling depth is adjusted by the length of the drill or a removable stop.


All that remains is to coat all the parts well with glue before joining, and assemble them by pressing the joints with clamps. In this simple way, you can easily avoid differences in thickness when splicing prefabricated workpieces, their subsequent grinding and changes in their thickness.
So many shortcomings can be solved by one small, simple template!
Watch the video
Similar master classes


Particularly interesting


Comments (1)
