Master class: DIY wooden box
Wooden boxes today are very popular among the fair sex. After all, they are very practical and roomy. In addition, such a box fits perfectly into the interior and is a real decoration of any room. However, prices for such products in stores are quite high. But you can make a wooden box yourself. This does not require special knowledge or skills. All you need is your desire and patience. This article presents a master class on making a simple wooden box at home.

Materials needed to make a wooden box with your own hands:
By the way, these materials are used to make a box 16 cm wide, 36 cm long and 7 cm high. If you need a box of other sizes, the material parameters will accordingly be different.
Tools needed to make a wooden box at home:
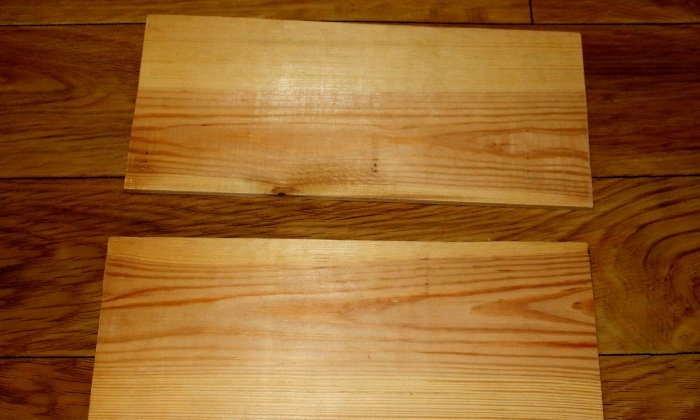
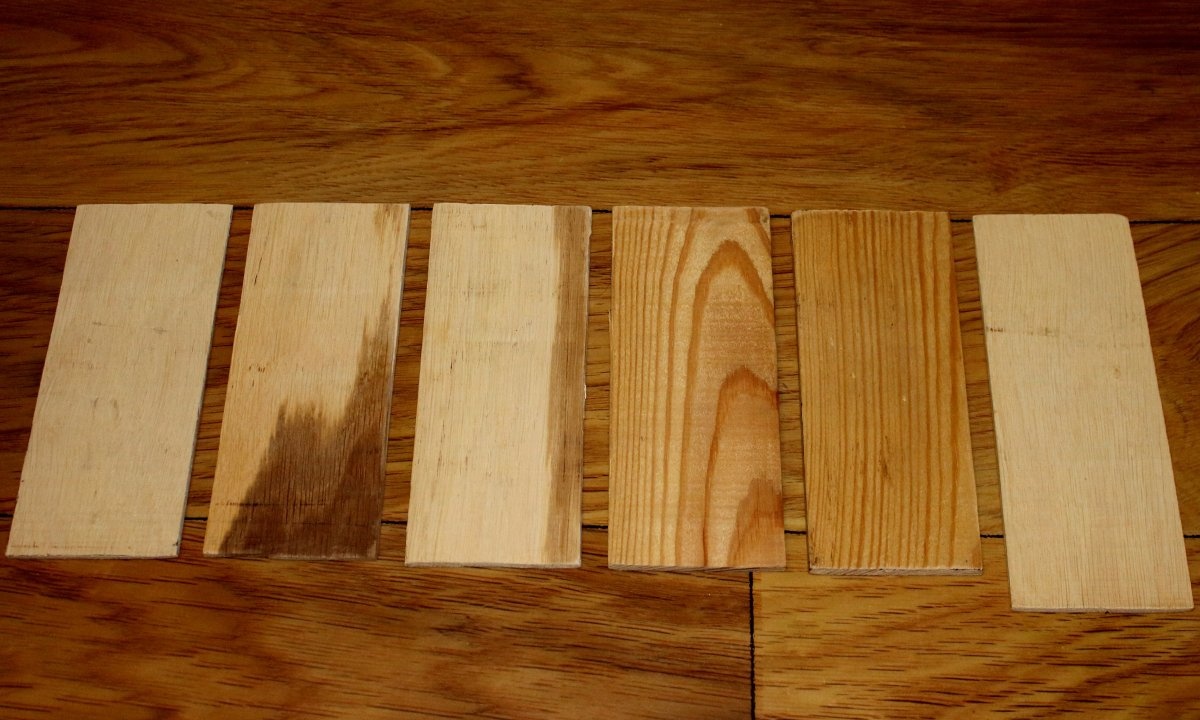
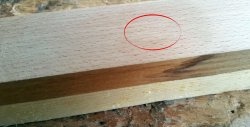
1. First prepare the bottom and lid of the box. It is very difficult to select a board of the required size, so initially select a board of the required thickness and use a hacksaw to cut out 2 planks 16 cm wide and 36 cm long. Remember that the thinner the boards, the neater the box will look. Ideally, the thickness of the board should not exceed 0.5 cm. To get rid of possible unevenness, go over the prepared boards with a sanding machine.
2. Make the long side strips of the box. Their length should be 36 cm and width 7 cm. Cut out the planks using a hacksaw or jigsaw, and then sand them with a grinder.

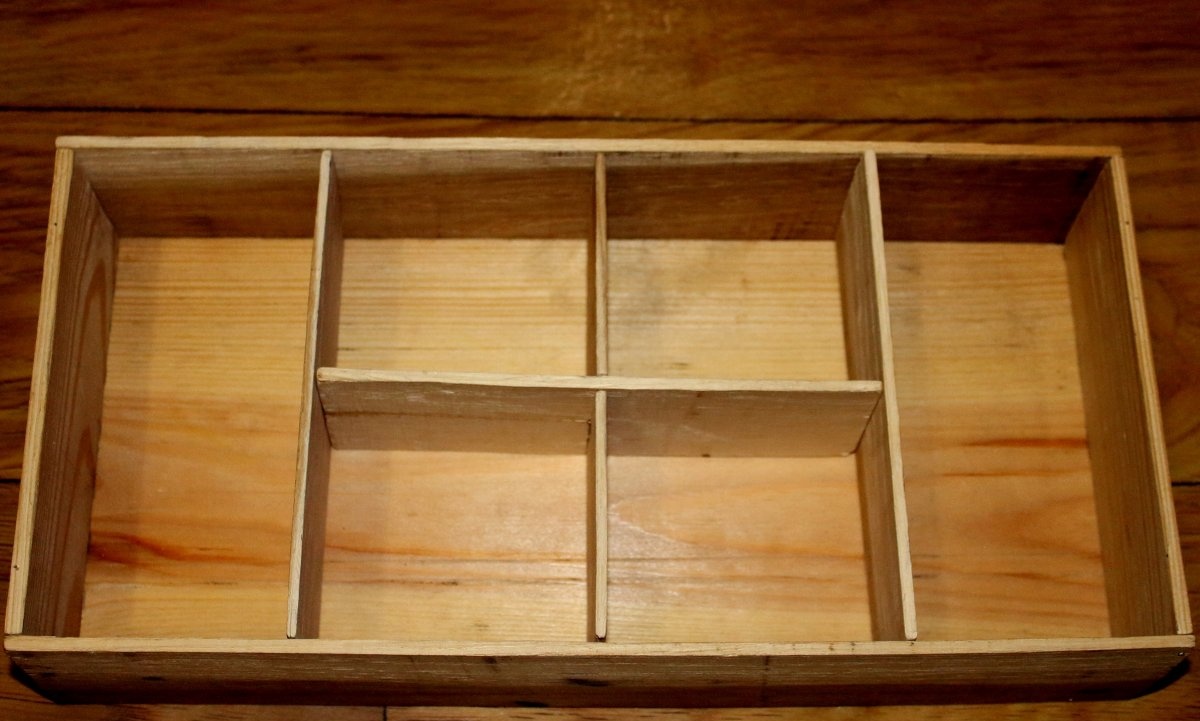
3. Start preparing the short side walls of the box and partitions. In this case, 2 planks 16 cm long and 7 cm wide are the side walls, the remaining 3 planks of similar sizes are vertical partitions, and 1 plank 18 cm long and 7 cm wide is a horizontal partition. Be sure to sand all parts.
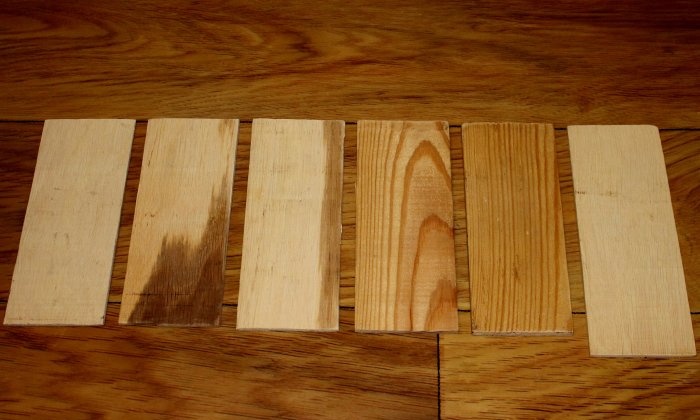
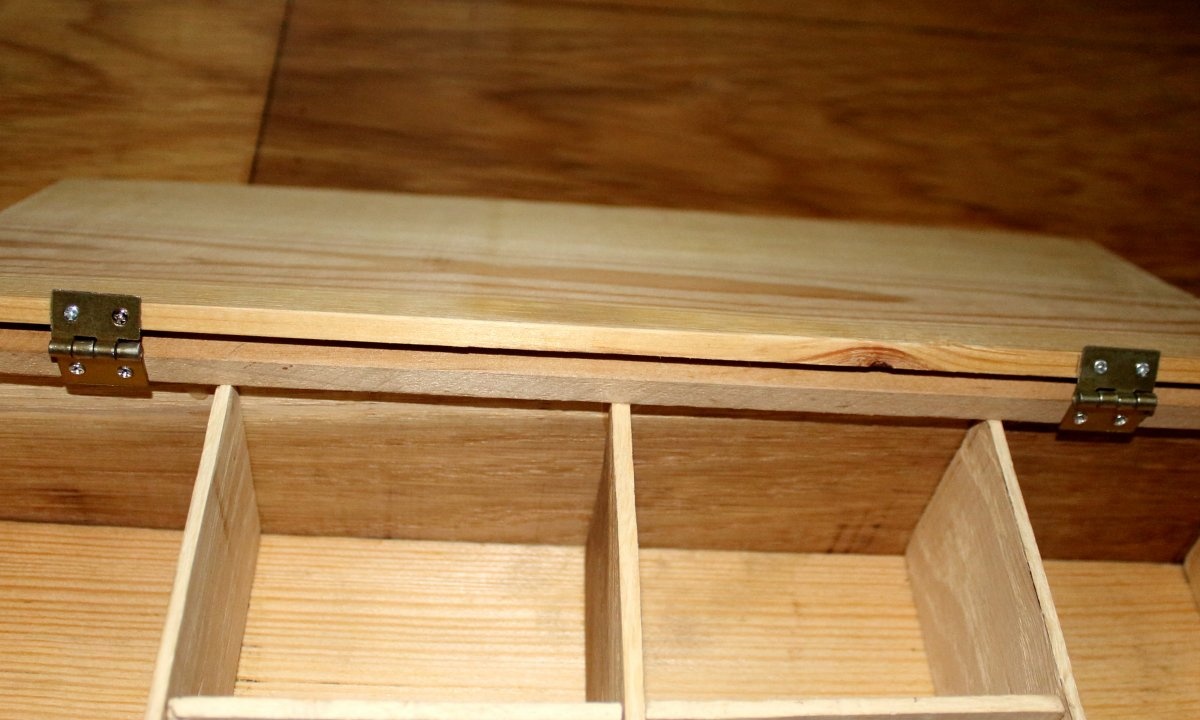
4. You will also need a thin strip 36 cm long. It is best to use a window glazing bead. The lid of your box will be attached to it. It also needs to be sanded.

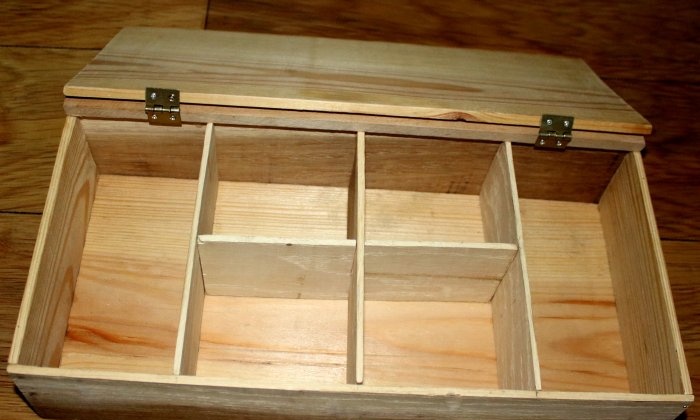
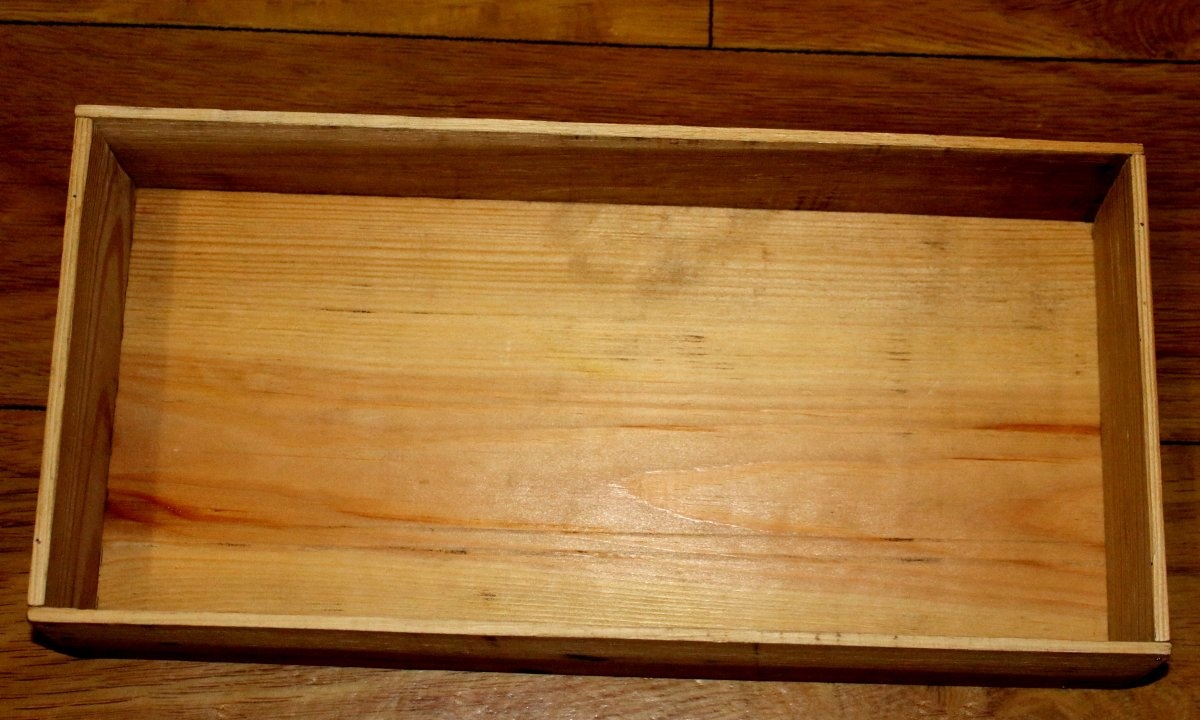
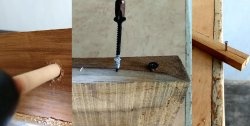
5. Start assembling the frame of the box.Using thin nails, attach the short sides of the box to the bottom first, and then the long ones.
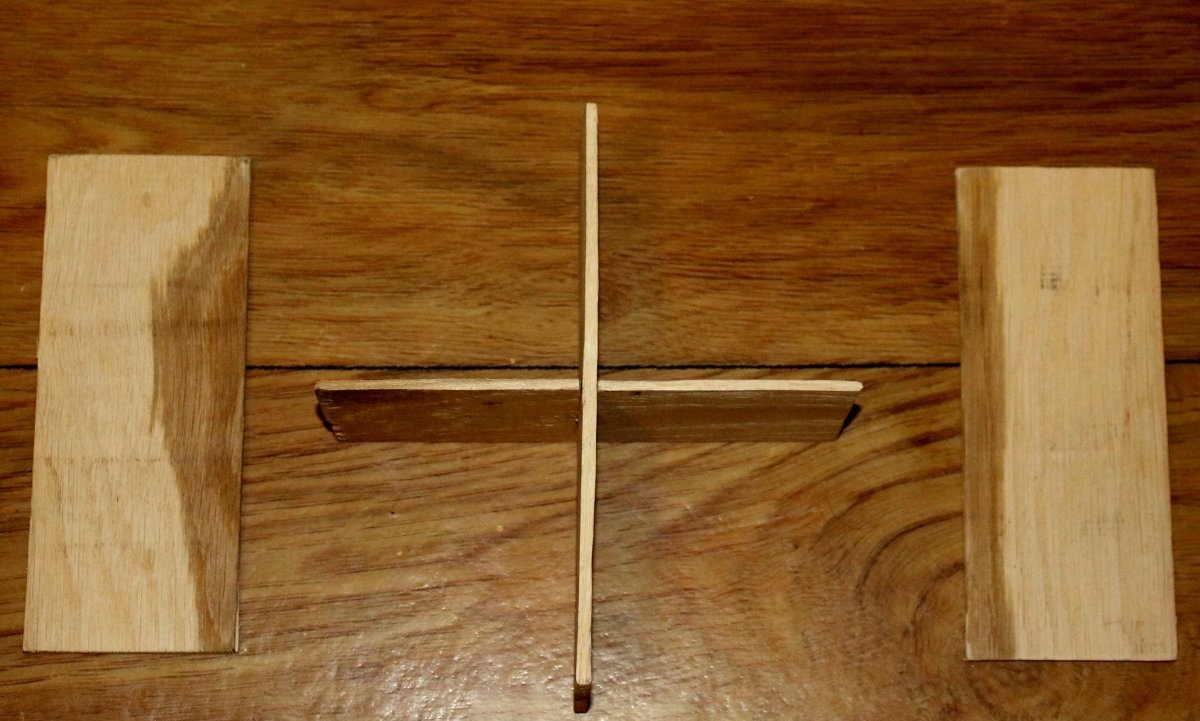
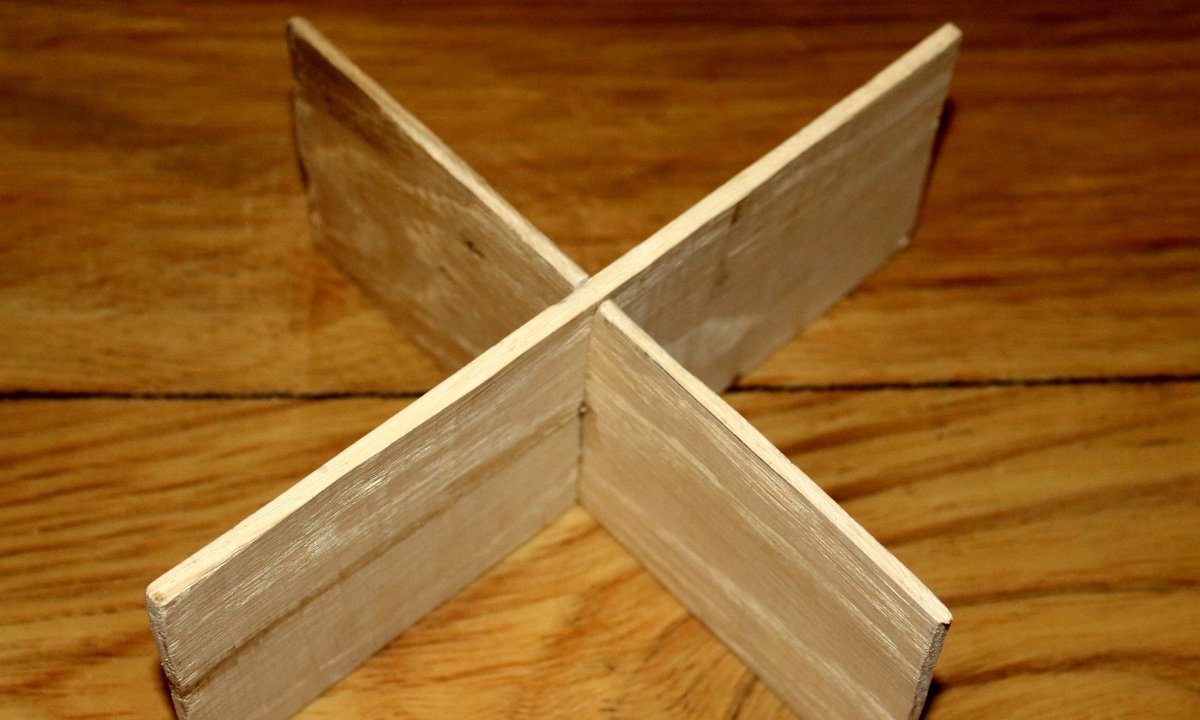
6. Next, prepare the partitions of the box. Do not touch two planks 7 cm long and 16 cm wide, but on the plank 7 cm long and 18 cm wide and the third plank 7 cm long and 16 cm wide, make small cuts in the center. Notches are best done using a jigsaw. The length of each notch should be 3.5 cm, and the width should match the thickness of the partitions. Fasten the 2 planks using the notches you made.


7. Insert the partitions into the previously assembled bottom of the box and secure them with nails. It is best to carefully glue the crosspiece to the bottom using PVA glue.

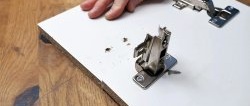
8. Next, using thin nails and a hammer, nail a thin strip to the long side of the box where the lid will be attached. Using a screwdriver, screw the hinges to the bar, and then secure the lid of the box.

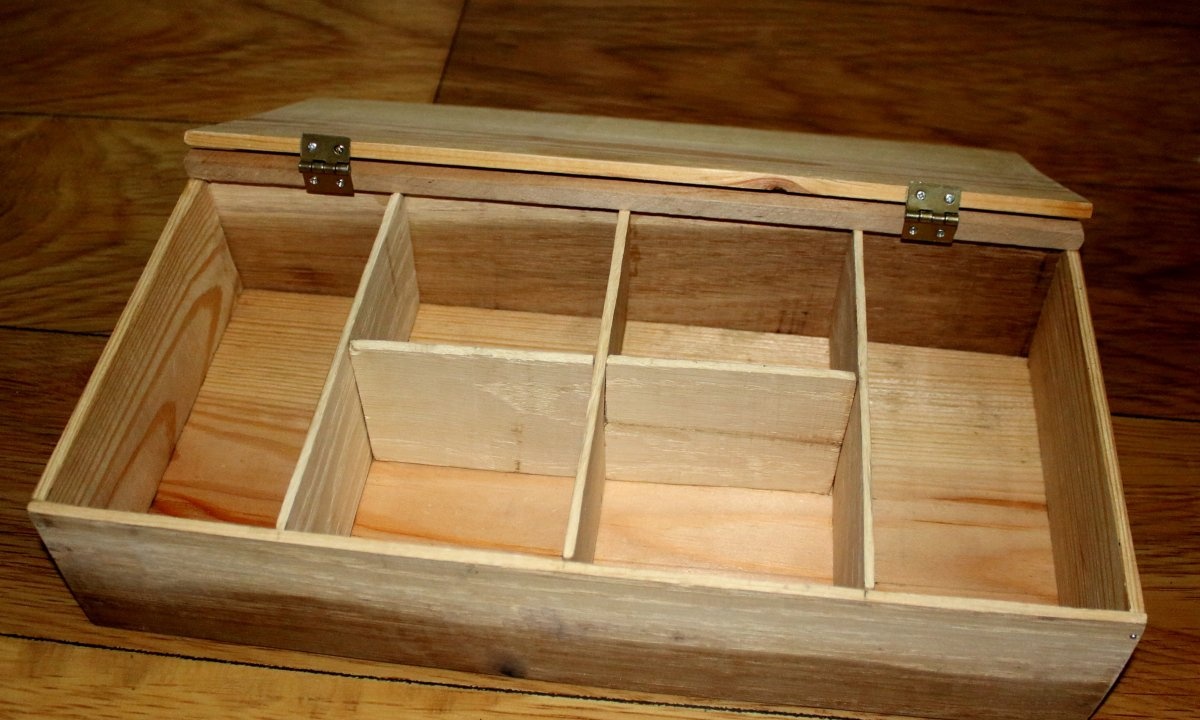
9. Sand the finished product again. The wooden box is ready. To make it look more vibrant, if you wish, you can open it with colorless varnish.

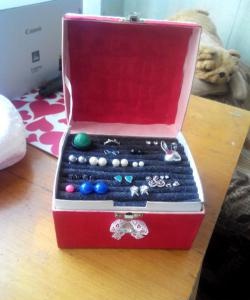
As you can see, preparing the box is quite simple and quick. It can be used to store a wide variety of small items, from jewelry to ordinary buttons and pins. To make the box look more festive, you can decorate it using the decoupage. In this case, it all depends on your imagination and your skills.
Will need
Materials needed to make a wooden box with your own hands:
- 1. Board (width – 16 cm, length – 36 cm) – 2 pcs.
- Wooden plank (width – 7 cm, length – 36 cm) – 2 pcs.
- Wooden plank (width – 7 cm, length – 16 cm) – 5 pcs.
- Wooden plank (width – 7 cm, length – 18 cm) – 1 pc.
- Rail (width – 1 cm, thickness – 1 cm, length – 36 cm) – 1 pc.
- Self-tapping screws (length – 1 cm) – 8 pcs.
- Loops (width – 1.4 cm, length – 1.7 cm) – 2 pcs.
- Small thin nails – 35 pcs.
- PVA glue – 1 b.
By the way, these materials are used to make a box 16 cm wide, 36 cm long and 7 cm high. If you need a box of other sizes, the material parameters will accordingly be different.
Tools
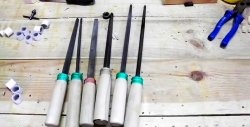
Tools needed to make a wooden box at home:
- Sander.
- Screwdriver.
- Hacksaw or jigsaw.
- Hammer.
- Thin brush for applying PVA glue.
Step-by-step making of a wooden box with your own hands:
1. First prepare the bottom and lid of the box. It is very difficult to select a board of the required size, so initially select a board of the required thickness and use a hacksaw to cut out 2 planks 16 cm wide and 36 cm long. Remember that the thinner the boards, the neater the box will look. Ideally, the thickness of the board should not exceed 0.5 cm. To get rid of possible unevenness, go over the prepared boards with a sanding machine.

2. Make the long side strips of the box. Their length should be 36 cm and width 7 cm. Cut out the planks using a hacksaw or jigsaw, and then sand them with a grinder.

3. Start preparing the short side walls of the box and partitions. In this case, 2 planks 16 cm long and 7 cm wide are the side walls, the remaining 3 planks of similar sizes are vertical partitions, and 1 plank 18 cm long and 7 cm wide is a horizontal partition. Be sure to sand all parts.
4. You will also need a thin strip 36 cm long. It is best to use a window glazing bead. The lid of your box will be attached to it. It also needs to be sanded.

5. Start assembling the frame of the box.Using thin nails, attach the short sides of the box to the bottom first, and then the long ones.
6. Next, prepare the partitions of the box. Do not touch two planks 7 cm long and 16 cm wide, but on the plank 7 cm long and 18 cm wide and the third plank 7 cm long and 16 cm wide, make small cuts in the center. Notches are best done using a jigsaw. The length of each notch should be 3.5 cm, and the width should match the thickness of the partitions. Fasten the 2 planks using the notches you made.
7. Insert the partitions into the previously assembled bottom of the box and secure them with nails. It is best to carefully glue the crosspiece to the bottom using PVA glue.
8. Next, using thin nails and a hammer, nail a thin strip to the long side of the box where the lid will be attached. Using a screwdriver, screw the hinges to the bar, and then secure the lid of the box.

9. Sand the finished product again. The wooden box is ready. To make it look more vibrant, if you wish, you can open it with colorless varnish.

As you can see, preparing the box is quite simple and quick. It can be used to store a wide variety of small items, from jewelry to ordinary buttons and pins. To make the box look more festive, you can decorate it using the decoupage. In this case, it all depends on your imagination and your skills.
Similar master classes


Particularly interesting

Comments (3)
