How to make a flexible shaft for a drill
A flexible shaft for a drill or screwdriver, an item that is used extremely rarely. However, if you need to drill a hole or screw in a screw in a hard-to-reach place where a screwdriver cannot fit, it is better to have this tool available. Even if the drilling site is open, but is located, for example, under the ceiling, it is better and more convenient to hold the light handle of the flexible shaft in weight than the entire drill, which weighs a lot. In this case, you can hang it by tied straps somewhere nearby, and calmly drill or screw it in with a shaft. In addition, the flexible shaft is perfect for a bur machine or engraver.

If you have an engraver and you like, for example, to carve bone, wood or stone, then with this tool things will go much faster and more conveniently. But when making a flexible shaft, there is one nuance: you need to determine for which tool you need a flexible shaft. If, for example, for a drill or screwdriver, then it is better to use a brake cable from a motorcycle (or similar), and if for a machine or engraver, then a cable from a bicycle will be more convenient.I was assembling a flexible shaft, the manufacture of which I will describe below, for a powerful electric drill, which is why I used a motorcycle brake cable. The engraver I recently purchased also drags it out - you can grind, cut and drill, but during operation the speed drops and the engraver engine quickly heats up. This is understandable; for such a small car, the motorcycle cable is too heavy. So for him, on occasion, I’ll assemble a lighter and thinner flexible shaft, from a bicycle cable... I won’t hide the fact that the manufacturing process is quite long, but at the same time interesting.

Tools and consumables required for work:
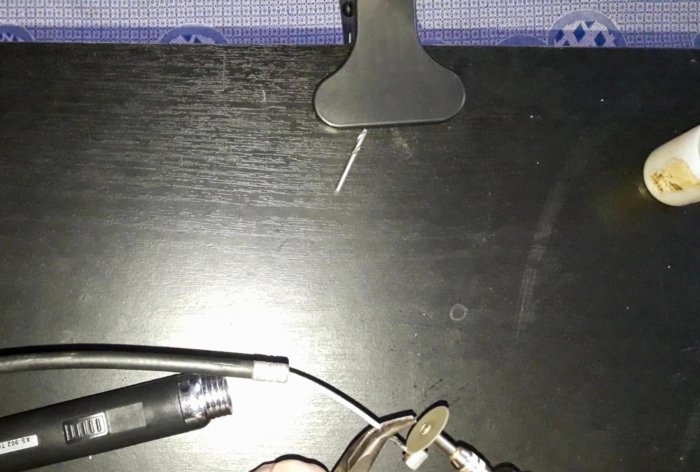
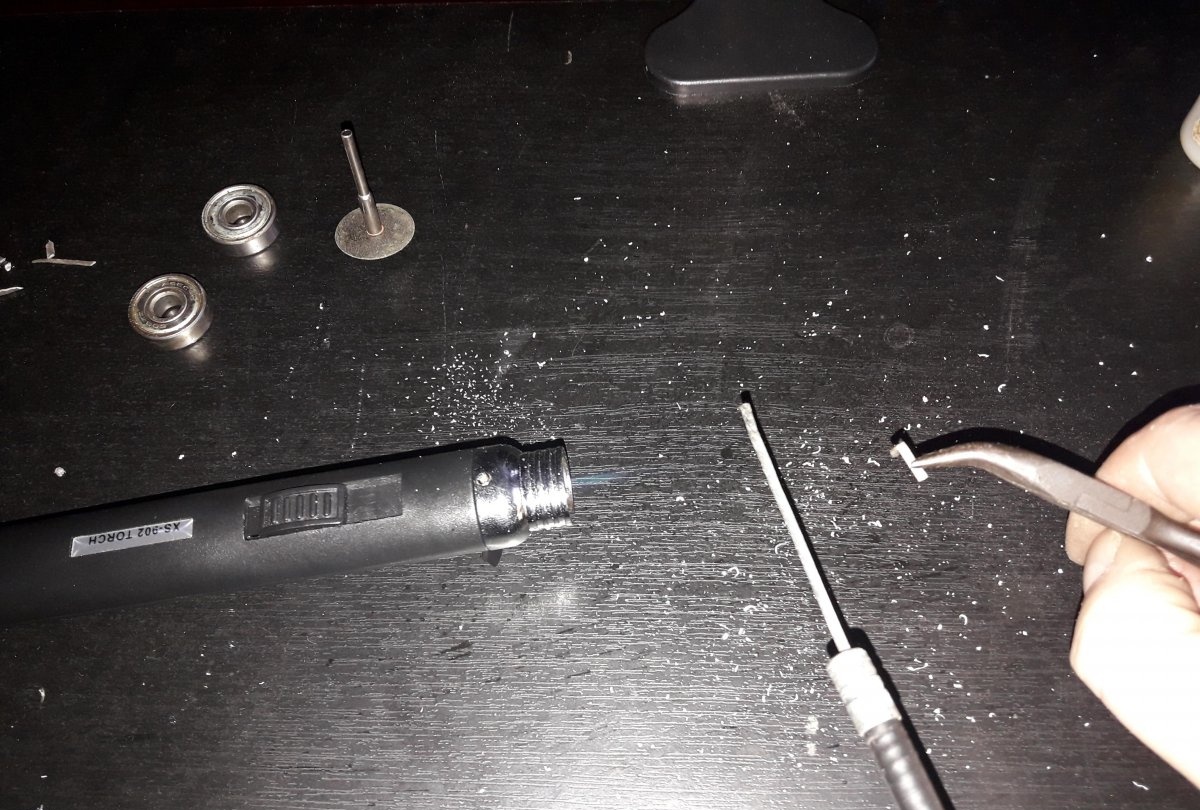
First of all, let's prepare the cable. It must be pulled out of the protective sleeve. In order for it not to unravel when we cut off the restrictive seal, it must be soldered with tin. They coated it with flux, heated it, impregnated it with tin, and cut it off.

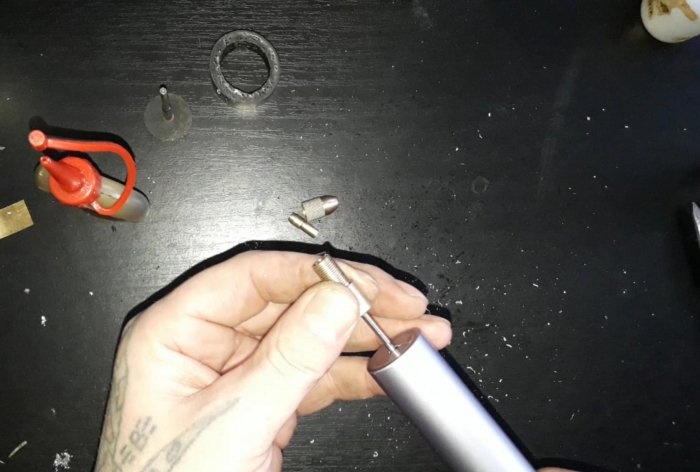
We take it out of the sleeve. On any brake cable, at the other end there is a threaded rod to adjust the traction.We cut off the thread from it, so that a small piece remains, about a centimeter and a half. Next, we solder a metal tube onto this section, onto which we will later put bearings. We also coat the surfaces to be soldered with flux, put the tube on a piece, throw a piece of tin into the tube, and heat it with a soldering iron until the tin melts and spreads over all the lubricated surfaces.

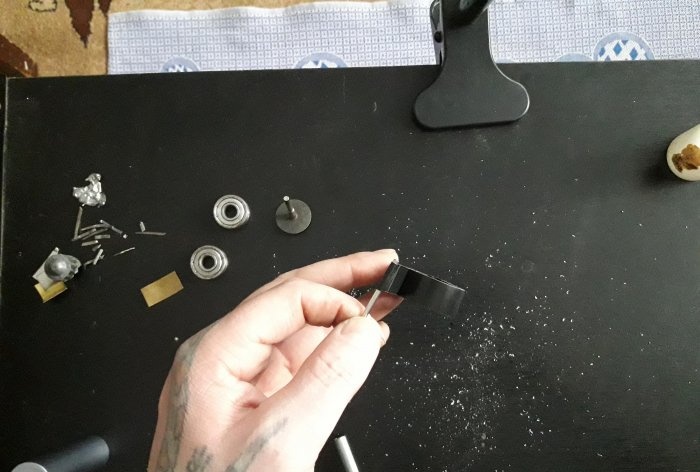
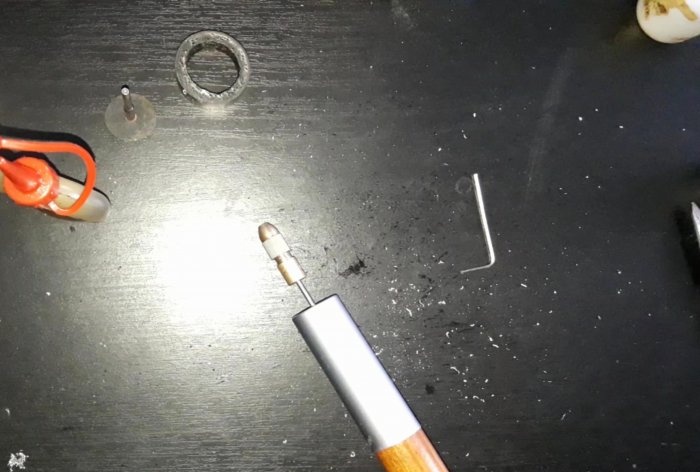
While the tube with the soldered cable is cooling, let's prepare the rod for the cartridge. I took it from the CD drive. But you can use any of the appropriate caliber. We adjust this rod to the inner diameter of the tube by winding electrical tape around it until the desired caliber is achieved.

We insert the rod into the tube, coating it with glue.
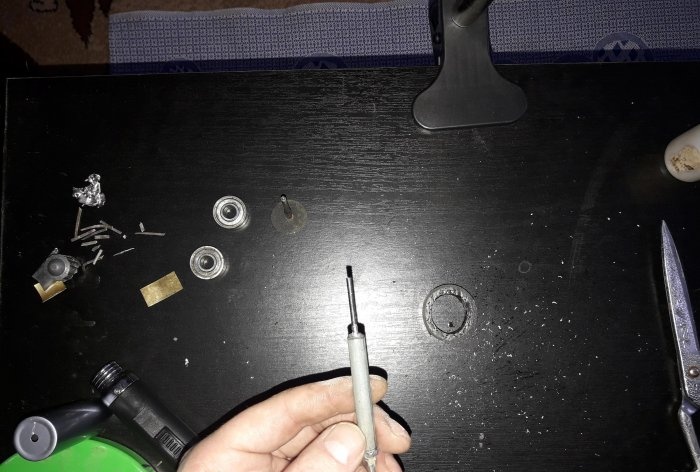
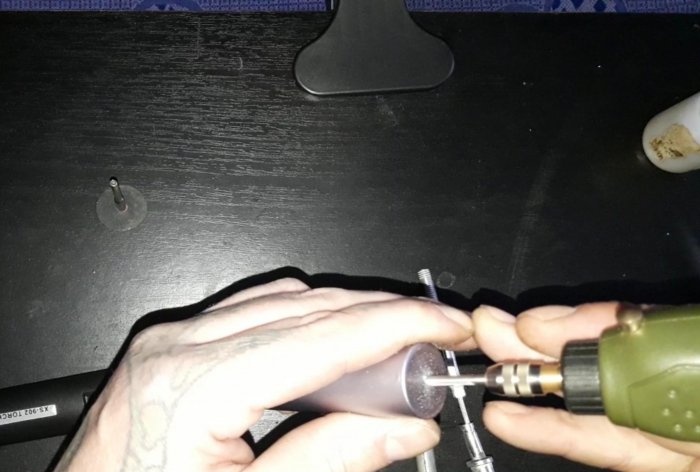
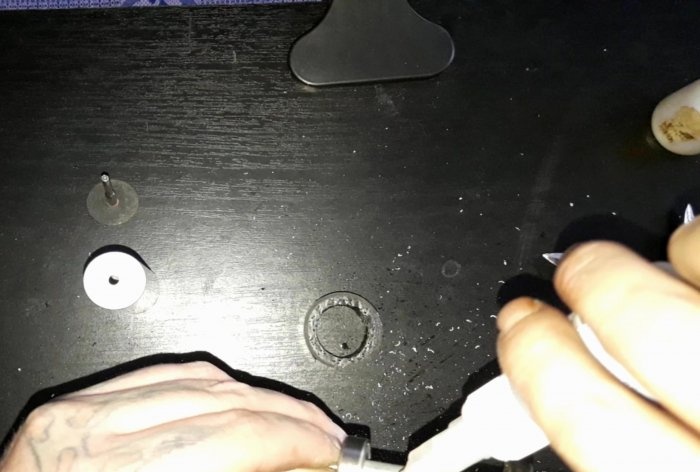
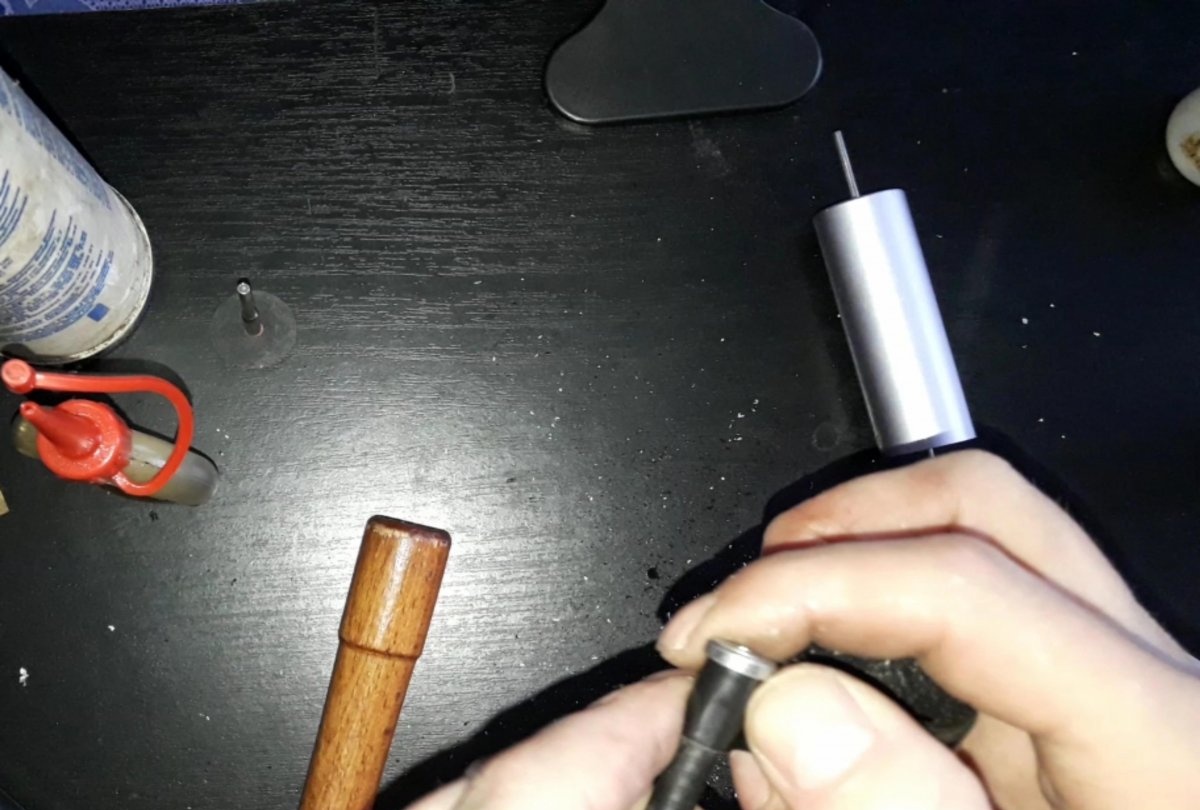
When the glue inside sets, the connection will be no worse than from soldering, this can be seen in the video... Next, we will prepare the body of the holder. I took an aluminum case from a perfume bottle for this purpose - it almost perfectly fit the bearings. We drill a hole in the end of the body for the rod exit for the cartridge.
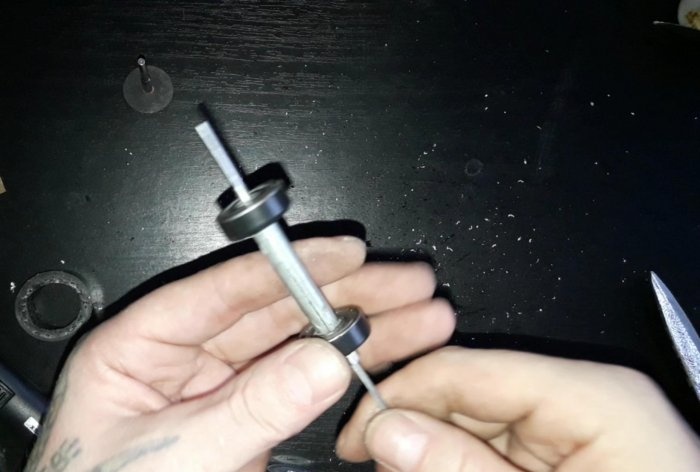
We put bearings on the tube with the cable. My bearings fit perfectly, but to be sure, I also added a drop of glue, for greater reliability.
Next, we also adjust the bearings to the housing using electrical tape.
We drip glue inside the body and insert a tube with bearings on it. We position the bearings in such a way that there are free edges of the housing. About a centimeter.

Don't forget to put a drop of oil on the bearings. We carefully ensure that the glue does not get into the bearing mechanism, otherwise all the work done will go down the drain! I used Cosmo CA-500.200 glue - it’s extremely difficult to tear off something glued with it, that’s why I preferred it to soldering... So, the shaft housing is ready. All that remains is to attach the wooden part of the handle with the cable sleeve.

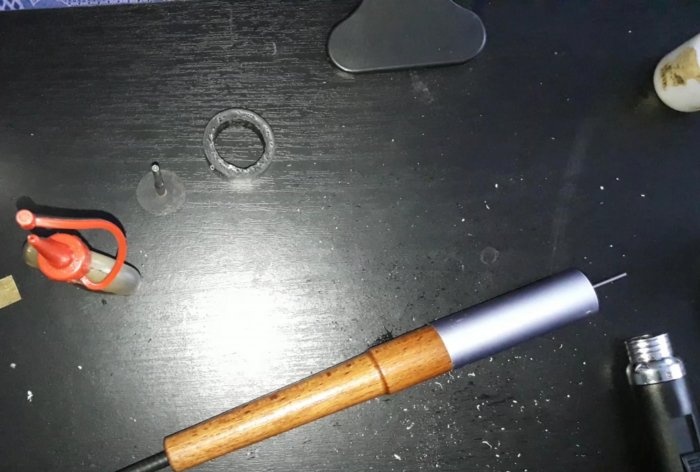
We thread the sleeve into the wooden handle and secure it with glue inside the handle. Next, generously lubricate the cable with grease.

We thread it through the handle with the sleeve and fasten, again with glue, the wooden handle to the aluminum body.
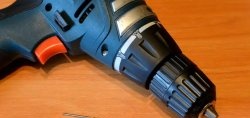
Install the chuck collet.
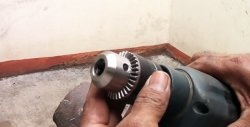
If the resulting flexible shaft is planned to be used only for a drill or screwdriver, then the work is finished - we fix the protruding end of the cable into the drill chuck, and use it with pleasure!

And if you made a shaft for the engraver from a thin bicycle cable, then you also need to make a rigid protection for the cartridge so that the elastic cable does not loosen it. Each engraver has a threaded cap below the cartridge. This cover is removed and, if necessary, a plastic cartridge with a flexible shaft cable is screwed onto this place. We will need a thread like the one on the lid, a piece of plastic pipe into which the thread will fit, and a tapered end into which we will thread the cable sleeve. There is nothing complicated here; glue all the parts together, put it on the cable sleeve, clamp the end of the cable in the collet chuck, and screw the resulting cap onto the engraver body.


It will prevent the rotating steel cable from loosening the brass collet cartridge. I made a flexible shaft for a drill, but in order to clearly show how to use it with an engraver, I also made a protective cap.

Such a shaft will not take up much storage space - it can be easily twisted into rings and hung on a nail in a shed or pantry, and at the right time it will help you make a hole in a hard-to-reach place, or screw in a screw there.

If you have an engraver and you like, for example, to carve bone, wood or stone, then with this tool things will go much faster and more conveniently. But when making a flexible shaft, there is one nuance: you need to determine for which tool you need a flexible shaft. If, for example, for a drill or screwdriver, then it is better to use a brake cable from a motorcycle (or similar), and if for a machine or engraver, then a cable from a bicycle will be more convenient.I was assembling a flexible shaft, the manufacture of which I will describe below, for a powerful electric drill, which is why I used a motorcycle brake cable. The engraver I recently purchased also drags it out - you can grind, cut and drill, but during operation the speed drops and the engraver engine quickly heats up. This is understandable; for such a small car, the motorcycle cable is too heavy. So for him, on occasion, I’ll assemble a lighter and thinner flexible shaft, from a bicycle cable... I won’t hide the fact that the manufacturing process is quite long, but at the same time interesting.
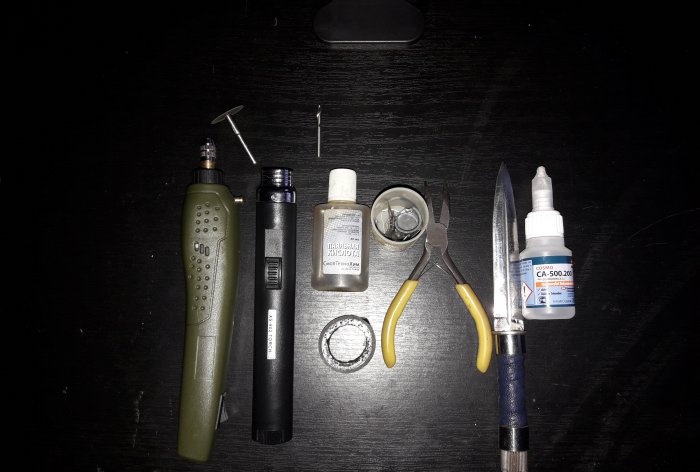
Will need
- Two bearings from old roller skates (or similar in size).
- Steel cable in a protective sleeve, from a motorcycle (or bicycle).
- A metal tube with a diameter suitable for the outer diameter of the bearings.
- Wooden handle from an old soldering iron (or similar wooden tube).
- A steel rod for the shaft on which the cartridge will later be installed.
- Collet chuck, with an internal hole, for the shaft rod of your choice.
- A metal tube with a diameter equal to the inner diameter of the bearings.

Tools and consumables required for work:
- Soldering iron, tin and flux.
- Bor machine or engraver, with a saw blade and a 3 mm drill.
- Pliers.
- Secondary glue with soda.
- Insulating tape.
- Knife.
- Scissors.
- Solid oil and machine oil.

Manufacturing of flexible shaft
First of all, let's prepare the cable. It must be pulled out of the protective sleeve. In order for it not to unravel when we cut off the restrictive seal, it must be soldered with tin. They coated it with flux, heated it, impregnated it with tin, and cut it off.

We take it out of the sleeve. On any brake cable, at the other end there is a threaded rod to adjust the traction.We cut off the thread from it, so that a small piece remains, about a centimeter and a half. Next, we solder a metal tube onto this section, onto which we will later put bearings. We also coat the surfaces to be soldered with flux, put the tube on a piece, throw a piece of tin into the tube, and heat it with a soldering iron until the tin melts and spreads over all the lubricated surfaces.

While the tube with the soldered cable is cooling, let's prepare the rod for the cartridge. I took it from the CD drive. But you can use any of the appropriate caliber. We adjust this rod to the inner diameter of the tube by winding electrical tape around it until the desired caliber is achieved.


We insert the rod into the tube, coating it with glue.

When the glue inside sets, the connection will be no worse than from soldering, this can be seen in the video... Next, we will prepare the body of the holder. I took an aluminum case from a perfume bottle for this purpose - it almost perfectly fit the bearings. We drill a hole in the end of the body for the rod exit for the cartridge.

We put bearings on the tube with the cable. My bearings fit perfectly, but to be sure, I also added a drop of glue, for greater reliability.

Next, we also adjust the bearings to the housing using electrical tape.

We drip glue inside the body and insert a tube with bearings on it. We position the bearings in such a way that there are free edges of the housing. About a centimeter.

Don't forget to put a drop of oil on the bearings. We carefully ensure that the glue does not get into the bearing mechanism, otherwise all the work done will go down the drain! I used Cosmo CA-500.200 glue - it’s extremely difficult to tear off something glued with it, that’s why I preferred it to soldering... So, the shaft housing is ready. All that remains is to attach the wooden part of the handle with the cable sleeve.
We thread the sleeve into the wooden handle and secure it with glue inside the handle. Next, generously lubricate the cable with grease.

We thread it through the handle with the sleeve and fasten, again with glue, the wooden handle to the aluminum body.

Install the chuck collet.


If the resulting flexible shaft is planned to be used only for a drill or screwdriver, then the work is finished - we fix the protruding end of the cable into the drill chuck, and use it with pleasure!

And if you made a shaft for the engraver from a thin bicycle cable, then you also need to make a rigid protection for the cartridge so that the elastic cable does not loosen it. Each engraver has a threaded cap below the cartridge. This cover is removed and, if necessary, a plastic cartridge with a flexible shaft cable is screwed onto this place. We will need a thread like the one on the lid, a piece of plastic pipe into which the thread will fit, and a tapered end into which we will thread the cable sleeve. There is nothing complicated here; glue all the parts together, put it on the cable sleeve, clamp the end of the cable in the collet chuck, and screw the resulting cap onto the engraver body.


It will prevent the rotating steel cable from loosening the brass collet cartridge. I made a flexible shaft for a drill, but in order to clearly show how to use it with an engraver, I also made a protective cap.

Such a shaft will not take up much storage space - it can be easily twisted into rings and hung on a nail in a shed or pantry, and at the right time it will help you make a hole in a hard-to-reach place, or screw in a screw there.
Watch the video
Similar master classes

Particularly interesting


Comments (5)
