How to make a solar water heater

An excellent homemade product for a summer house, which on a good summer day will provide you with hot water, heated by absolutely free solar energy. Hot water can be useful for washing dishes, hands and for other needs. A solar water heater is easy to manufacture, does not require the strict use of certain materials, everything can be replaced if desired or lacking.
Making a Solar Water Heater
As we describe the manufacture, I will offer alternative options for replacing materials, since you may not be able to find some of them.
So, let's start with the fact that you need to cut a square out of thick plywood of any brand, be it chipboard, fibreboard, OSB, etc.

The side size of the square is approximately 60 cm.

Next, from a thin sheet of stainless steel, cut out a square equal to a square of plywood. This will be a solar energy reflector.

If you don’t have thin stainless steel, take regular aluminum foil and cover a square of plywood with it.
I take a sheet of stainless steel and place it on top of a square of plywood. I put wooden slats around the perimeter and secure it all with small nails.

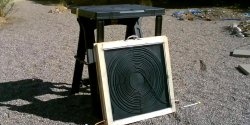
Now I need a copper tube 5-6 m long. The thinner its walls, the better. The metal of the tube can also be aluminum. We roll it up in one layer, but so that the dimensions of the rolling circle do not exceed the dimensions of the plywood square.

We paint the tube with aerosol paint from a black can. First one side, then when dry, the other.

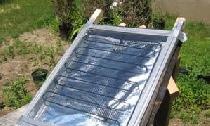
From a U-shaped aluminum profile we make a body-contour around the perimeter of the square.

Drill a hole in the center. We also nail four limiters from the rail for the copper coil.

We install a copper coil. At the beginning of the curl we put a silicone tube. And we pass it through the hole in the center.

The other end of the copper tube comes out from the side.
We cut the glass to the size of the plywood square. Here it is better to use plexiglass or plexiglass, as they transmit infrared rays well.

The solar panel is almost ready.

We make a stand from a square steel profile.

A rectangle with a soldered rectangle on top.
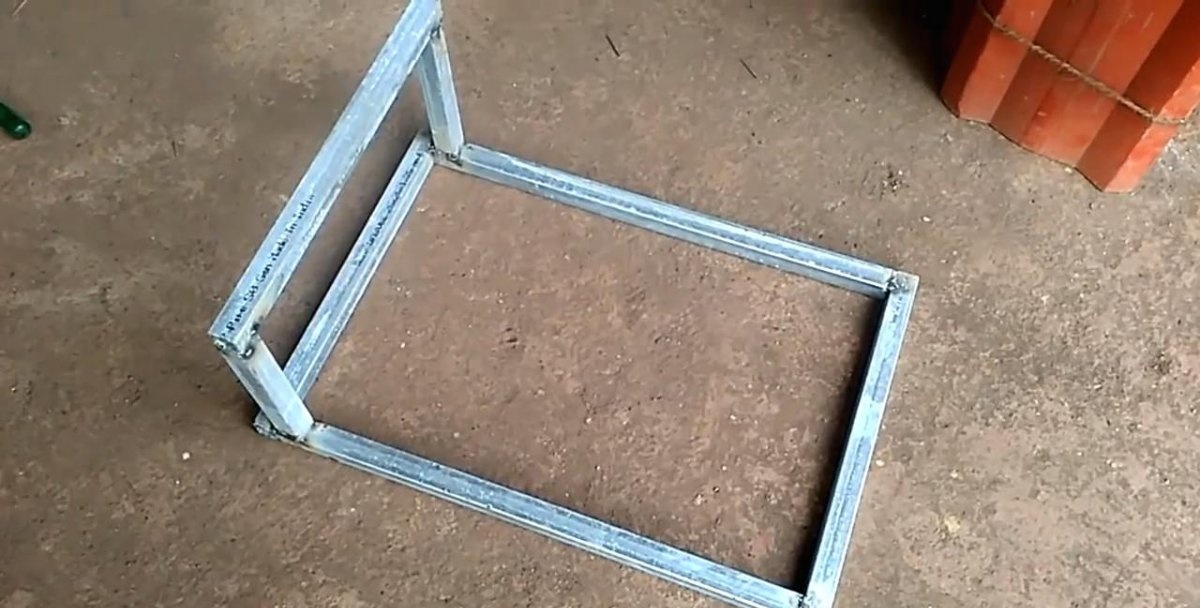
We weld semicircular rods that will hold the water bottle.

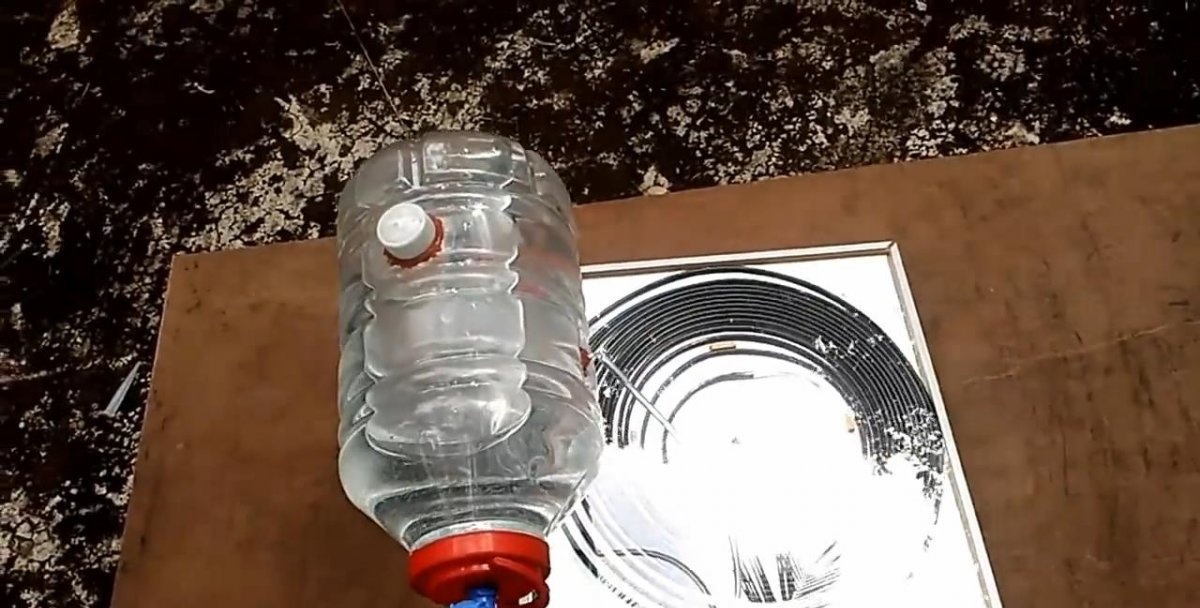
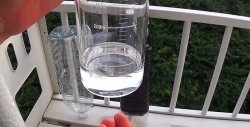
Now take a 20 liter bottle. We make a hole in the lid for the tap.
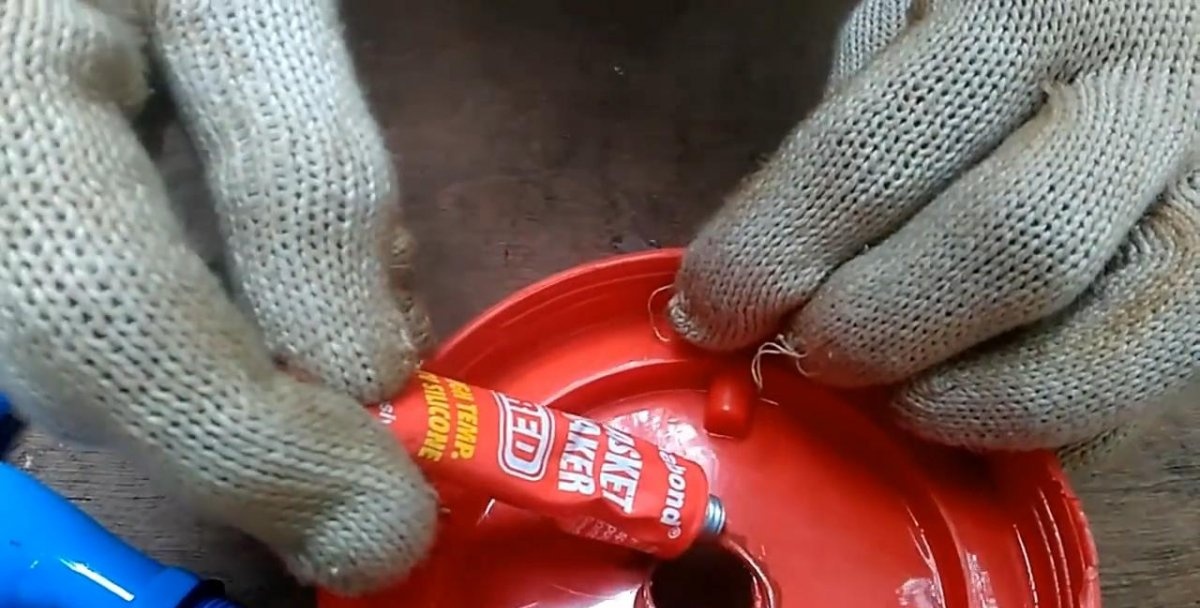
We place the tap on the sealant.

Place the bottle on the stand.

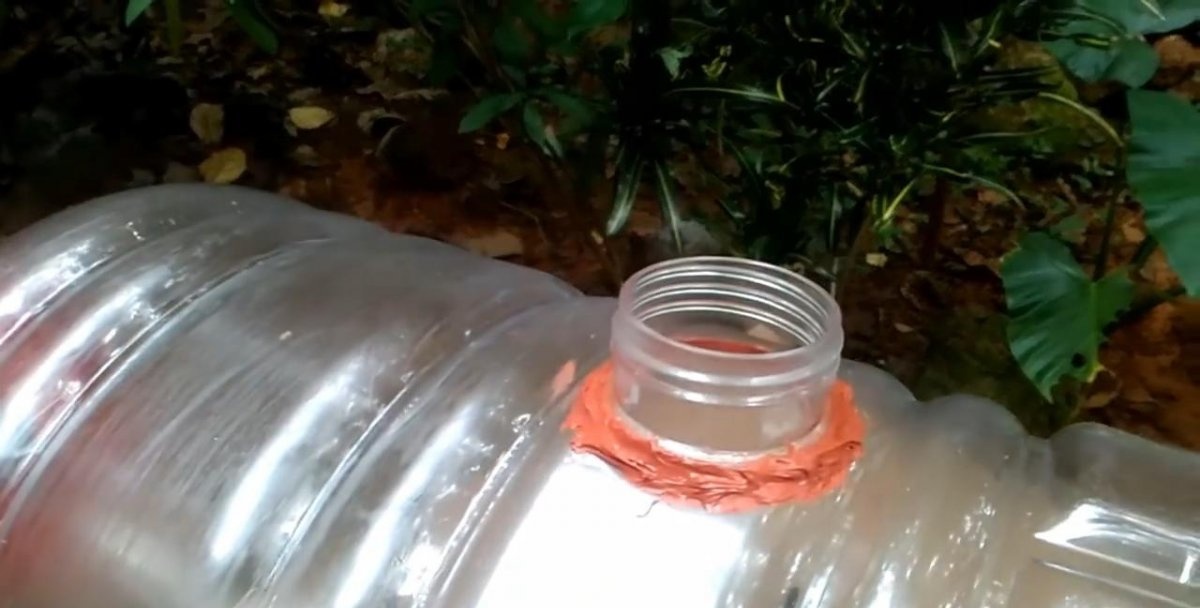
We also glue the neck of an unnecessary bottle onto the sealant on top so that you can easily add water to the tank.
We glue the tube on the side.
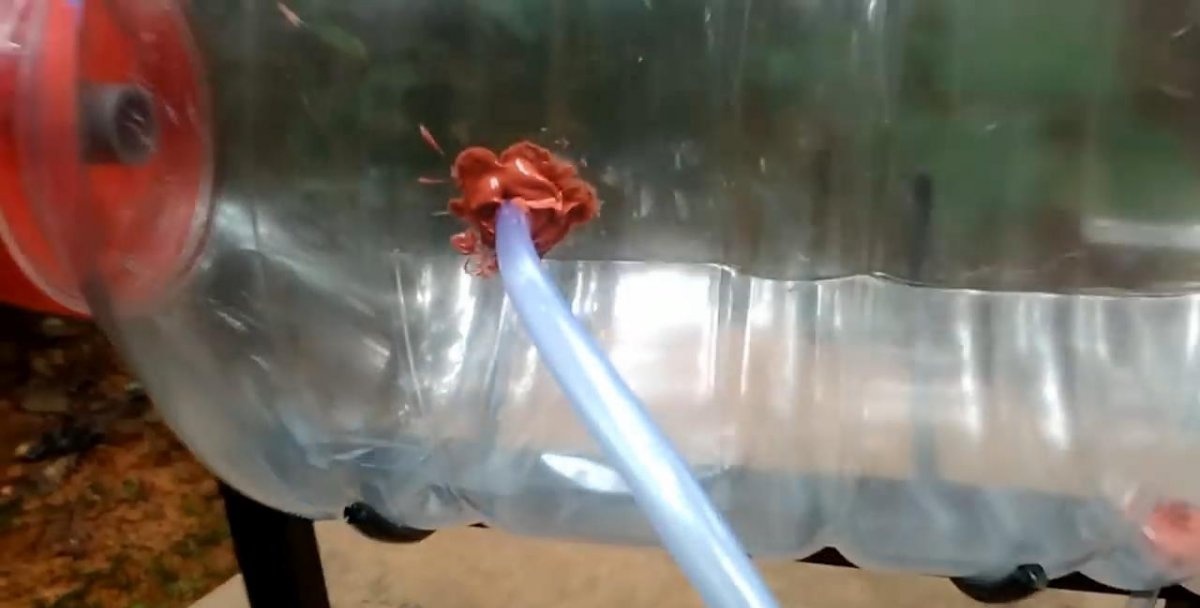
And glue the tube from below. This should be done for better circulation.
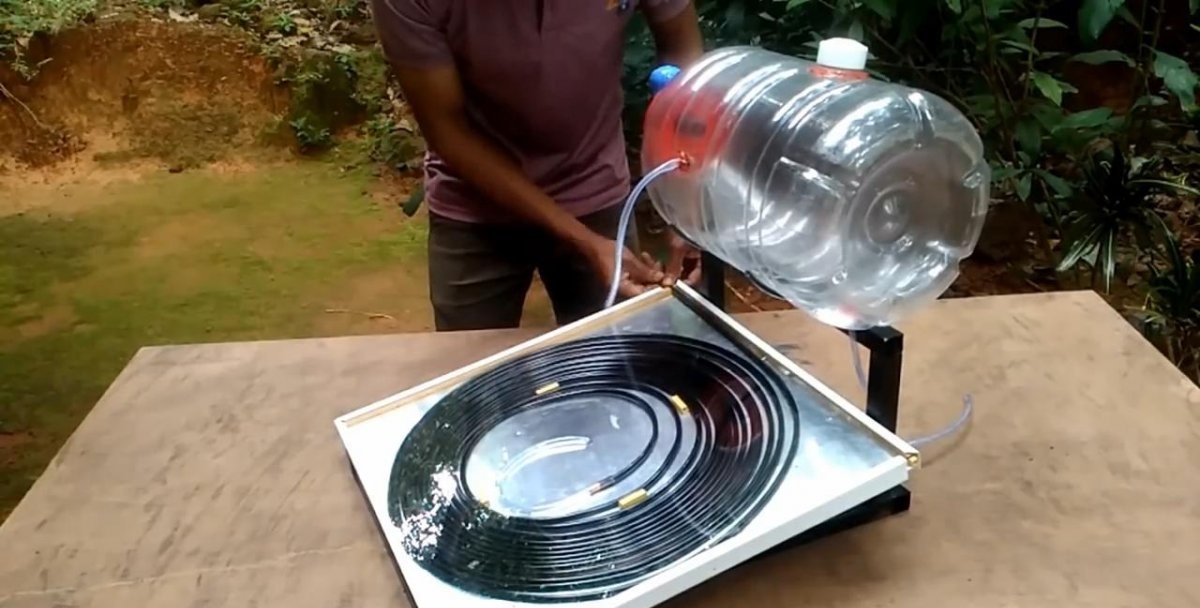
Install the solar panel at an angle.

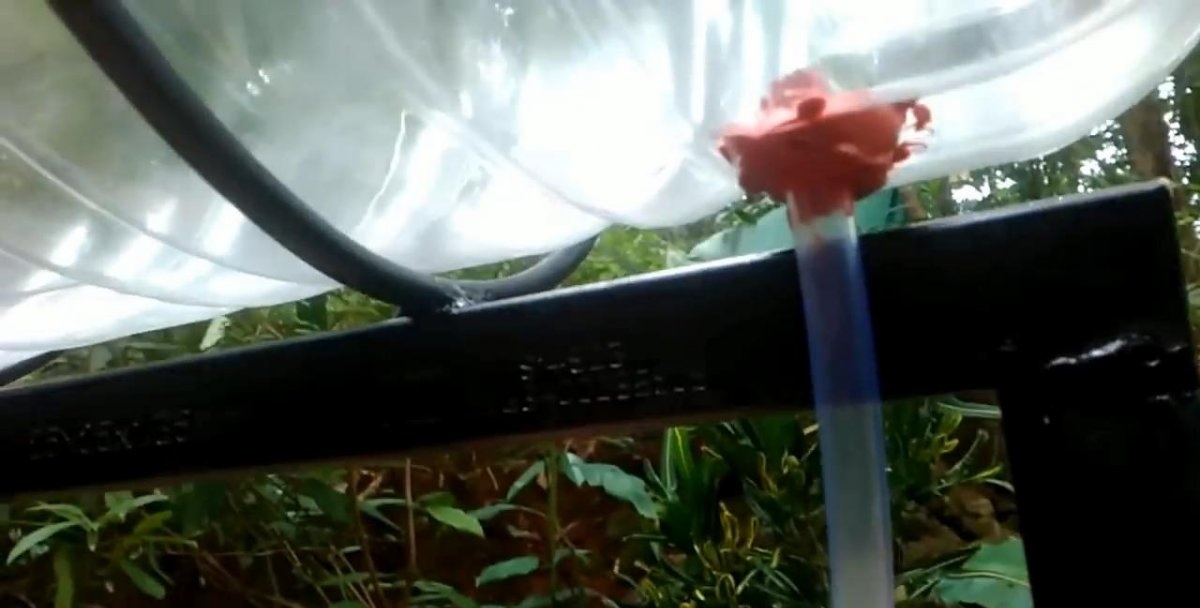
We connect the side tube of the solar collector to the side tube of the bottle.
And the central one from the collector - to the bottom of the bottle.

The solar powered water heater is ready. Pour water.
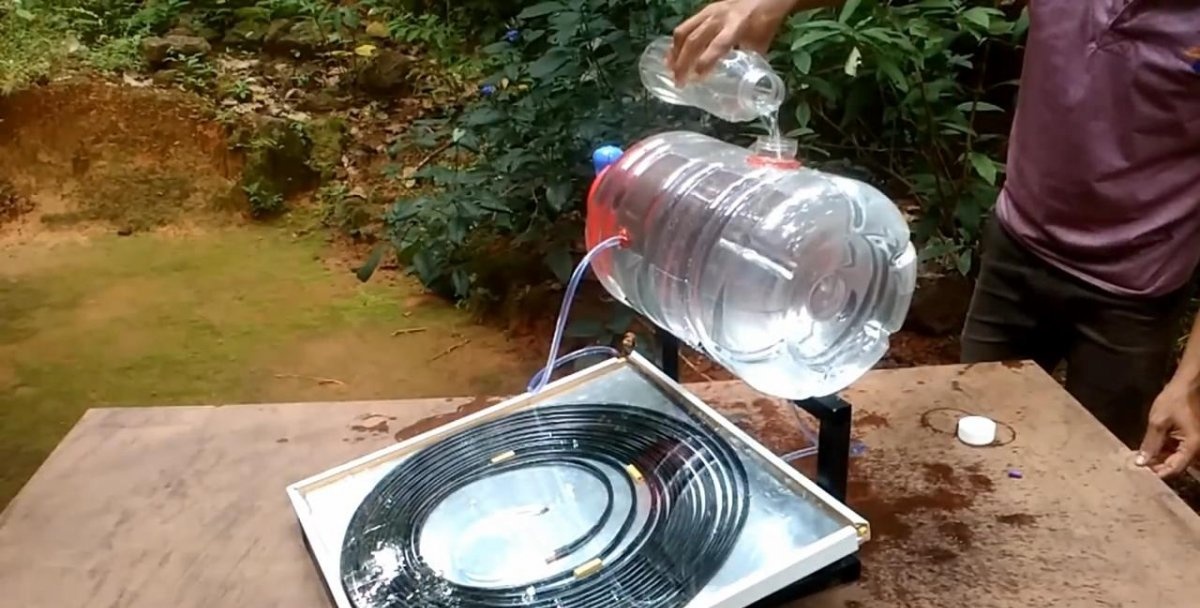
And we wait for the sun to heat the water. Everything happens autonomously.


After a couple of hours, drain for testing.

The thermometer went off scale at 50 degrees.The water heated up to somewhere around 75-80 degrees Celsius.
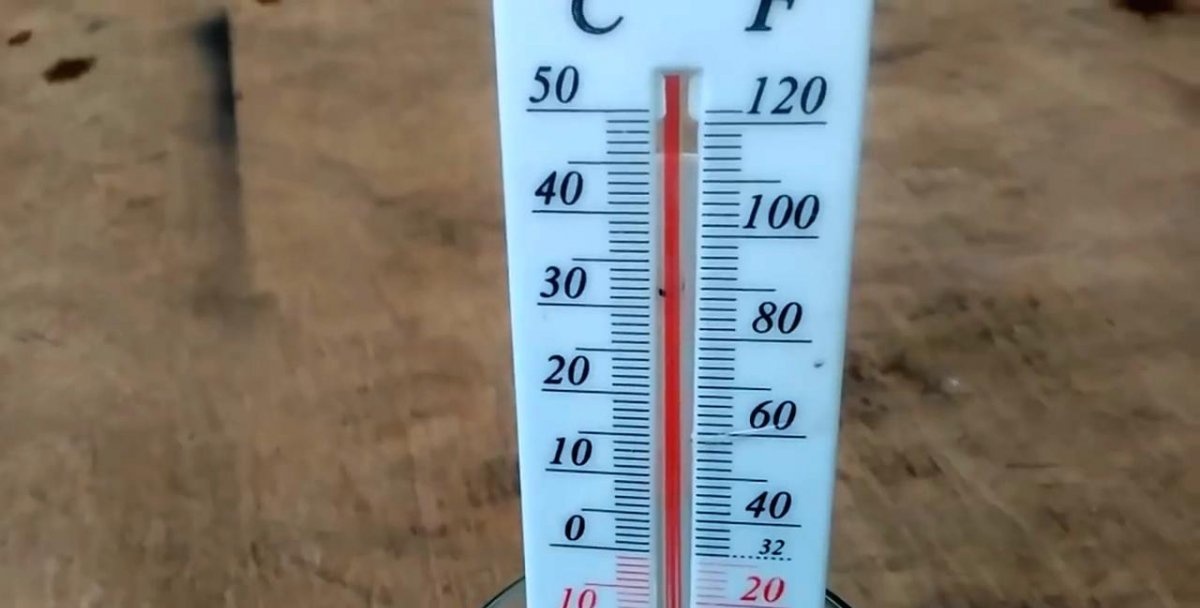
The result is excellent.
Water circulates in the system itself: cold water is taken from the bottom of the bottle, passes through copper curls and flows back into the bottle.
This is a great demonstration of the use of free solar energy.
Watch the video
Similar master classes
Particularly interesting


Comments (8)
