DIY headphones made from shell casings
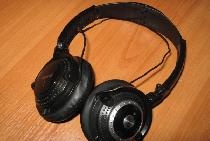
Surely every home has a box with all kinds of outdated or broken headsets from various gadgets. Among this trash, there will probably be old or non-working vacuum headphones that can be given a second life and a completely different appearance. Namely: headphones in the form of cartridges! It is unlikely that any of your friends and acquaintances will have these, which will undoubtedly arouse interest and surprise.

To make them we will need:

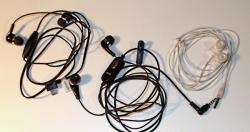
First, let's prepare the headphones. Using scissors, we separate the headphones themselves from the wires. To the root? Then, using a utility knife, we disassemble the earphone itself.
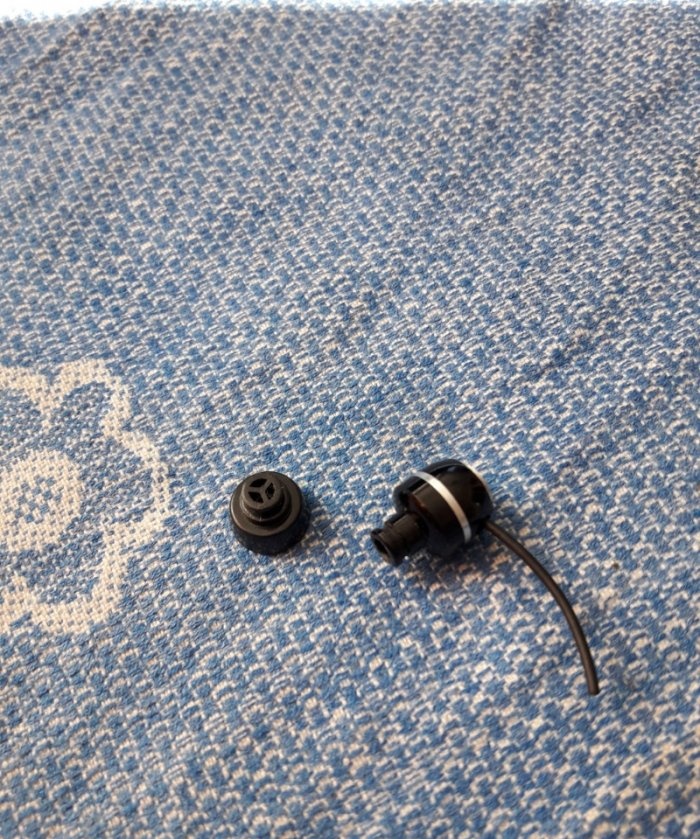
Be careful not to damage the speaker! Unsolder (or cut off!) the wiring from the speaker. If the plug of the headphones is damaged (this is what, in most cases, causes the headphones to break), then you will have to purchase a new one from the store.You can, of course, repair the old one, but it will not have a very impressive appearance. The plug is the most common and it won’t be difficult to find. Next, you need to solder the plug to the cable, simply by looking at the location of the colored wires on the disassembled old plug. We put the disassembled headphones and cable with plug aside for a while to work on the new headphones themselves.
To do this, we take our prepared cartridges and saw off the lower part (with the capsule) 10 mm long from each of them.

You will get something like this:

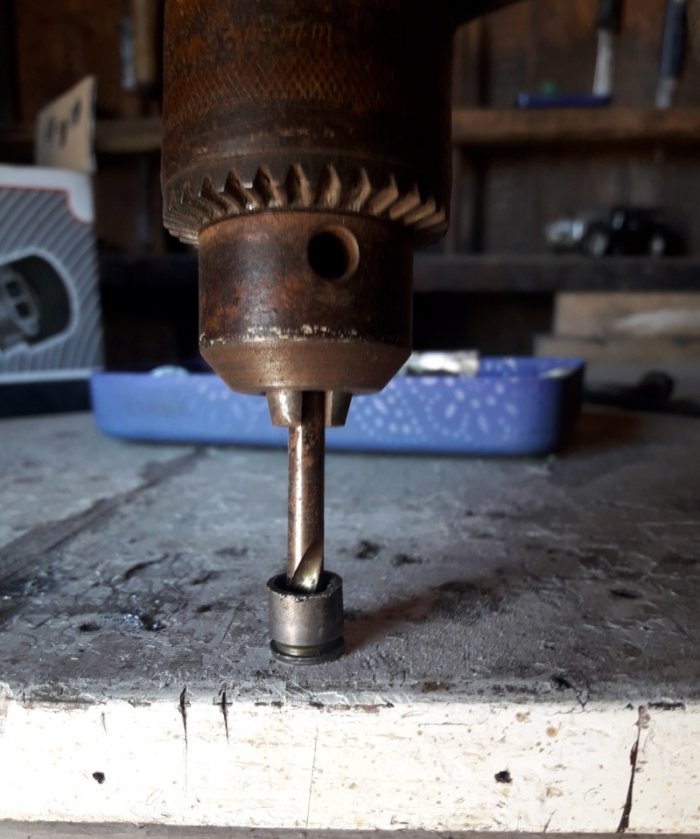
Now we need a drill. We drill out a small layer of metal in the bottom of the sleeve (there is a recess there, so it is not necessary to core) so that you can use a sharp dowel to knock out the protrusion-anvil along with the brass primer:


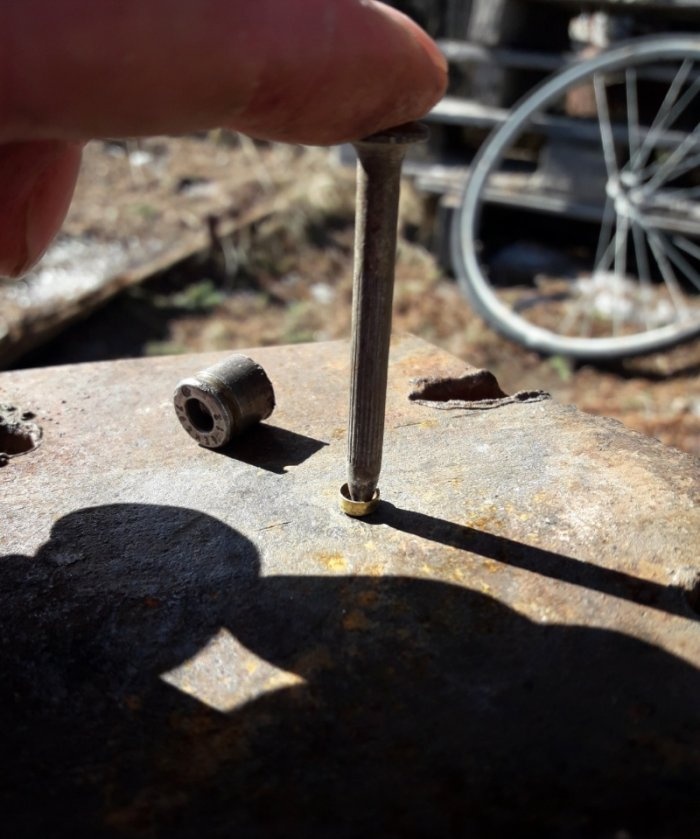
Next, we take the capsule itself and, on a metal surface, level out the dent in it left by the firing pin when fired. To do this, insert a dowel with a cut tip into it and lightly hit the dowel head with a hammer to straighten the dent:
Then, from the outside, we sand the bottom of the capsule with fine-grained sandpaper, thereby removing the remaining irregularities:


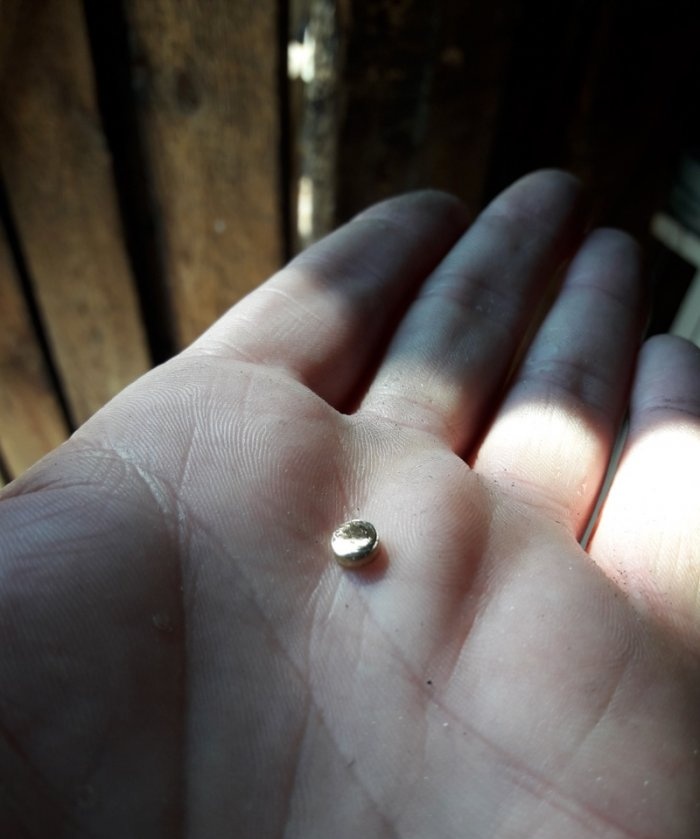
We insert the aligned primer back into the sleeve, driving it in with a wooden mallet. Then we polish it all on felt with goya paste so that the capsule shines. You can, to be sure, drip a drop of glue from the inside. The result is something like this:

Now we drill a hole in the workpiece for a wire with a diameter of 2 mm. As close to the bottom of the case as possible:

We thread the headphone cable into the side hole of the sleeve from the outside. But before this, it would be a good idea to roll the edges of the hole with some larger drill so that the cable does not get cut on sharp edges and do not forget to tie a knot at the end of the cable so that in the future you do not accidentally tear the cable out of the earphone.Then, using a soldering iron, tin and flux, we solder the wires from the cable to the headphone speaker contacts:

We wait until it cools down. All that remains is to glue the plastic part of the earphone, with the speaker inside, to the sleeve. Personally, I used ordinary second glue for this and was quite satisfied with it, but if it does not inspire confidence in you, you can use composite glue, such as “cold welding”.
So, half the battle is done! Now we repeat the entire procedure described above with the second sleeve and earphone. At the end of the work, wipe the manufactured headphones with alcohol and put rubber tips on them - ear pads.
All. The headphones are ready for use. Enjoy it for your health!

Will need
To make them we will need:
- Emery machine.
- Drill.
- Two dowels (one normal, the other with a sawn-off point).
- Fine-grit sandpaper.
- Instant glue or composite “cold welding”.
- Soldering iron (with tin and flux).
- Scissors.
- Stationery knife.
- Old headphones.
- Two spent cartridges (7.62×39).
Making original headphones from shell casings
First, let's prepare the headphones. Using scissors, we separate the headphones themselves from the wires. To the root? Then, using a utility knife, we disassemble the earphone itself.

Be careful not to damage the speaker! Unsolder (or cut off!) the wiring from the speaker. If the plug of the headphones is damaged (this is what, in most cases, causes the headphones to break), then you will have to purchase a new one from the store.You can, of course, repair the old one, but it will not have a very impressive appearance. The plug is the most common and it won’t be difficult to find. Next, you need to solder the plug to the cable, simply by looking at the location of the colored wires on the disassembled old plug. We put the disassembled headphones and cable with plug aside for a while to work on the new headphones themselves.
To do this, we take our prepared cartridges and saw off the lower part (with the capsule) 10 mm long from each of them.

You will get something like this:

Now we need a drill. We drill out a small layer of metal in the bottom of the sleeve (there is a recess there, so it is not necessary to core) so that you can use a sharp dowel to knock out the protrusion-anvil along with the brass primer:


Next, we take the capsule itself and, on a metal surface, level out the dent in it left by the firing pin when fired. To do this, insert a dowel with a cut tip into it and lightly hit the dowel head with a hammer to straighten the dent:

Then, from the outside, we sand the bottom of the capsule with fine-grained sandpaper, thereby removing the remaining irregularities:


We insert the aligned primer back into the sleeve, driving it in with a wooden mallet. Then we polish it all on felt with goya paste so that the capsule shines. You can, to be sure, drip a drop of glue from the inside. The result is something like this:
Now we drill a hole in the workpiece for a wire with a diameter of 2 mm. As close to the bottom of the case as possible:

We thread the headphone cable into the side hole of the sleeve from the outside. But before this, it would be a good idea to roll the edges of the hole with some larger drill so that the cable does not get cut on sharp edges and do not forget to tie a knot at the end of the cable so that in the future you do not accidentally tear the cable out of the earphone.Then, using a soldering iron, tin and flux, we solder the wires from the cable to the headphone speaker contacts:
We wait until it cools down. All that remains is to glue the plastic part of the earphone, with the speaker inside, to the sleeve. Personally, I used ordinary second glue for this and was quite satisfied with it, but if it does not inspire confidence in you, you can use composite glue, such as “cold welding”.
So, half the battle is done! Now we repeat the entire procedure described above with the second sleeve and earphone. At the end of the work, wipe the manufactured headphones with alcohol and put rubber tips on them - ear pads.
All. The headphones are ready for use. Enjoy it for your health!
Similar master classes


Particularly interesting


Comments (0)
