Ballerina cutter adjustable for wood
Have you ever made large holes in wood, plastic or ceramic tiles? Cutting tools for such diameters are difficult to obtain. But sometimes it’s almost impossible to make an accurate outline without it. A device popularly called a “ballerina” can cope with such tasks.

Milling cutters of this type are used for a wide variety of materials: wood, ceramics, plastics, various composites and even metal. Their main difference is that the cutting part is small and is capable of processing only the end zone of the workpiece, or rather its contour.
This processing is designed exclusively for automatic operation from a machine or power tool, such as a drill or hammer drill. Ballerinas are beneficial because they save a lot of effort and time on cutting or milling precise circles of large diameters. In this article we will tell you how to make such a cutter with your own hands from scrap materials. So let's get started!
Materials:
Tools:
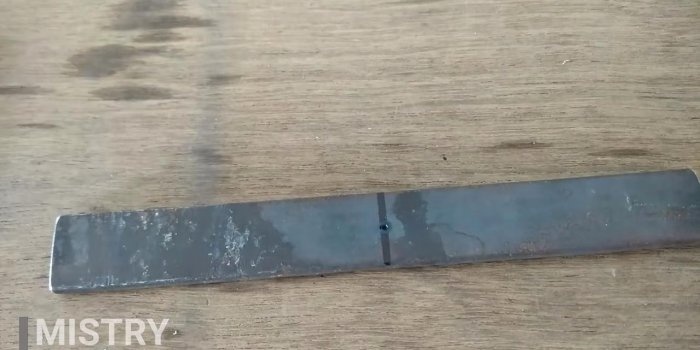
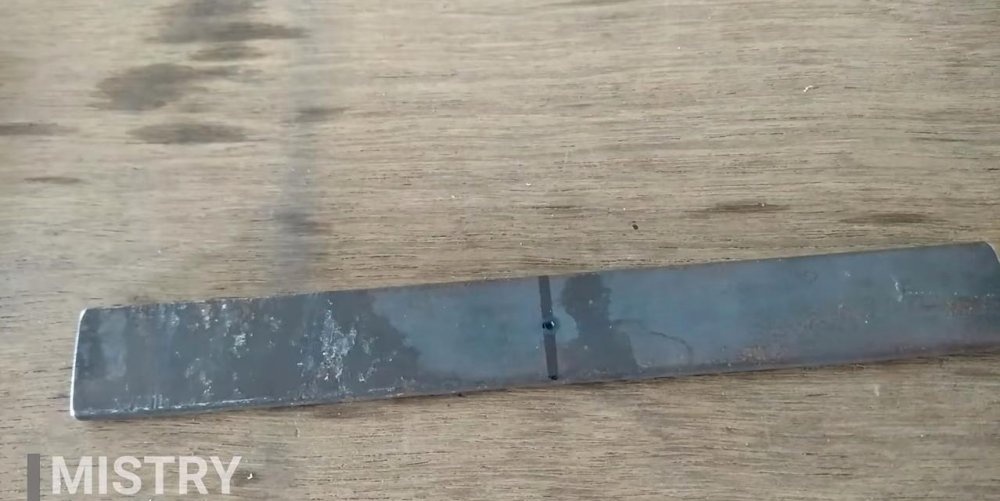
The basis of our cutter is a metal plate. It must be cut to a length of 20 cm.


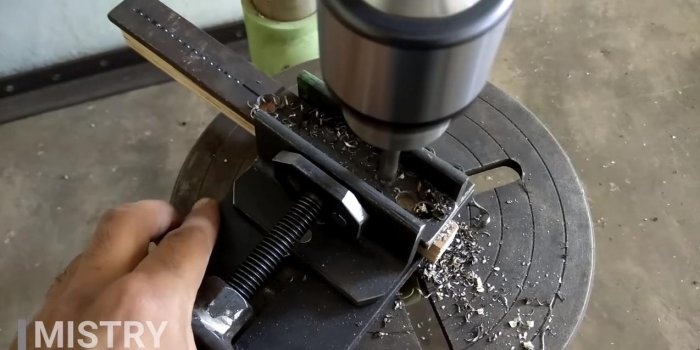
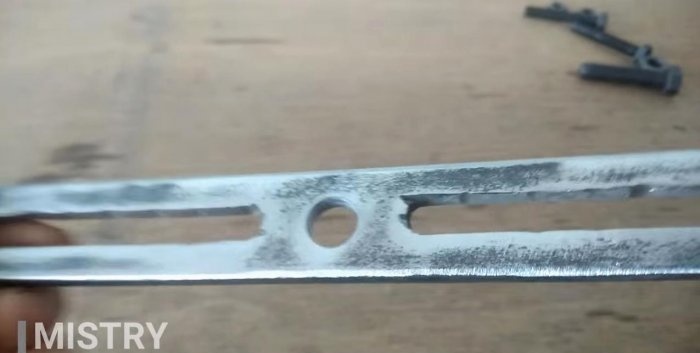
Mark the center of the plate, mark it and drill with a 10.5 mm drill. This is best done on a stationary drilling machine.
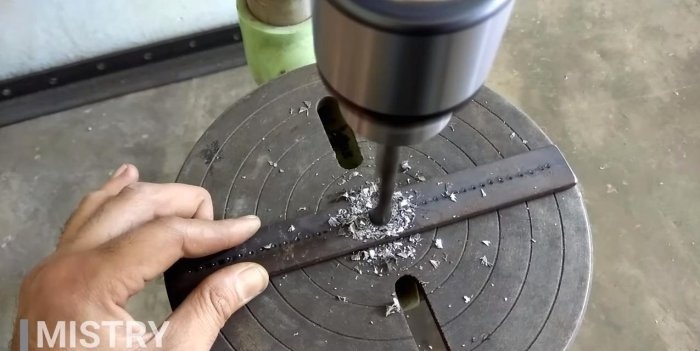
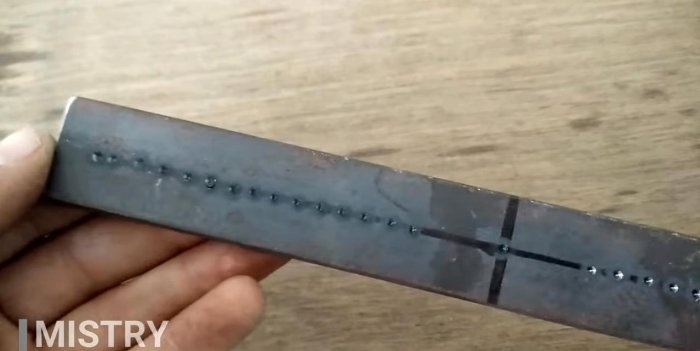
Next, we mark the middle of the strip, and not far from its edges, we use a core to mark the holes for drilling. In order not to break the drill during operation, the interval of the punched marks should be slightly larger than the diameter of the future holes.
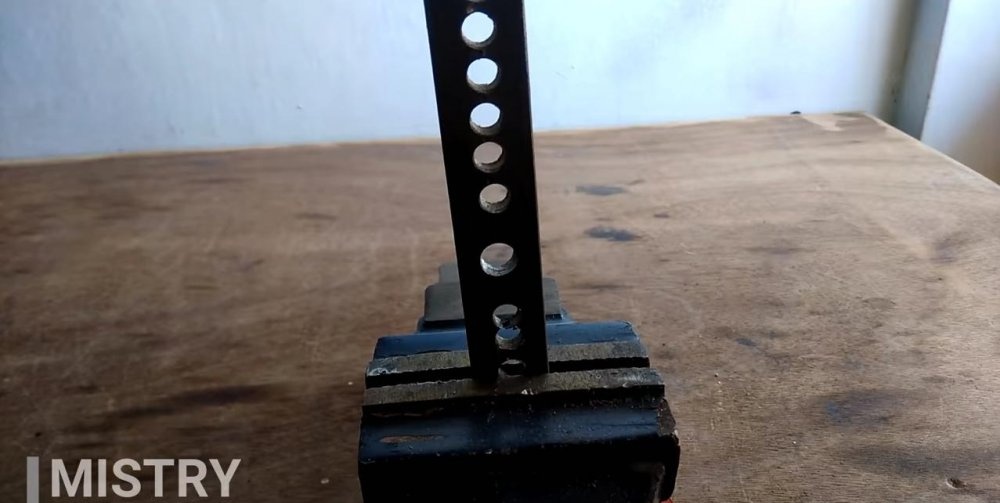
We drill holes along the marks on both sides of the plate, not reaching the edges and the central hole literally 1 cm.

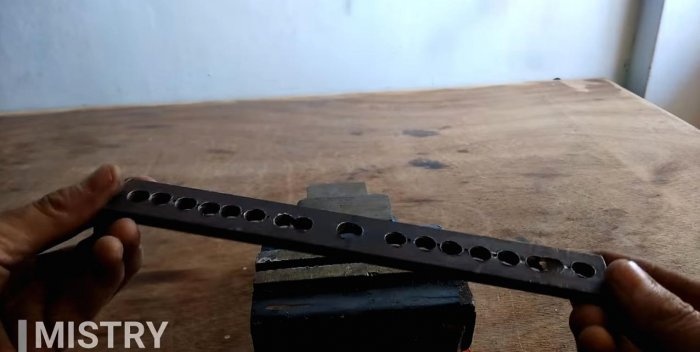
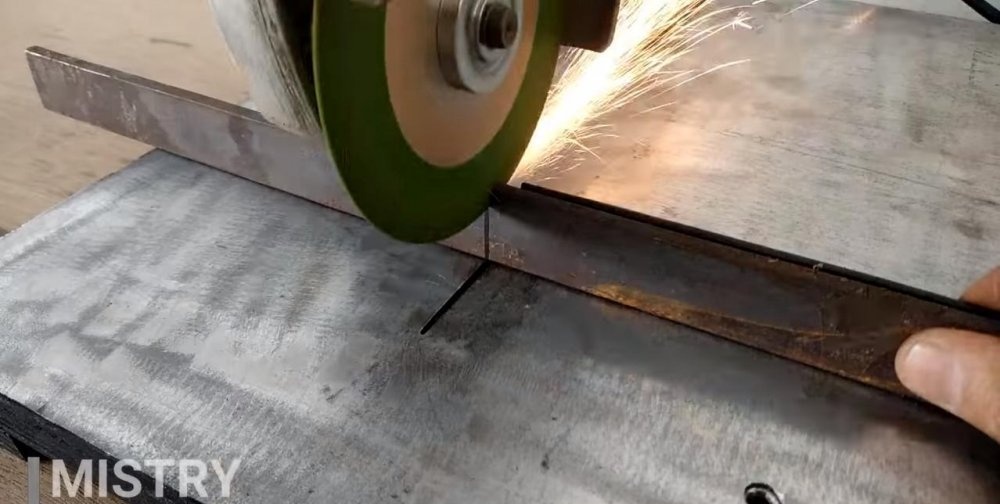
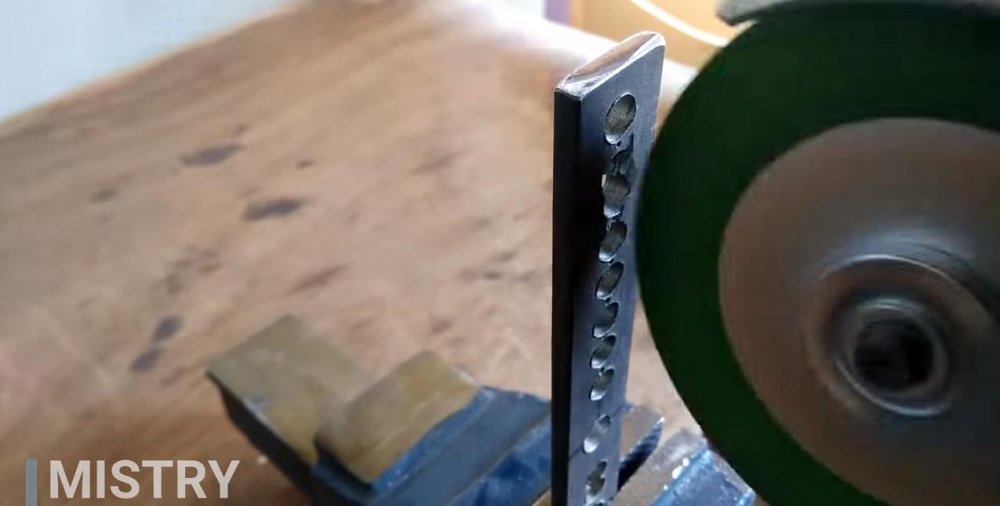
Clamping the plate in a vice, use a grinder cutting disc to connect the holes into two oblong grooves. We refine them with a flat or square file so that future cutters can move freely in them. We also remove bumps and burrs.
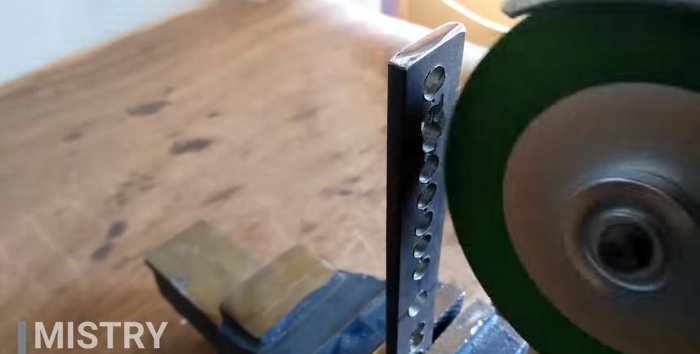
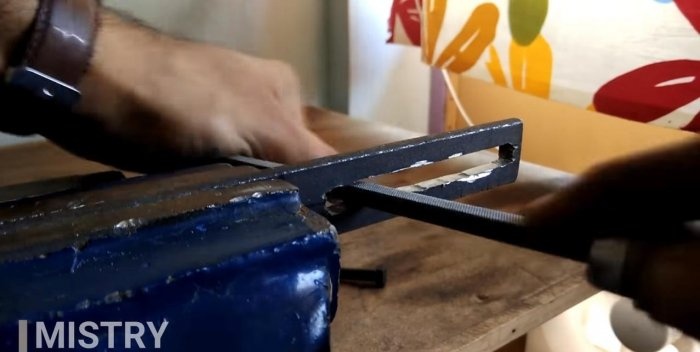

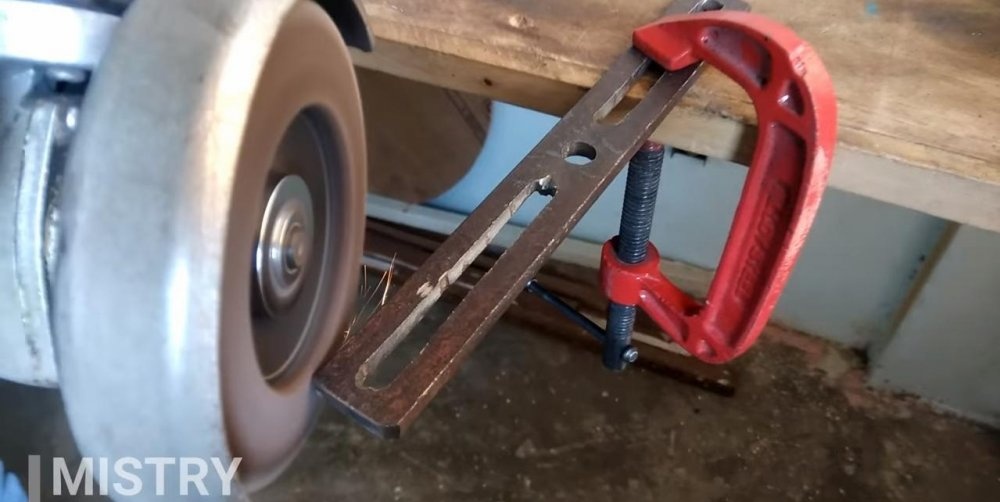
We press the plate with clamps to the table or clamp it in a vice. We clean its planes with a sanding disc and smooth out sharp corners and edges.

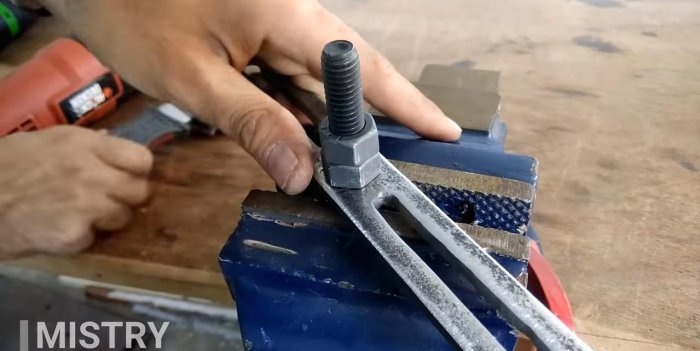
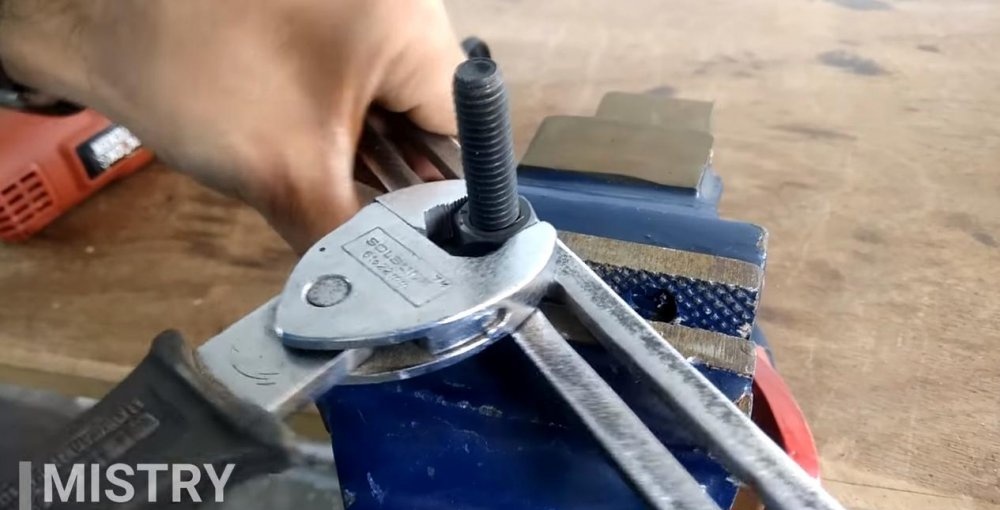
We insert an M10 bolt into the central hole and tighten it with a nut on the back side. We screw the second locknut over the first and also tighten it with an adjustable or open-end wrench.
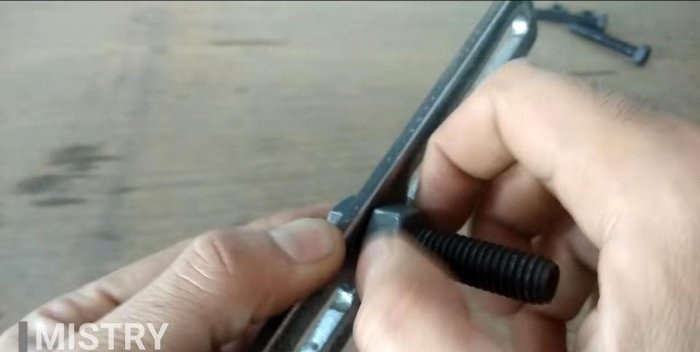

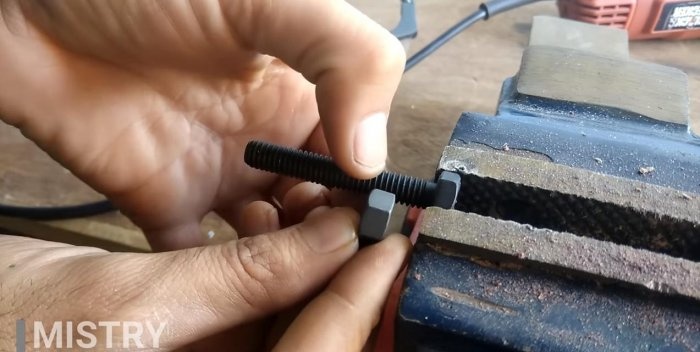
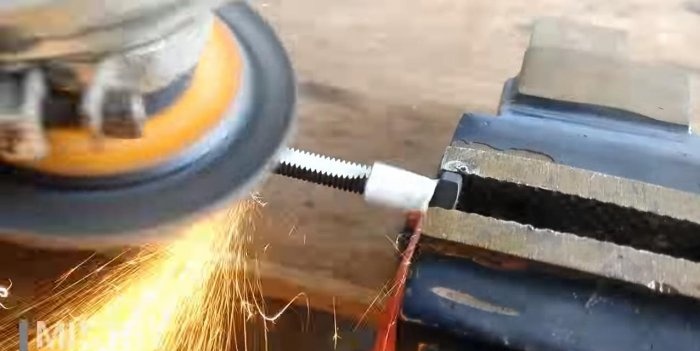
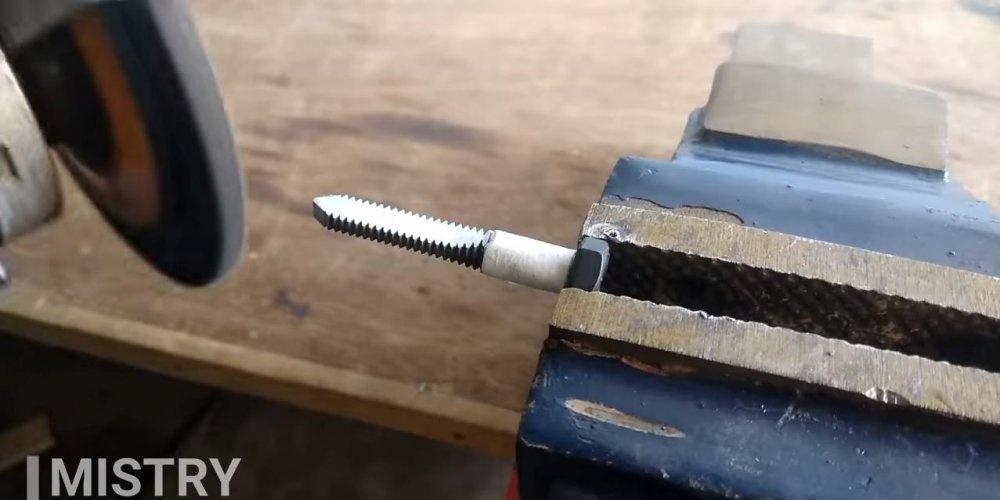
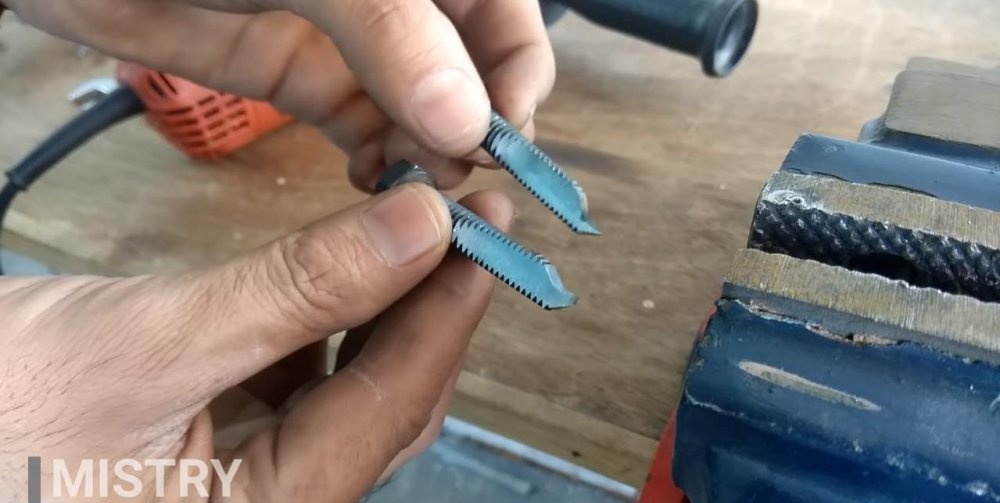
We make the working cutters of the milling cutter from M8 bolts. We clamp them by the head in a vice, seal the unaffected area with masking tape, and use a grinder to remove the threaded part of the bolt. Then we turn the bolt over and grind off the opposite part of the bolt, leaving a flat handle 4-5 mm thick. We make the tips of the incisors in the form of a small one-sided hook, pointed at the end.


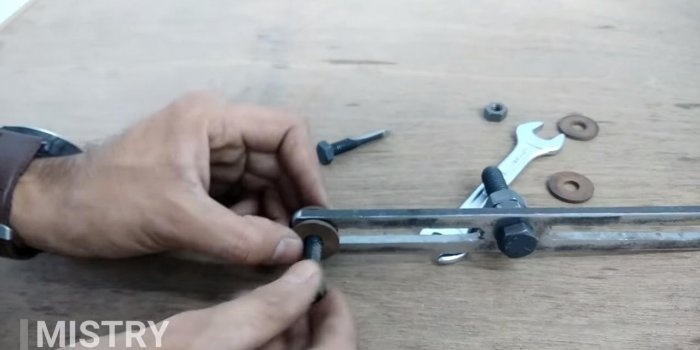
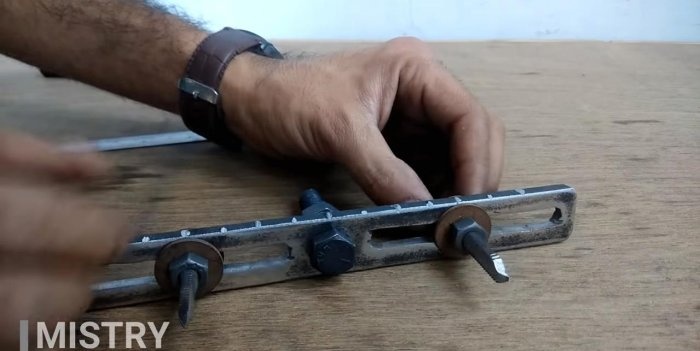
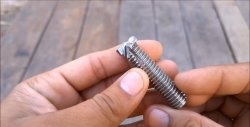
We insert the cutter bolts into the grooves of the plate in the opposite direction from the cutter rod. We line them with washers on both sides to increase the area of contact with the plate. The remaining thread on the side of the cutters allows you to screw on the nut and secure these cutting elements with it.

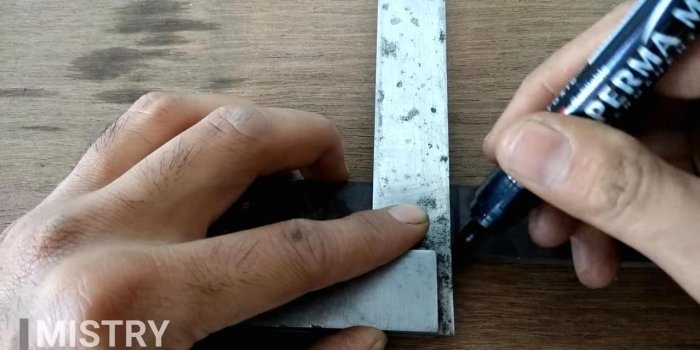
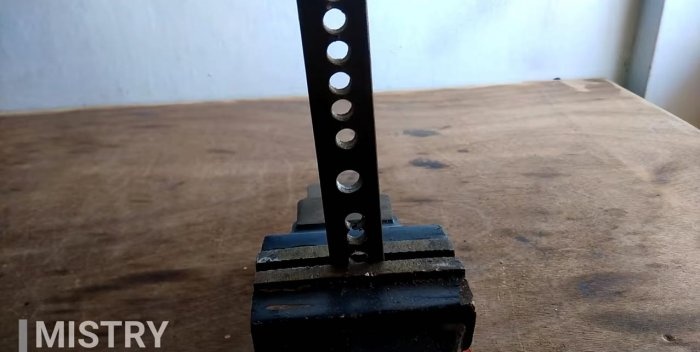
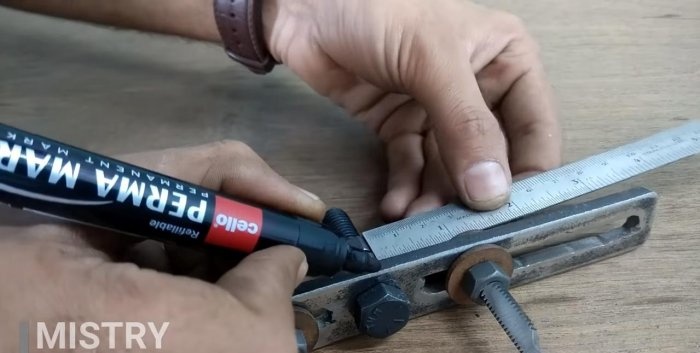
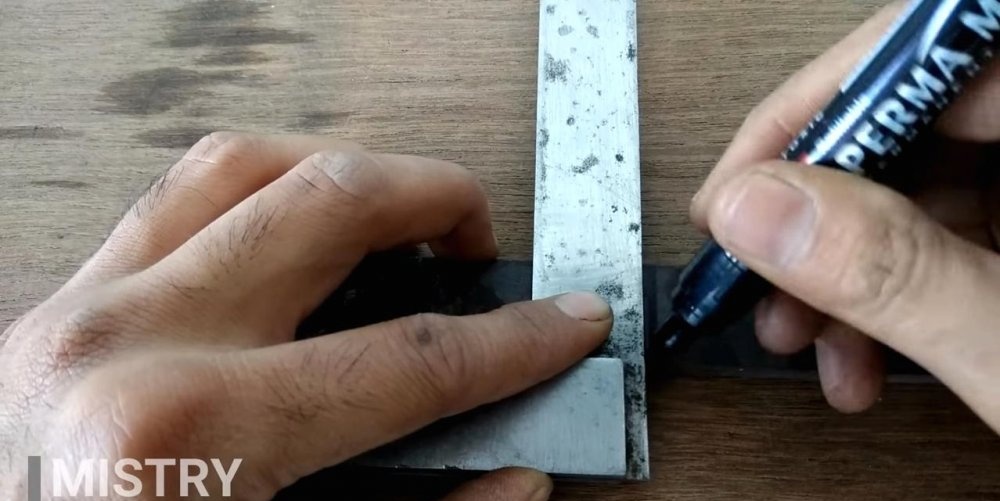
The peculiarity of this “ballerina” cutter is to set both incisors at the same distance from its center. To do this, mark the gradation of sizes on the side of the plate with a ruler. We apply marks with a marker up to half a centimeter.
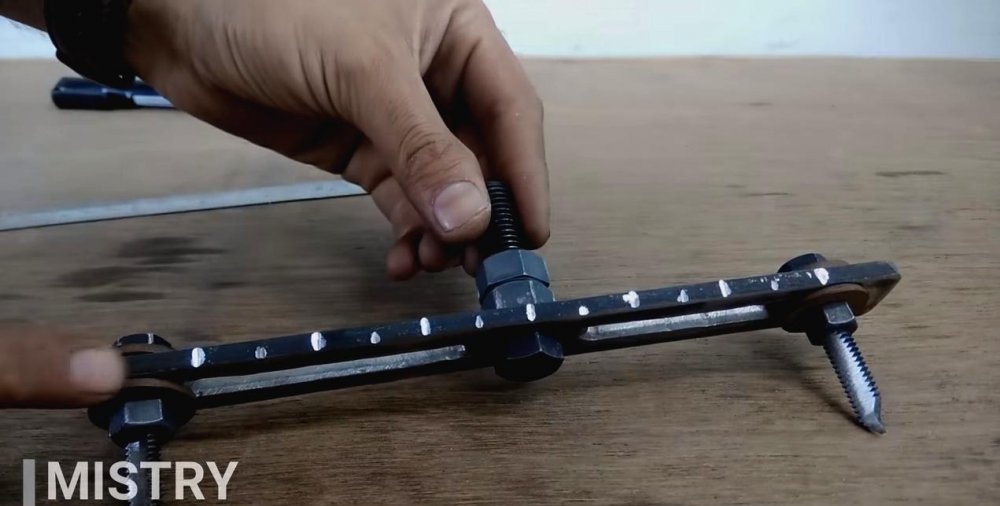
Using a grinder, we make notches according to the size marks. This way they will be preserved for a long time and will be easily distinguishable during operation.

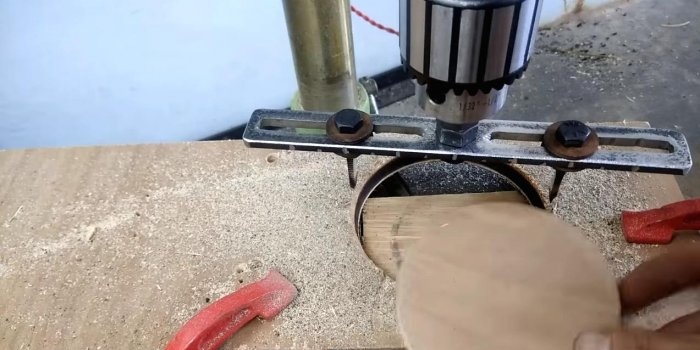
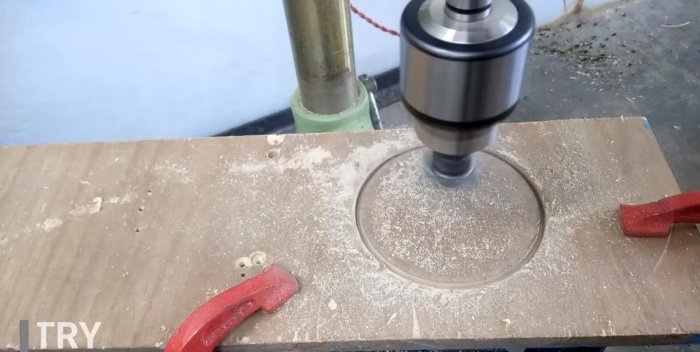
We set the cutters to the size of the workpiece. Now, by holding it in the chuck of a drilling machine, you can accurately and quickly cut a circle of large diameter, for example, from plywood!

Milling cutters of this type are used for a wide variety of materials: wood, ceramics, plastics, various composites and even metal. Their main difference is that the cutting part is small and is capable of processing only the end zone of the workpiece, or rather its contour.
This processing is designed exclusively for automatic operation from a machine or power tool, such as a drill or hammer drill. Ballerinas are beneficial because they save a lot of effort and time on cutting or milling precise circles of large diameters. In this article we will tell you how to make such a cutter with your own hands from scrap materials. So let's get started!
Materials:
- Metal plate 200x25x4-6 mm;
- Bolts: M8– 2 pcs (+2 nuts and 4 washers); M10 – 1 piece (+2 nuts and 1 washer).
Tools:
- Drill or stationary drilling machine;
- Grinder (angle grinder) with cutting and grinding discs;
- File;
- Screw clamps;
- Metal drills 9-10.5 mm;
- Kern;
- Vise;
- Adjustable and open-end wrenches;
- Ruler and marker for marking.
Step-by-step production of a ballerina cutter
The basis of our cutter is a metal plate. It must be cut to a length of 20 cm.

Mark the center of the plate, mark it and drill with a 10.5 mm drill. This is best done on a stationary drilling machine.

Next, we mark the middle of the strip, and not far from its edges, we use a core to mark the holes for drilling. In order not to break the drill during operation, the interval of the punched marks should be slightly larger than the diameter of the future holes.
We drill holes along the marks on both sides of the plate, not reaching the edges and the central hole literally 1 cm.


Clamping the plate in a vice, use a grinder cutting disc to connect the holes into two oblong grooves. We refine them with a flat or square file so that future cutters can move freely in them. We also remove bumps and burrs.


We press the plate with clamps to the table or clamp it in a vice. We clean its planes with a sanding disc and smooth out sharp corners and edges.

We insert an M10 bolt into the central hole and tighten it with a nut on the back side. We screw the second locknut over the first and also tighten it with an adjustable or open-end wrench.
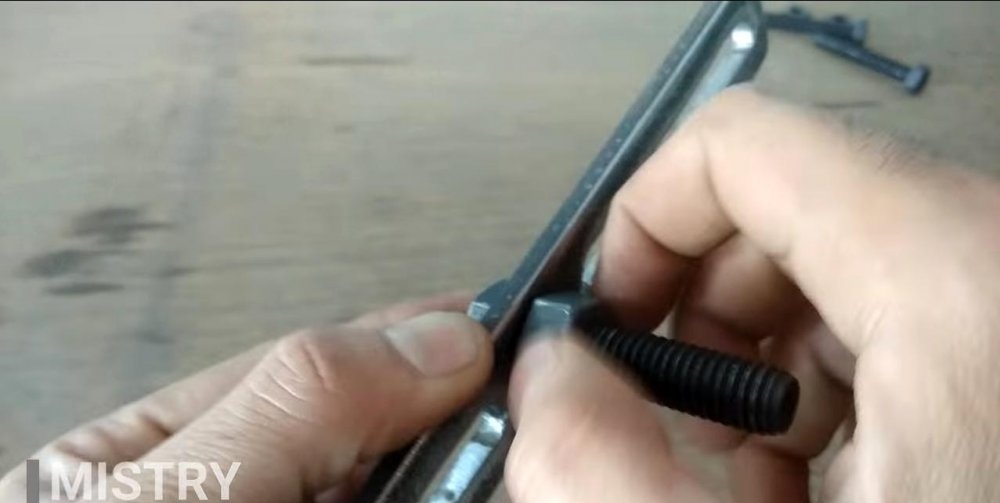

We make the working cutters of the milling cutter from M8 bolts. We clamp them by the head in a vice, seal the unaffected area with masking tape, and use a grinder to remove the threaded part of the bolt. Then we turn the bolt over and grind off the opposite part of the bolt, leaving a flat handle 4-5 mm thick. We make the tips of the incisors in the form of a small one-sided hook, pointed at the end.


We insert the cutter bolts into the grooves of the plate in the opposite direction from the cutter rod. We line them with washers on both sides to increase the area of contact with the plate. The remaining thread on the side of the cutters allows you to screw on the nut and secure these cutting elements with it.


The peculiarity of this “ballerina” cutter is to set both incisors at the same distance from its center. To do this, mark the gradation of sizes on the side of the plate with a ruler. We apply marks with a marker up to half a centimeter.
Using a grinder, we make notches according to the size marks. This way they will be preserved for a long time and will be easily distinguishable during operation.


We set the cutters to the size of the workpiece. Now, by holding it in the chuck of a drilling machine, you can accurately and quickly cut a circle of large diameter, for example, from plywood!


Watch the video
Similar master classes


Particularly interesting


Comments (7)
